Learn to build an AI agent for tax data extraction and integration with Google Sheets using Pabbly Connect. Step-by-step guide for seamless automation. Master proven automation processes with practical implementation examples and strategic recommendations you can apply immediately in your workflow.
Watch Step By Step Video Tutorial Below
1. Introduction to Pabbly Connect and AI Agent
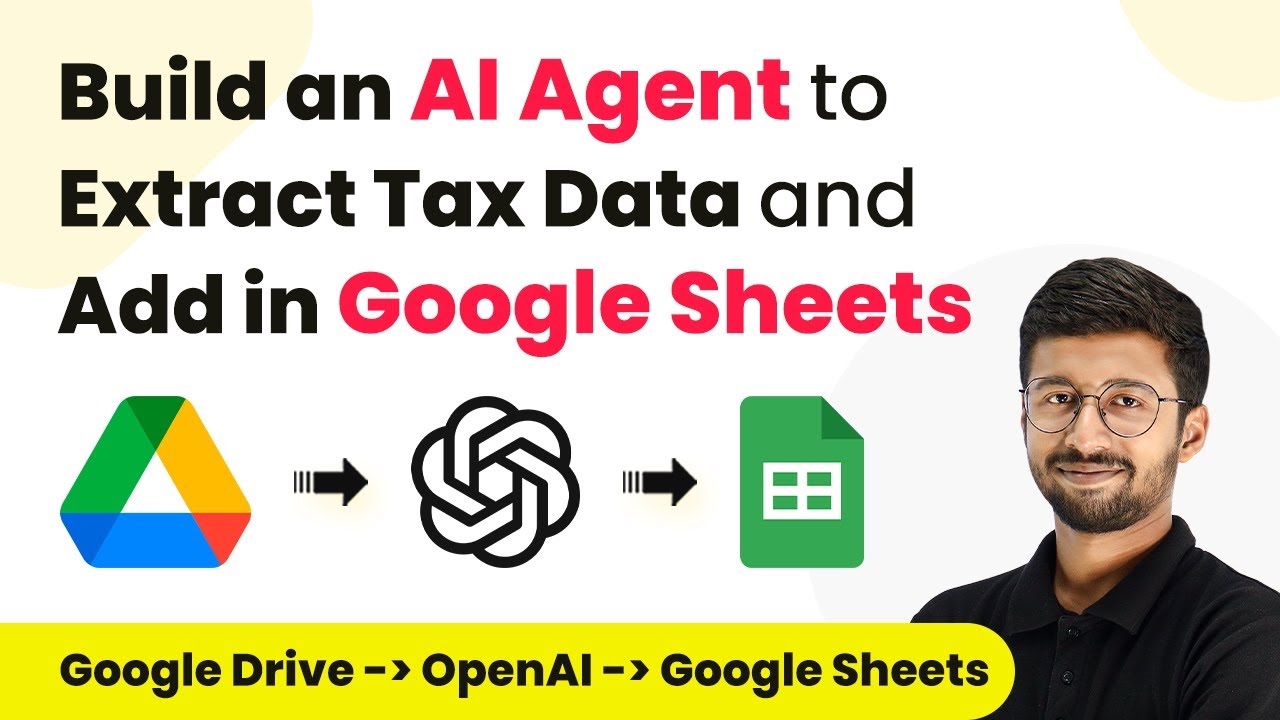
In this tutorial, we will explore how to use Pabbly Connect to build an AI agent for extracting tax data from PDF documents and adding it to Google Sheets. This process automates the tedious task of data entry, making it efficient for tax consultation firms.
The AI agent is designed to monitor a specific Google Drive folder for new tax documents. Once a document is uploaded, Pabbly Connect triggers the extraction process, which simplifies data handling significantly.
2. Setting Up Pabbly Connect for Google Drive Integration
To start building the AI agent, access your Pabbly Connect dashboard. If you don’t have an account, sign up for free using the link provided. Once logged in, click on the ‘Create Workflow’ button to initiate a new workflow.
Here are the steps to set up Google Drive integration:
- Select ‘Google Drive’ as the application.
- Choose the trigger event as ‘New File in Specific Folder’.
- Connect your Google Drive account by clicking ‘Sign in with Google’.
After connecting, select the folder where tax documents will be uploaded. This setup allows Pabbly Connect to monitor the folder for new files automatically.
3. Extracting Tax Data with OpenAI through Pabbly Connect
Once you have configured the Google Drive integration, the next step involves sending the uploaded document to OpenAI for data extraction. In Pabbly Connect, add an action step and select OpenAI.
Follow these steps to configure the extraction:
- Choose the action event as ‘Extract Content from PDF / Image’.
- Connect your OpenAI account using the generated API key.
- Map the PDF URL from the Google Drive trigger step to the OpenAI action.
This configuration enables Pabbly Connect to send the document to OpenAI, where it will extract the necessary tax data.
4. Adding Extracted Data to Google Sheets Using Pabbly Connect
After extracting tax data, the next step is to add this information to Google Sheets. In your Pabbly Connect workflow, add another action step and select Google Sheets.
To complete this integration, perform the following:
Select the action event as ‘Add New Row’. Connect your Google Sheets account via ‘Sign in with Google’. Map the extracted data from OpenAI to the corresponding columns in your Google Sheet.
By following these steps, Pabbly Connect will automatically add a new row with the extracted tax data to your specified Google Sheet, streamlining your data management process.
5. Testing and Finalizing Your AI Agent with Pabbly Connect
With the workflow set up, it’s time to test the AI agent. Upload a new tax document to the designated Google Drive folder. Pabbly Connect will check for new files every 10 minutes and trigger the extraction process.
After the document is processed, verify that the data appears correctly in your Google Sheet. This confirms that the AI agent is functioning as intended, efficiently extracting and organizing your tax data.
To summarize, by utilizing Pabbly Connect, you can automate the process of extracting tax data from PDF documents and integrating it seamlessly into Google Sheets. This not only saves time but also reduces the chances of manual errors.
Conclusion
In this tutorial, we learned how to build an AI agent using Pabbly Connect to extract tax data and add it to Google Sheets. This integration simplifies data management for tax consultation firms, making it more efficient and accurate.
Ensure you check out Pabbly Connect to create business automation workflows and reduce manual tasks. Pabbly Connect currently offer integration with 2,000+ applications.
- Check out Pabbly Connect – Automate your business workflows effortlessly!
- Sign Up Free – Start your journey with ease!
- 10,000+ Video Tutorials – Learn step by step!
- Join Pabbly Facebook Group – Connect with 21,000+ like minded people!