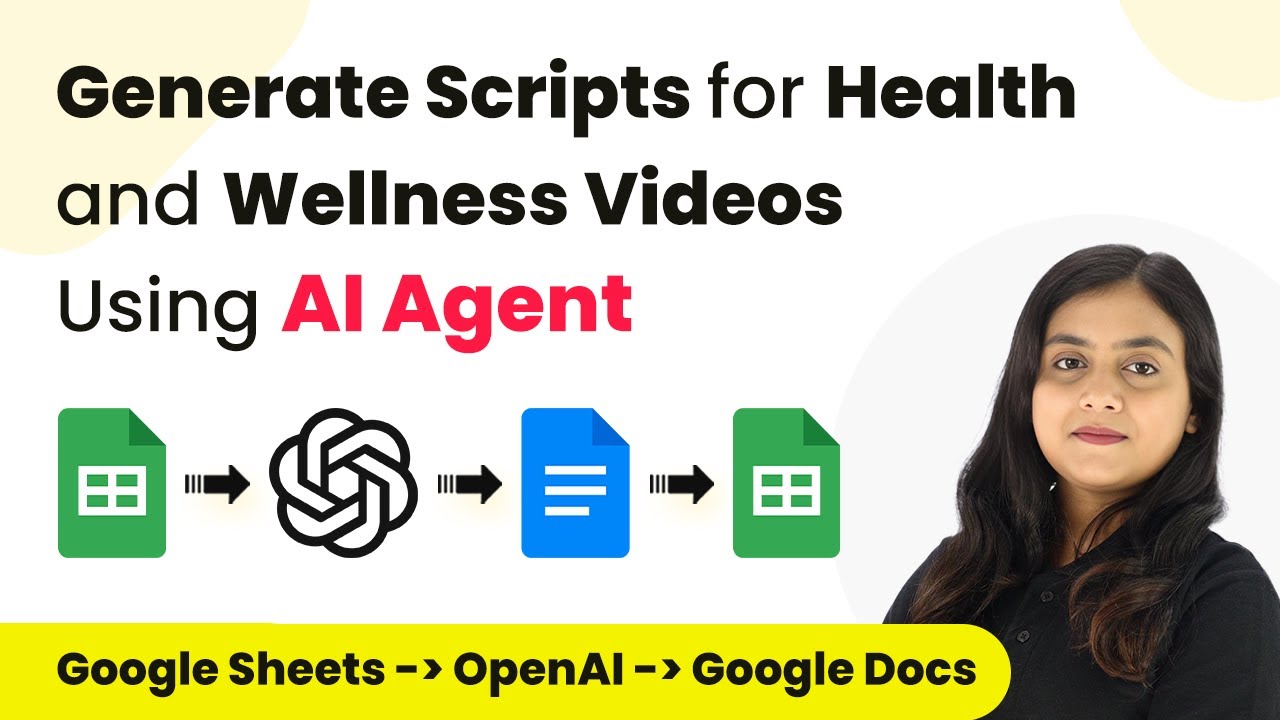
Generate Scripts for Health and Wellness Videos Using Pabbly Connect

Learn how to generate scripts for health and wellness videos using Pabbly Connect to automate Google Sheets, Google Docs, and more for your YouTube channel.

Watch Step By Step Video Tutorial Below


1. Accessing Pabbly Connect for Your Automation Needs

To begin generating scripts for health and wellness videos, access Pabbly Connect by visiting the official website. Once there, sign in to your account; if you are a new user, you can sign up for free and receive 100 free tasks monthly. This platform will be the backbone of your automation process.

After logging in, you will see the Pabbly Apps window. Click on the Pabbly Connect button to proceed. From the dashboard, you can create a workflow that will automate your script generation process. This is where you will set up the connections between Google Sheets and Google Docs using Pabbly Connect.


2. Creating a Workflow in Pabbly Connect

To create your workflow, click on the Create Workflow button in the top right corner of the Pabbly Connect dashboard. A dialog box will prompt you to name your workflow. Enter a descriptive name such as ‘AI Agent for Generating Scripts for Health and Wellness Videos’ and select a folder to save it in.

  • Click on the Create button to initialize your workflow.
  • You will see two sections labeled ‘Trigger’ and ‘Action’.
  • Select Google Sheets as your trigger application.

Once you select Google Sheets, set the trigger event to ‘New or Updated Spreadsheet Row.’ This setup allows Pabbly Connect to detect when new video details are added to your Google Sheets, which will initiate the script generation process.


3. Linking Google Sheets with Pabbly Connect

After selecting Google Sheets as your trigger, Pabbly Connect will provide a unique webhook URL. Copy this URL as it will be used to connect your Google Sheets to Pabbly Connect. Open your Google Sheets and navigate to Extensions > Add-ons > Get Add-ons. Search for ‘Pabbly Connect Webhooks’ and install it if you haven’t already.

Once installed, refresh your Google Sheets. Go back to Extensions > Pabbly Connect Webhooks and select Initial Setup. Paste the copied webhook URL into the designated field and specify the trigger column. For this example, use Column E, where you will enter the keywords for your video.


4. Generating Video Scripts Using AI Agent

With your Google Sheets linked to Pabbly Connect, it’s time to set up the action step to generate the video scripts. Select OpenAI as your action application and choose the action event as ‘Generate Content’. You will need to create a new connection by providing an API token from your OpenAI account.

Once connected, specify the AI model you wish to use, such as GPT-4 Mini. In the prompt field, you need to include key details about your video, such as the title, description, keywords, tone, and script length. This prompt will guide the AI agent in generating a high-quality script tailored to your needs.

  • Map the data from the previous step into the prompt fields.
  • Click on Save and Send Test Request to generate the script.
  • Review the generated script content in the response.

This automated process significantly reduces the time spent on script creation, allowing you to focus on other aspects of your health and wellness business.


5. Creating and Sharing Documents in Google Docs

Once the script is generated, the next step is to create a document in Google Docs. For this, select Google Docs as your action application and choose the action event as ‘Create Document from Template.’ This means you will need to have a pre-made template in Google Docs that includes placeholders for the video topic, keywords, and script content.

Connect Google Docs to Pabbly Connect, authorize access, and select your template. When prompted, map the video topic, keywords, and script content to the corresponding placeholders in your template. After filling in all necessary details, click on Send Test Request to create the document.

Finally, to share the document with your team, add another action step using Google Drive and select ‘Share File with Anyone’. Map the document ID from the previous step and execute the request. Now, your script is not only generated but also accessible to your team through a shared link in Google Drive.


Conclusion

In this tutorial, we explored how to effectively use Pabbly Connect to automate the process of generating scripts for health and wellness videos. By integrating Google Sheets and Google Docs through Pabbly Connect, you can streamline your content creation process, saving time and enhancing productivity.

Ensure you check out Pabbly Connect to create business automation workflows and reduce manual tasks. Pabbly Connect currently offer integration with 2,000+ applications.

Create a Semiconductor Industry WhatsApp Chatbot for Facebook Lead Ads Using Pabbly Connect

Learn how to create a WhatsApp chatbot for Facebook Lead Ads in the semiconductor industry using Pabbly Connect and Pabbly Connect. Step-by-step tutorial included. Transform complex automation concepts into accessible, actionable steps that eliminate unnecessary manual work while maximizing existing application capabilities.

Watch Step By Step Video Tutorial Below


1. Setting Up Pabbly Connect for Facebook Lead Ads

To create an effective WhatsApp chatbot for the semiconductor industry, the first step is to set up Pabbly Connect. This platform will serve as the central hub for integrating Facebook Lead Ads with WhatsApp. By connecting these applications, you can automate the process of sending welcome messages to new leads.

Begin by logging into your Pabbly Connect account. From the dashboard, create a new workflow by selecting the Facebook Lead Ads integration. You will need to authorize your Facebook account and select the specific Facebook page and lead form that you want to use. This setup ensures that every new lead captured is automatically processed through Pabbly Connect.


2. Sending Automated Welcome Messages via Pabbly Chatflow

Once your Pabbly Connect workflow is set up, the next step is to send an automated welcome message via Pabbly Chatflow. This message will be sent to every new lead as soon as they fill out the Facebook lead form. To do this, you will connect your Pabbly Chatflow account to the same workflow.

  • Select the recipient’s mobile number from the lead data.
  • Choose the message template for the welcome message.
  • Send the welcome message using the template.

After sending the welcome message, it’s crucial to ensure that the lead receives it without delay. This automated process enhances user engagement and sets the stage for further interaction through the chatbot.


3. Building the WhatsApp Chatbot with Pabbly Chatflow

With the automated welcome message in place, the next step is to build the WhatsApp chatbot using Pabbly Chatflow. This chatbot will respond to leads when they reply to the welcome message. Access the Pabbly Chatflow dashboard and navigate to the flow section to start creating your chatbot.

In the flow section, click on the ‘Add Flow’ button. Choose the template option since you will be using a pre-defined message template. Select the semiconductor solutions template, which should have quick reply buttons for the leads to interact with. Make sure to include options like ‘Browse Products’ and ‘Speak to an Expert’ to facilitate easy navigation for users.


4. Configuring Chatbot Responses for User Interactions

After setting up the initial flow, it’s time to configure the responses for each user interaction. This is where Pabbly Connect plays a crucial role in ensuring that the chatbot can handle various inquiries seamlessly. For each quick reply option, set up corresponding messages that will be sent automatically.

  • For ‘Browse Products,’ attach the product catalog file.
  • For ‘Speak to an Expert,’ provide a message indicating that an expert will contact them shortly.
  • For ‘Terms and Conditions,’ send the terms document.

Each response should be linked to the appropriate quick reply button, allowing for a smooth user experience. This setup ensures that leads receive immediate answers to their queries without manual intervention.


5. Testing the Chatbot Functionality

Once the chatbot is fully configured, it’s essential to test its functionality to ensure everything works as intended. Use the Facebook Lead Ads testing tool to generate a test lead and verify that the automated welcome message is sent through Pabbly Connect.

After submitting a test lead, check your WhatsApp to see if the welcome message was received. Then, reply to the message with one of the options provided. Ensure that the chatbot responds correctly with the relevant information or documents. This testing phase is crucial to confirm that the integration is functioning properly and that leads are receiving timely and accurate responses.


Conclusion

Creating a WhatsApp chatbot for the semiconductor industry using Pabbly Connect and Pabbly Chatflow allows businesses to automate lead engagement effectively. By following the steps outlined in this tutorial, you can streamline your communication with leads from Facebook Lead Ads, enhancing customer experience and operational efficiency.

Ensure you check out Pabbly Connect to create business automation workflows and reduce manual tasks. Pabbly Connect currently offer integration with 2,000+ applications.

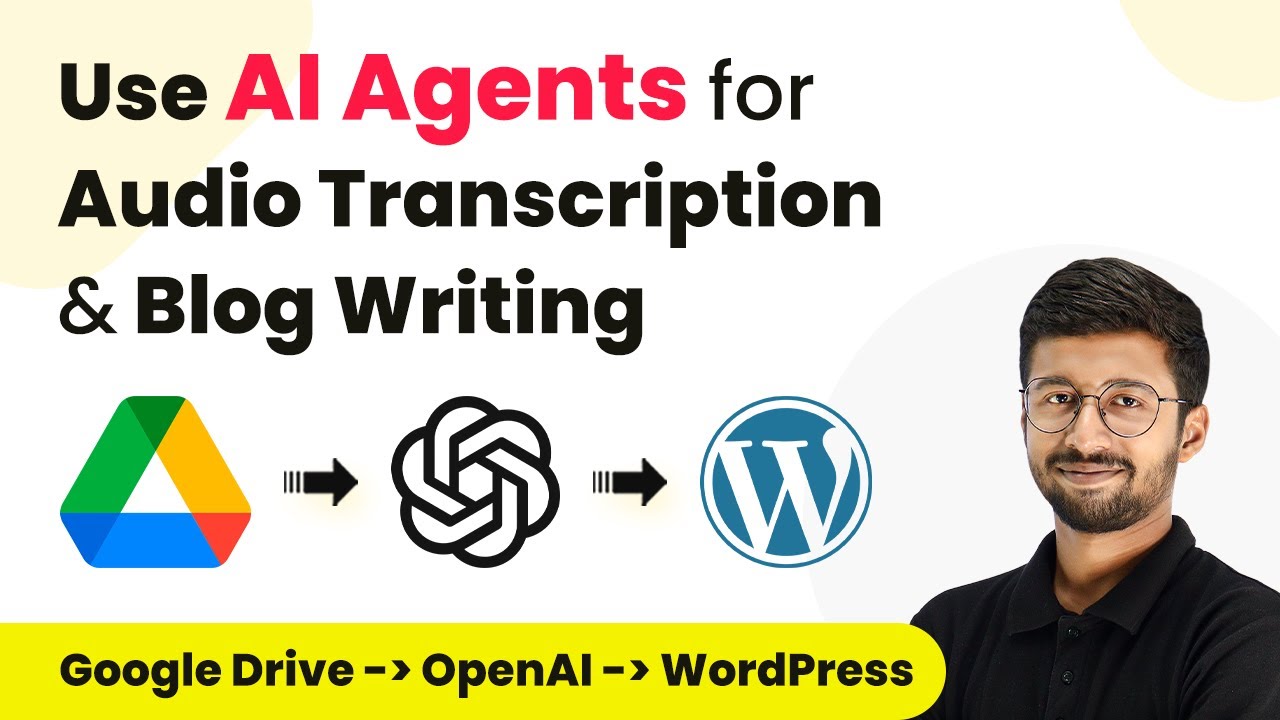
Automate Audio Transcription & Blog Writing with Pabbly Connect

Learn how to use Pabbly Connect for audio transcription and blog writing automation. Step-by-step guide to integrate Google Drive, OpenAI, and WordPress. Discover hidden automation capabilities within your existing tools. This guide shows you how to connect your essential applications and permanently eliminate redundant manual processes.

Watch Step By Step Video Tutorial Below


1. Setting Up Pabbly Connect for Audio Transcription and Blog Writing

To automate audio transcription and blog writing, we will use Pabbly Connect as the primary integration platform. Begin by signing up for a free account on the Pabbly Connect dashboard. This will allow you to create workflows that connect various applications seamlessly.

Once you have logged into your Pabbly Connect account, click on the ‘Create Workflow’ button. Name your workflow, for example, ‘AI Agent for Audio Transcription to Blogs,’ and select the folder in your Pabbly account where you want to save this workflow. Click ‘Create’ to proceed.


2. Integrating Google Drive with Pabbly Connect

In the workflow, the first step is to set up a trigger that connects your Google Drive folder to Pabbly Connect. This allows the AI agent to capture new audio files added to the designated folder. Search for Google Drive in the trigger options and select ‘New File in Specific Folder’ as the trigger event.

  • Click ‘Connect’ and then ‘Add New Connection’.
  • Sign in to your Google account and give permission to Pabbly Connect.
  • Select the folder where the audio files will be uploaded.

After selecting the folder, click on the ‘Save and Test Request’ button. This will fetch the details of the most recent audio file uploaded to your Google Drive, which will be used in the next steps of the automation.


3. Transcribing Audio Files Using OpenAI

The next step involves sending the audio file to OpenAI for transcription. In the action step of your workflow, search for OpenAI and select ‘Generate Transcript’ as the action event. Click ‘Connect’ to establish a connection with your OpenAI account by entering your API key. using Pabbly Connect

Once connected, map the audio file URL obtained from the Google Drive trigger to the OpenAI action step. Choose the appropriate model for transcription, such as Whisper, and click on ‘Save and Send Test Request’ to initiate the transcription process. Within moments, you will receive a response containing the transcribed text of your audio file.


4. Generating Blog Content from Transcription

After obtaining the transcription, the next step is to generate blog content using the transcribed text. In this step, add another action in your workflow by selecting OpenAI again and choosing the ‘Chat GPT Structured AI Output’ action event. This allows you to format the output as a blog title, content, and slug. using Pabbly Connect

Map the transcription text to the content field and specify the required response format in JSON schema. This will ensure that the output includes the title, blog content, and slug. Click ‘Save and Send Test Request’ to get the formatted blog content from OpenAI, which will include HTML tags for proper formatting.


5. Creating a Draft Post in WordPress

Now that you have the blog content ready, the final step is to create a draft post in WordPress. In the action step, search for WordPress and select ‘Create Post’ as the action event. Connect your WordPress account by entering the required credentials, including the base URL. using Pabbly Connect

  • Map the title, content, and slug obtained from the previous OpenAI step.
  • Set the post status to draft to review before publishing.
  • Select any relevant categories and tags for your post.

Finally, click on ‘Save and Send Test Request’ to create the draft post in your WordPress account. You can check your WordPress site to confirm that the draft post has been created successfully.


Conclusion

In this tutorial, we explored how to automate audio transcription and blog writing using Pabbly Connect. By integrating Google Drive, OpenAI, and WordPress, you can streamline the process of creating blog content from audio files effortlessly. This automation saves time and enhances productivity, allowing you to focus on content creation.

Ensure you check out Pabbly Connect to create business automation workflows and reduce manual tasks. Pabbly Connect currently offer integration with 2,000+ applications.

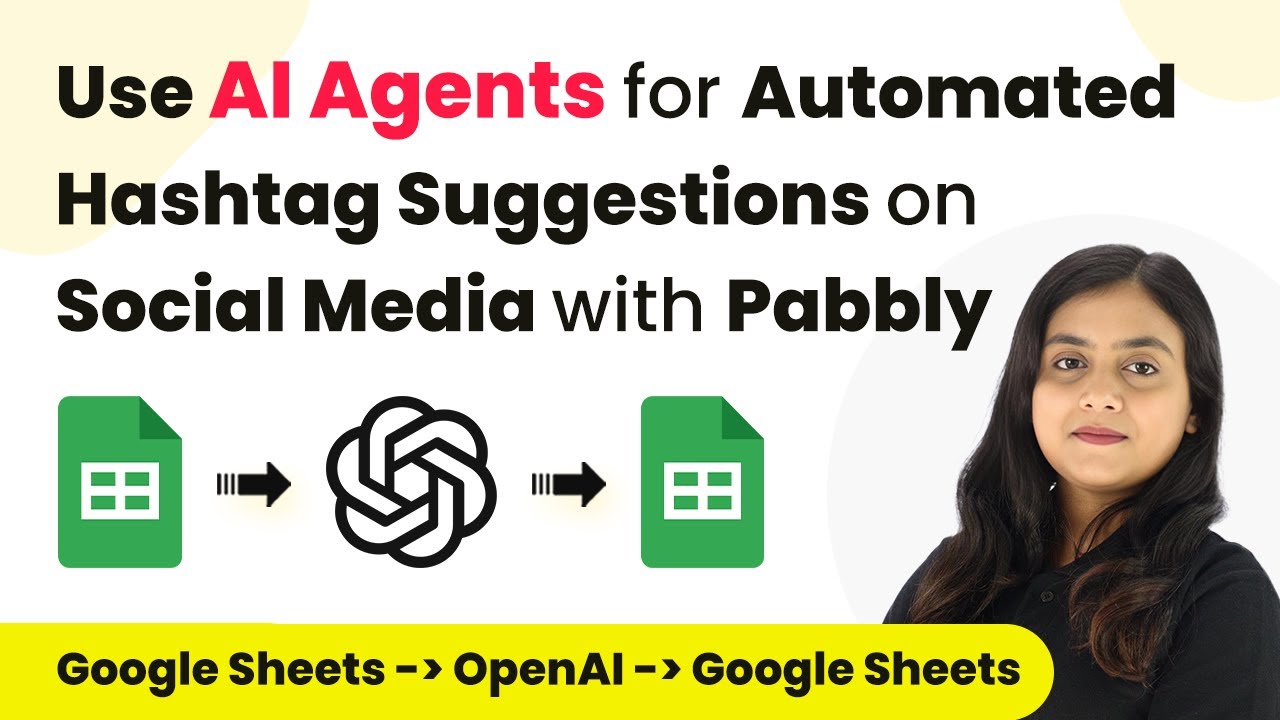
Automated Hashtag Suggestions on Social Media with Pabbly Connect: A Comprehensive Guide

Learn how to use Pabbly Connect for automated hashtag suggestions on social media, integrating Google Sheets and OpenAI effectively. Master proven automation processes with practical implementation examples and strategic recommendations you can apply immediately in your workflow.

Watch Step By Step Video Tutorial Below


1. Accessing Pabbly Connect for Automated Hashtag Suggestions

To begin using Pabbly Connect for automated hashtag suggestions, first, navigate to the Pabbly Connect website. If you are a new user, you can sign up for a free account, which offers 100 free tasks every month. Existing users can simply log in to their accounts.

After logging in, you will see the Pabbly Connect dashboard. Here, you can create workflows that will help automate your social media tasks, such as generating relevant hashtags for your posts. For this tutorial, we will create a workflow specifically for automated hashtag suggestions.


2. Creating a Workflow in Pabbly Connect

In the Pabbly Connect dashboard, click on the ‘Create Workflow’ button located at the top right corner. A dialog box will appear prompting you to enter a name for your workflow. Name it ‘AI Agents for Automated Hashtag Suggestions on Social Media’ and select a folder to save it in. using Pabbly Connect

  • Click on the dropdown to select the folder where you want to save this workflow.
  • Click on the ‘Create’ button to finalize the creation of your workflow.
  • You will now see the trigger and action windows for your workflow.

With your workflow created, you can now set up the trigger and action steps that will automate your hashtag generation process.


3. Setting Up the Trigger in Pabbly Connect

The first step in your workflow is to set up the trigger. For this automation, choose Google Sheets as the trigger application. Next, select the trigger event as ‘New or Updated Spreadsheet Row.’ This means that whenever a new row is added or an existing row is updated in your Google Sheets, it will trigger the automation.

Pabbly Connect will then provide you with a unique webhook URL. Copy this URL, as you will need it to connect your Google Sheets with Pabbly Connect. Now, navigate to your Google Sheets and open the spreadsheet that you want to connect.

  • Go to Extensions > Add-ons > Get Add-ons and search for Pabbly Connect Webhooks.
  • Install the add-on if you haven’t already.
  • After installation, refresh your Google Sheets.

Once the add-on is installed and the sheet is refreshed, you can proceed to set up the initial configuration for the webhook.


4. Configuring Google Sheets with Pabbly Connect

In Google Sheets, go to Extensions > Pabbly Connect Webhooks, and select the ‘Initial Setup’ option. Paste the webhook URL you copied earlier into the designated field. For the trigger column, specify the column that will contain the data you want to send to Pabbly Connect. In this case, it could be the post category column.

After entering the webhook URL and trigger column, click on the ‘Submit’ button. A confirmation message will appear indicating that your setup was successful. To ensure that new data entries trigger the webhook, enable the ‘Send on Event’ function from the same Pabbly Connect menu.

Now, your Google Sheets is successfully connected to Pabbly Connect, and it is ready to send data when new rows are added or updated. This connection allows you to automate the hashtag generation process seamlessly.


5. Generating Hashtags Using AI Agents with Pabbly Connect

Next, we will set up the action step in Pabbly Connect to generate hashtags. For the action application, select OpenAI and the action event as ‘ChatGPT.’ This will allow you to utilize AI to generate high-ranking hashtags based on the post content you enter in Google Sheets. using Pabbly Connect

To establish the connection, you will need an API token from OpenAI. Click on the provided hyperlink to create a new secret key in your OpenAI account. After generating the key, copy and paste it into the token field in Pabbly Connect.

Select the AI model you want to use for generating hashtags, such as GPT-4. Write a prompt to guide the AI in generating relevant hashtags. Map the data from the previous step to provide context for the AI.

Once the AI generates the hashtags, you will set up another action step to update the generated hashtags back into your Google Sheets. This two-step process ensures your posts are always optimized with the best hashtags automatically.


Conclusion

In this tutorial, we explored how to use Pabbly Connect for automated hashtag suggestions on social media. By integrating Google Sheets and OpenAI, we created an efficient workflow that saves time and enhances post visibility. With this setup, you can streamline your social media management effectively.

Ensure you check out Pabbly Connect to create business automation workflows and reduce manual tasks. Pabbly Connect currently offer integration with 2,000+ applications.

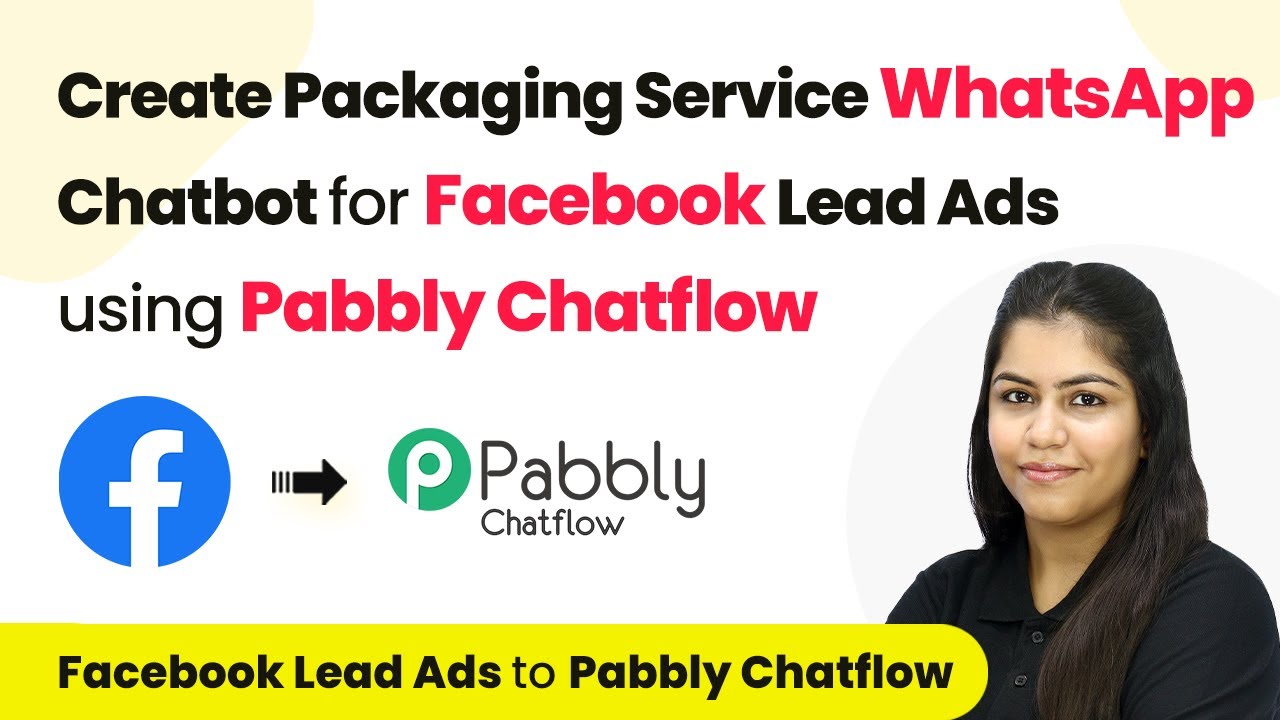
Creating a WhatsApp Chatbot for Facebook Lead Ads with Pabbly Connect

Learn how to create a Paper & Packaging Service WhatsApp Chatbot for Facebook Lead Ads using Pabbly Connect and Pabbly Connect in this detailed tutorial.

Watch Step By Step Video Tutorial Below


1. Setting Up Pabbly Connect for Facebook Lead Ads

To create a Paper & Packaging Service WhatsApp Chatbot for Facebook Lead Ads, the first step is to set up Pabbly Connect. This platform serves as the central hub for integrating your Facebook Lead Ads with Pabbly Chatflow, allowing seamless communication with your leads.

Start by logging into your Pabbly Connect account. Once logged in, you will need to create a new workflow that connects Facebook Lead Ads with Pabbly Chatflow. This connection ensures that any new leads captured through Facebook will trigger an automated response via WhatsApp.


2. Creating the WhatsApp Chatbot with Pabbly Chatflow

After setting up Pabbly Connect, the next step is to create the WhatsApp chatbot using Pabbly Chatflow. This chatbot will automatically respond to leads after they receive the welcome message.

  • Log into your Pabbly Chatflow account.
  • Navigate to the ‘Flow’ section and click on ‘Add Flow’.
  • Choose the template for your chatbot, ensuring it contains quick reply buttons for user interaction.

Once you have selected your template, you can start building the flow of your chatbot. This involves setting up messages that will be sent when a lead replies to the welcome message. It’s crucial to ensure that your template has the quick reply buttons, as these will trigger the chatbot responses.


3. Designing Chatbot Responses in Pabbly Chatflow

With the chatbot flow established, the next step involves designing the specific responses that your chatbot will send. Using Pabbly Connect, you can customize these messages based on the options provided to the leads.

  • For each option provided in the welcome message, create a corresponding response in the chatbot.
  • Attach relevant media files such as brochures for custom packaging solutions.
  • Include buttons like ‘Request a Quote’ or ‘Talk to an Agent’ for user engagement.

This step is essential for ensuring that leads receive the information they need promptly. By utilizing Pabbly Connect, you can set up these responses to be dynamic and tailored to user input, enhancing the overall user experience.


4. Testing the Chatbot Functionality

Once the chatbot is designed, it’s vital to test its functionality to ensure everything works as expected. Using Pabbly Connect, you can simulate user interactions to verify the chatbot’s responses.

To test, reply to the welcome message sent to your WhatsApp. The chatbot should respond based on the options selected. For instance, if you choose ‘Eco-Friendly Paper Products’, the chatbot should provide relevant information and documents. Testing helps identify any issues before going live, ensuring a smooth experience for your leads.


5. Launching Your WhatsApp Chatbot for Facebook Lead Ads

After thorough testing, it’s time to launch your WhatsApp chatbot integrated with Facebook Lead Ads using Pabbly Connect. This integration allows you to automatically send welcome messages to new leads and respond to inquiries without manual intervention.

To launch, ensure that your Pabbly Connect workflow is active. When a new lead fills out the form on Facebook, they will receive an automated WhatsApp message, followed by the chatbot interactions based on their replies. This automation not only saves time but also improves lead engagement significantly.


Conclusion

In this tutorial, we explored how to create a Paper & Packaging Service WhatsApp Chatbot for Facebook Lead Ads using Pabbly Connect and Pabbly Chatflow. By following these steps, you can automate your lead response process, ensuring timely communication and improved customer engagement.

Ensure you check out Pabbly Connect to create business automation workflows and reduce manual tasks. Pabbly Connect currently offer integration with 2,000+ applications.

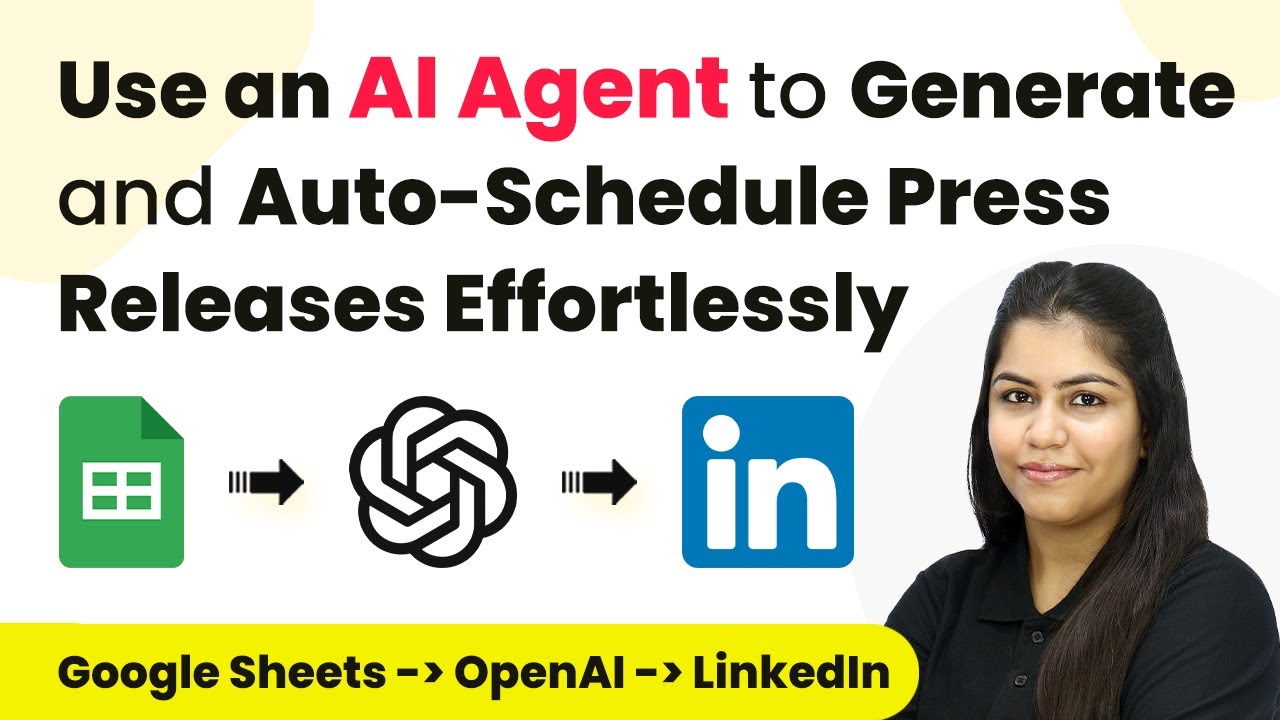
Effortlessly Generate and Auto-Schedule Press Releases with Pabbly Connect

Learn how to use Pabbly Connect to automate the generation and scheduling of press releases with an AI agent. Follow our step-by-step tutorial for seamless integration.

Watch Step By Step Video Tutorial Below


1. Accessing Pabbly Connect for Automation

To start automating the generation and scheduling of press releases, you first need to access Pabbly Connect. Begin by navigating to the Pabbly website and signing in. If you are a new user, you can sign up for a free account to explore the features.

Once logged in, locate the Pabbly Connect application from the dashboard. Click on ‘Access Now’ to enter your Pabbly Connect workspace. This platform will serve as the central hub for integrating various applications and automating workflows.


2. Creating a New Workflow in Pabbly Connect

After accessing Pabbly Connect, the next step is to create a new workflow. Click on the ‘Create Workflow’ button. You will be prompted to name your workflow; for this tutorial, name it ‘Generate and Auto-Schedule Press Releases’. Choose a folder to save your workflow, such as ‘Automations’.

  • Click on ‘Create’ to initiate the workflow.
  • This opens the workflow window where you can set triggers and actions.

In this window, you will define the trigger event that initiates the workflow. This is where Pabbly Connect becomes essential, allowing you to connect Google Sheets, your AI agent, and LinkedIn seamlessly.


3. Setting Up the Trigger with Google Sheets

The first application to integrate is Google Sheets. Select Google Sheets as your trigger application. For the trigger event, choose ‘New or Updated Spreadsheet Row’. This setup ensures that whenever you add or update a row in your specified Google Sheet, it will trigger the workflow.

Copy the webhook URL provided by Pabbly Connect and head over to your Google Sheets. Open the sheet where you will input your press release details. You need to install the Pabbly Connect add-on via the ‘Extensions’ menu. After installation, refresh your spreadsheet.

  • Navigate to ‘Extensions’ > ‘Pabbly Connect’ > ‘Initial Setup’.
  • Paste the webhook URL and set your trigger column, typically column F.

After submitting, your Google Sheets is now connected to Pabbly Connect, ready to capture new entries as they are added.


4. Integrating the AI Agent for Content Generation

Next, you will integrate your AI agent to generate the press release content. Select OpenAI as your action application in Pabbly Connect. For the action event, choose ‘ChatGPT’. This allows you to leverage AI to create engaging press release content automatically.

To connect your OpenAI account, you will need to enter your API key. You can retrieve this key from the OpenAI API key page. Once you have your key, paste it into Pabbly Connect and save the connection.

Select the AI model you wish to use, such as GPT-4. Enter your prompt, mapping the necessary fields from your Google Sheets data.

This mapping process allows the AI to dynamically generate content based on the information you provide in your spreadsheet, making your workflow efficient and automated.


5. Sharing the Generated Content on LinkedIn

The final step in this automation is to share the generated press release content on LinkedIn. In Pabbly Connect, add another action step and select LinkedIn as your application. Choose the action event ‘Share Simple Text’ to post the content generated by your AI agent.

Connect your LinkedIn account to Pabbly Connect. After successful authorization, map the content generated from OpenAI to the LinkedIn post. Ensure the visibility is set to Pabbly so that your audience can see the updates.

Click ‘Save and Send Test Request’ to post the content. Verify by refreshing your LinkedIn profile to see the new post.

With this setup, every time you update your Google Sheets, a new press release will be automatically generated and posted on LinkedIn, showcasing the power of Pabbly Connect in streamlining your PR efforts.


Conclusion

By following this tutorial, you can efficiently use Pabbly Connect to automate the generation and scheduling of press releases. Integrating Google Sheets, an AI agent, and LinkedIn allows for a seamless workflow that saves time and enhances productivity.

Ensure you check out Pabbly Connect to create business automation workflows and reduce manual tasks. Pabbly Connect currently offer integration with 2,000+ applications.

With Pabbly Connect, you can focus on crafting your messages while the automation handles the scheduling and posting, making your PR process effortless and effective.

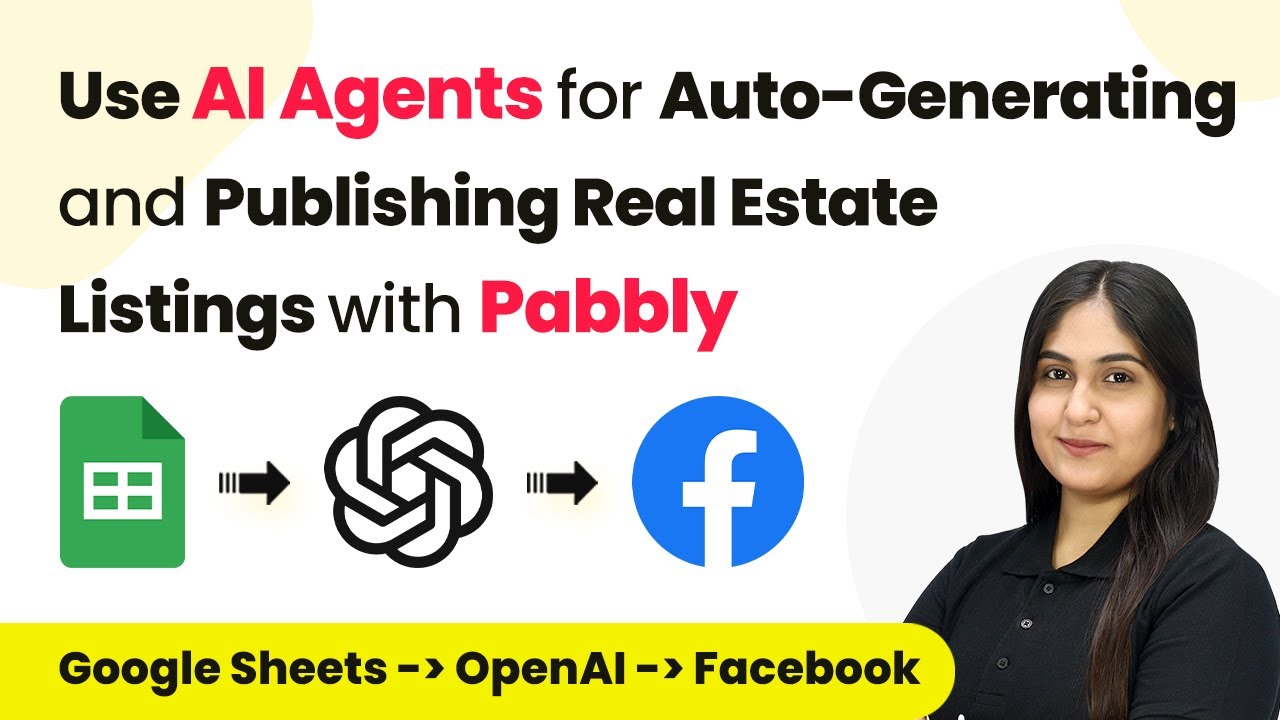
How to Use AI Agents for Auto-Generating and Publishing Real Estate Listings with Pabbly

Learn how to automate real estate listings using Pabbly Connect, integrating Google Sheets and Facebook for seamless publishing. Master proven automation processes with practical implementation examples and strategic recommendations you can apply immediately in your workflow.

Watch Step By Step Video Tutorial Below


1. Accessing Pabbly Connect for Real Estate Automation

To start automating your real estate listings, first access Pabbly Connect by navigating to its homepage. Here, you can sign in or sign up for a free account to explore the features available.

Once logged in, you will find the dashboard where you can create workflows. This is crucial as Pabbly Connect will serve as the central hub for integrating Google Sheets and Facebook, enabling you to automate the entire listing process.


2. Creating a Workflow in Pabbly Connect

After accessing Pabbly Connect, the next step is to create a new workflow. Click on the ‘Create Workflow’ button located at the top right corner of the dashboard. You will be prompted to name your workflow.

For this automation, name your workflow something like ‘Use AI Agents for Auto-Generating and Publishing Real Estate Listings’. This naming convention helps in identifying your workflow easily in the future. After naming, select a folder to save your workflow appropriately.

  • Click on ‘Create’ to finalize the workflow setup.
  • Understand the two main components: Trigger (what starts the process) and Action (what happens as a result).

Now that the workflow is created, you are ready to set up the trigger that will initiate the automation.


3. Setting Up Google Sheets as a Trigger

In this step, you will set Google Sheets as the trigger application in Pabbly Connect. Select Google Sheets from the list of applications and choose the trigger event as ‘New or Updated Spreadsheet Row’. This means that whenever a new property detail is added to your Google Sheets, it will trigger the workflow.

Copy the webhook URL provided by Pabbly Connect. You will need to connect this URL to your Google Sheets. Open your Google Sheets, go to ‘Extensions’, then ‘Add-ons’, and search for the ‘Pabbly Connect Webhooks’ add-on to install it.

  • After installing, refresh your Google Sheets.
  • Navigate back to ‘Extensions’, select ‘Pabbly Connect Webhooks’, and click on ‘Initial Setup’.
  • Paste the webhook URL and set the trigger column to the last column with data, typically Column G.

Once you have completed these steps, your Google Sheets will be successfully connected to Pabbly Connect.


4. Integrating OpenAI for Listing Generation

Now that Google Sheets is set up, the next step is to connect OpenAI to Pabbly Connect. This integration allows you to generate engaging real estate listings automatically. Select OpenAI as the action application and choose the action event ‘Chat GPT’.

To connect OpenAI, you will need to input your API token. Log in to your OpenAI account, navigate to the API keys section, and create a new secret key. Copy this key and paste it into the Pabbly Connect workflow.

Select the AI model, preferably GPT-4, for generating the listings. Enter a prompt that includes property details like type, location, and features, and map these details from the previous trigger step.

After completing these configurations, save and send the request to generate a listing based on the property details from Google Sheets.


5. Publishing Listings to Facebook

In the final step, you will publish the generated real estate listing to your Facebook page using Pabbly Connect. Select Facebook Pages as the action application and choose the action event ‘Create a Page Post’.

Connect your Facebook account to Pabbly Connect and select the page where you want to post the listing. Then, use the generated message from the OpenAI action step as the content for your Facebook post.

You can leave the link URL field blank if not required. Save and send the request to create the post.

After successfully posting, refresh your Facebook page to see the new listing displayed, confirming that the integration has worked flawlessly.


Conclusion

In this tutorial, you learned how to automate the process of generating and publishing real estate listings using Pabbly Connect. By integrating Google Sheets, OpenAI, and Facebook, you can save time and enhance your real estate business efficiency. This automation allows you to focus more on closing deals while ensuring your listings are consistently updated and engaging.

Ensure you check out Pabbly Connect to create business automation workflows and reduce manual tasks. Pabbly Connect currently offer integration with 2,000+ applications.

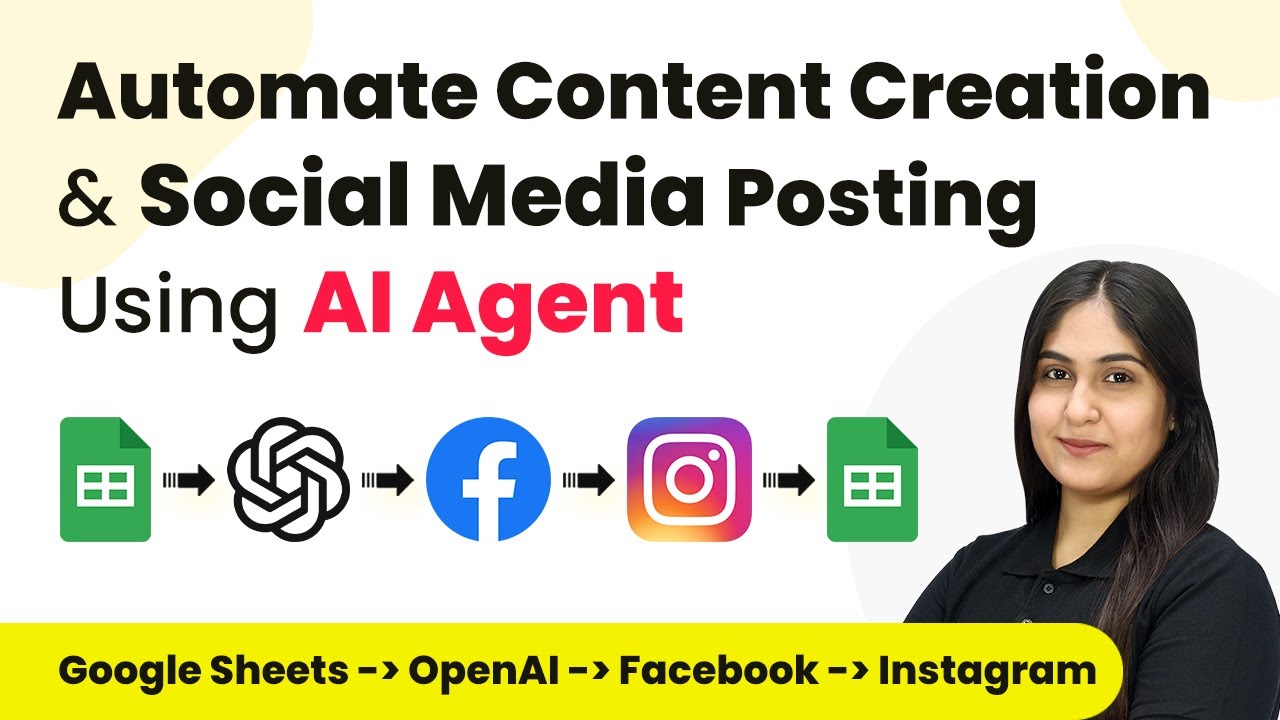
Automate Content Creation & Social Media Posting Using Pabbly Connect

Learn how to automate content creation and social media posting with Pabbly Connect. Step-by-step guide for integrating Facebook, Instagram, and Google Sheets. This comprehensive guide reveals exactly how to connect your applications and automate repetitive tasks — accessible for professionals of all technical backgrounds.

Watch Step By Step Video Tutorial Below


1. Accessing Pabbly Connect for Automation

To automate content creation and social media posting, first access Pabbly Connect. This platform enables seamless integration between various applications, including Google Sheets, Facebook, and Instagram.

Start by visiting the Pabbly Connect website. Sign up for a free account if you are a new user or log in if you already have an account. Once logged in, you will see the dashboard where you can create workflows for automation.


2. Creating a Workflow in Pabbly Connect

To set up your automation, you need to create a workflow in Pabbly Connect. Click on the ‘Create Workflow’ button in the top right corner of the dashboard. Give your workflow a meaningful name, such as ‘Automate Content Creation and Social Media Posting Using AI Agent’.

  • Select the folder where you want to save this workflow.
  • Choose a trigger application, which in this case will be Google Sheets.
  • Set the trigger event as ‘New or Updated Spreadsheet Row’.

After setting up the trigger, you can proceed to connect your Google Sheets account with Pabbly Connect. This allows you to capture data from Google Sheets automatically.


3. Connecting Google Sheets to Pabbly Connect

To connect Google Sheets with Pabbly Connect, you need to install the Pabbly Connect add-on in your Google Sheets account. Click on Extensions, select Add-ons, and then Get Add-ons. Search for Pabbly Connect and install it.

Once installed, refresh your Google Sheets. Go back to the Pabbly Connect dashboard, and select Google Sheets as your trigger application. You will need to enter the webhook URL provided by Pabbly Connect into the Google Sheets add-on settings.


4. Generating Content Using OpenAI

After connecting Google Sheets, the next step is to generate content using OpenAI through Pabbly Connect. In your workflow, add an action step and select OpenAI as the application. Choose the action event as ‘ChatGPT’ to generate content based on inputs from your Google Sheets.

  • Map the fields from Google Sheets to the OpenAI prompt.
  • Set the prompt to generate engaging content for social media posts.
  • Save the action step to proceed with the integration.

This integration allows you to automate the creation of content for your social media platforms directly from the data entered in Google Sheets.


5. Posting to Facebook and Instagram

Now that you have generated content using OpenAI, the final step is to post this content to Facebook and Instagram using Pabbly Connect. Add another action step in your workflow and select Facebook as your application. Choose the action event as ‘Create Page Photo Post’.

Similarly, add another action step for Instagram, selecting it as your application and the action event as ‘Publish Photo’. Map the content generated by OpenAI to both social media platforms, ensuring that the same engaging content is shared across both channels.

Once everything is set up, you can test your workflow to ensure that posts are created successfully on both platforms. This automation not only saves time but also ensures consistency in your social media presence.

Conclusion

This guide summarizes the key points and helps you understand the essential features and benefits of using this tool.

Ensure you check out Pabbly Connect to create business automation workflows and reduce manual tasks. Pabbly Connect currently offer integration with 2,000+ applications.


In conclusion, using Pabbly Connect to automate content creation and social media posting streamlines your workflow, allowing you to focus on strategy and engagement. With seamless integrations between Google Sheets, OpenAI, Facebook, and Instagram, you can efficiently manage your digital marketing efforts.

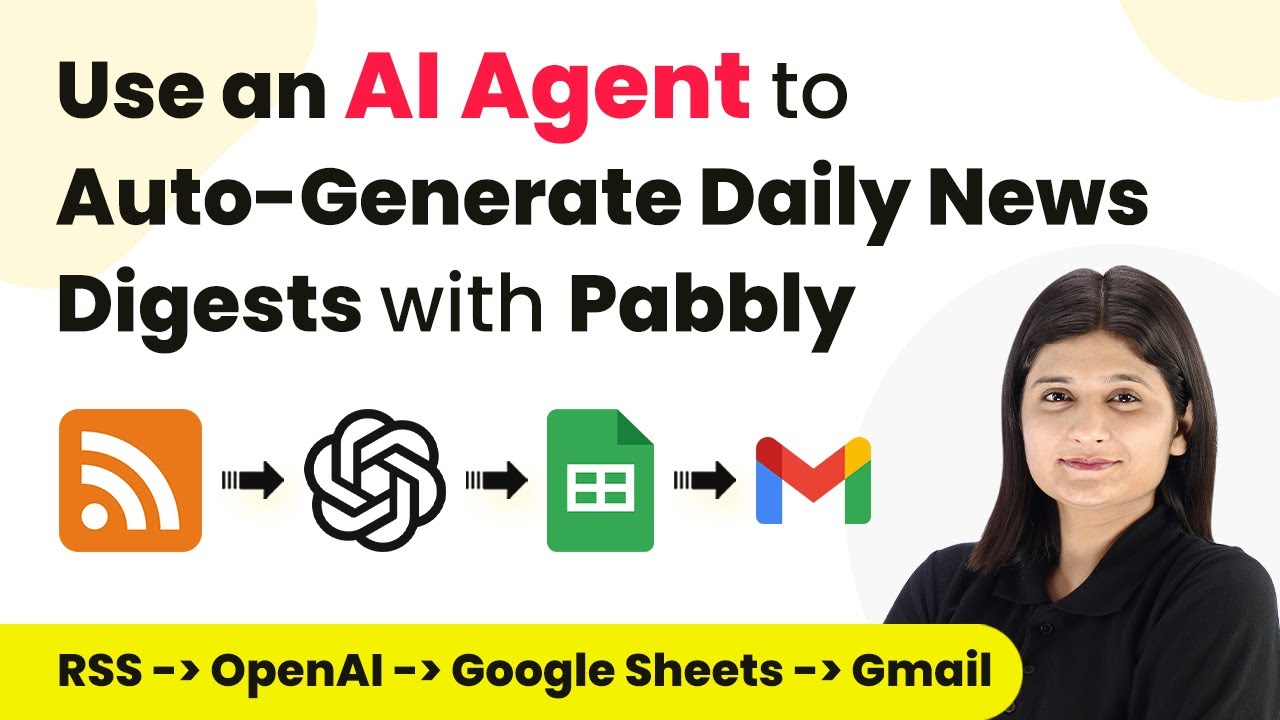
Generate Daily News Digests with Pabbly Connect: A Step-by-Step Guide

Learn how to auto-generate daily news digests using Pabbly Connect, integrating Facebook, Google Sheets, Gmail, and OpenAI seamlessly. Transform complex automation concepts into accessible, actionable steps that eliminate unnecessary manual work while maximizing existing application capabilities.

Watch Step By Step Video Tutorial Below


1. Accessing Pabbly Connect for Daily News Digest Automation

To auto-generate daily news digests with Pabbly Connect, you must first access the platform. Visit Pabbly Connect by typing Pabbly.com/ni in your browser. Once on the website, sign in to your account. Existing users can click on the ‘Sign In’ button, while new users should select ‘Sign Up for Free’ to get started.

After signing in, navigate to the dashboard where you can view all your workflows. To create a new workflow, click on the ‘Create Workflow’ button. You will be prompted to name your workflow, such as ‘Daily News Digest Automation with Pabbly.’ This initial step sets up the foundation for your automation process.


2. Setting Up the Trigger in Pabbly Connect

In this step, you will set up the trigger for your automation using Pabbly Connect. The trigger application will be RSS by Pabbly. This application allows you to check for updates in your selected RSS feed. Select RSS by Pabbly as your trigger application, and choose the event type as ‘New Item in Feed’.

  • Select the RSS feed URL that you want to monitor for news updates.
  • Set the polling interval to check for new items, for example, every hour.
  • After entering the feed URL, click on ‘Save and Send Test Request’ to ensure the connection is successful.

Once you have confirmed that the RSS feed is connected, Pabbly Connect will automatically check for new items in the feed at the specified interval. This setup ensures that your automation runs smoothly and efficiently.


3. Generating News Summaries Using OpenAI

After setting up the trigger, the next step involves generating news summaries using an AI agent, specifically OpenAI. In this section, you will configure the action application as OpenAI in Pabbly Connect. Select OpenAI as your action application and choose ‘Chat GPT’ as the event type.

In the action setup, you need to enter the API token for OpenAI to establish a connection. This token can be generated by creating a new secret key in your OpenAI account. After entering the token, specify the model you want to use, such as GPT-4 Mini, and create a prompt to summarize the news content. For example, use a prompt like ‘Generate a well-structured news letter document based on the following details: [news details].’ This prompt will instruct the AI to create a summary of the news articles.


4. Sending Emails to Subscribers via Gmail

With the news summaries generated, the final step is to send these summaries to your subscribers using Gmail. In this part of the automation, you will set Gmail as the action application in Pabbly Connect. Choose ‘Send Email’ as the event type.

  • Connect your Gmail account by clicking on ‘Connect with Gmail’ and granting the necessary permissions.
  • Map the recipient’s email address from the previous step’s response, and add a subject line and body content for the email.
  • Click on ‘Save and Send Test Request’ to verify that the email is sent successfully.

Once this step is completed, Pabbly Connect will automatically send the generated news summaries to your subscribers via Gmail. This automation streamlines the entire process, ensuring timely delivery of news digests.


5. Conclusion: Automating Daily News Digests with Pabbly Connect

In conclusion, using Pabbly Connect to automate the generation and distribution of daily news digests is a powerful solution. By integrating RSS feeds, OpenAI, and Gmail, you can streamline the process of collecting, summarizing, and sharing news with your audience efficiently. This setup not only saves time but also enhances the delivery of relevant content to your subscribers.

Ensure you check out Pabbly Connect to create business automation workflows and reduce manual tasks. Pabbly Connect currently offer integration with 2,000+ applications.

With the steps outlined in this tutorial, you can easily replicate the automation process and keep your subscribers informed with minimal effort. Start using Pabbly Connect today to transform how you manage daily news updates!

Automate Return & Warranty Queries on WhatsApp with Pabbly Chatflow

Learn how to automate return and warranty queries on WhatsApp using Pabbly Chatflow. Follow this step-by-step tutorial to create a Policy Info Bot. Explore how leading businesses automate customer interactions with carefully designed chat sequences that feel natural and helpful.

Watch Step By Step Video Tutorial Below


1. Setting Up Pabbly Chatflow for Automation

To automate return and warranty queries on WhatsApp, the first step is to set up Pabbly Chatflow. Access the Pabbly Chatflow dashboard to create a new chatbot. This platform allows you to efficiently manage customer queries without manual intervention.

Once you are logged in, navigate to the ‘Flows’ section on the left-hand side. Here you can create a new flow for your chatbot. Click on the ‘Add Flow’ button to begin creating your Policy Info Bot that will handle return and warranty inquiries.


2. Creating Your Policy Info Bot with Pabbly Chatflow

After accessing the flow builder in Pabbly Chatflow, you will need to select a trigger for your chatbot. This trigger will determine when the chatbot should respond to incoming messages on WhatsApp.

  • Select common keywords such as ‘Hi’, ‘Hello’, and ‘Help’ as triggers.
  • Enable regex for more flexible keyword matching.
  • Add buttons for user interaction, such as ‘Return Policy’ and ‘Warranty Info’.

This setup ensures that your chatbot can recognize various user inputs and respond appropriately. After setting up the triggers, save your flow to ensure all changes are recorded.


3. Configuring Responses in Pabbly Chatflow

Next, you will configure the responses that the chatbot will send when a user interacts with it. In Pabbly Chatflow, you can create multiple message types including text, media, and buttons.

  • Draft initial greeting messages for users.
  • Include buttons for options like ‘Start Return Request’ and ‘Contact Support’.
  • Ensure messages are clear and concise to enhance user experience.

By customizing these responses, you can ensure that users receive relevant information quickly, improving their overall satisfaction with your service. Make sure to test the flow after configuring the responses to guarantee everything works seamlessly.


4. Testing Your Pabbly Chatflow Integration

Once your chatbot is configured, it is crucial to test it to ensure it functions as intended. In Pabbly Chatflow, send a test message from your WhatsApp to trigger the chatbot. This will help you verify that the responses are accurate and timely.

For example, send a message asking about the return policy. The chatbot should respond instantly with the relevant information. If any issues arise during testing, revisit the flow builder to make necessary adjustments to the triggers and responses.


5. Finalizing and Activating Your Chatbot

After successful testing, the final step is to activate your chatbot in Pabbly Chatflow. Make sure to toggle the activation button to enable the flow. This will allow the chatbot to start responding to real user queries on WhatsApp.

Finally, save all changes to ensure your chatbot remains operational. You can now monitor interactions and make adjustments as needed to optimize user engagement and satisfaction.

Conclusion

This guide summarizes the key points and helps you understand the essential features and benefits of using this tool.

Ensure you check out Pabbly Connect to create business automation workflows and reduce manual tasks. Pabbly Connect currently offer integration with 2,000+ applications.


In conclusion, automating return and warranty queries on WhatsApp using Pabbly Chatflow can significantly enhance your customer service efficiency. By following these steps, you can create a responsive Policy Info Bot that addresses customer inquiries promptly and effectively.