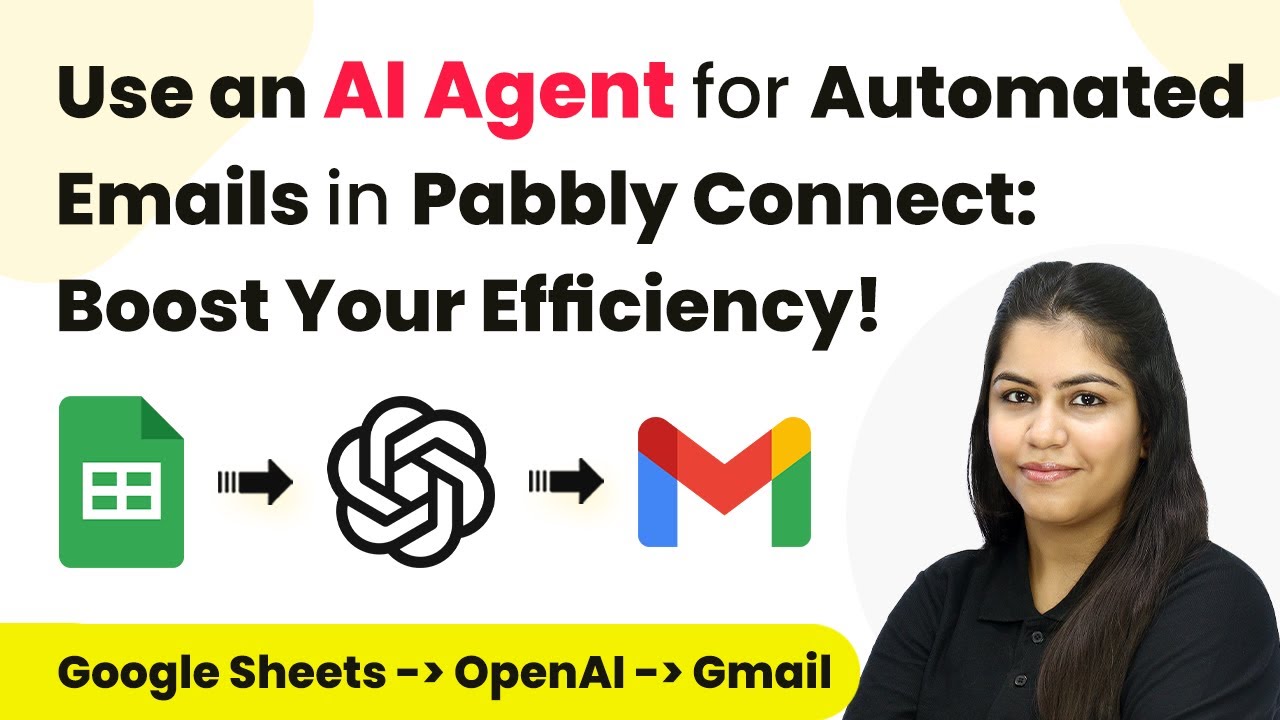
How to Use an AI Agent for Automated Emails in Pabbly Connect: Boost Your Efficiency

Learn to automate emails using Pabbly Connect with AI agents for increased efficiency. Step-by-step guide on integrating Google Sheets, Gmail, and OpenAI. Follow this definitive guide to creating powerful automated workflows with straightforward, efficiency-focused solutions that save valuable time.

Watch Step By Step Video Tutorial Below


1. Accessing Pabbly Connect for Email Automation

To begin automating your emails, you need to access Pabbly Connect. Start by navigating to the Pabbly Connect website. Here, you will find options to sign in or sign up for free if you are a new user.

After logging in, you will be directed to your dashboard. From here, click on the button labeled ‘Create Workflow’ to initiate the process of setting up your email automation. This is the first step in utilizing Pabbly Connect to enhance your efficiency.


2. Creating Your Email Automation Workflow in Pabbly Connect

Once you click on ‘Create Workflow’, you will need to name your workflow. For this tutorial, name it ‘How to Use an AI Agent for Automated Emails in Pabbly Connect’. After naming it, select the appropriate folder for organization.

  • Name your workflow clearly for easy identification.
  • Choose a folder to save your workflow to keep things organized.

After clicking ‘Create’, you will enter the workflow window where you can set up triggers and actions. This is where Pabbly Connect allows you to define how your automation will function.


3. Setting Up Trigger with Google Sheets

For the trigger application, select Google Sheets as this is where your lead details are stored. Choose the trigger event as ‘New or Updated Spreadsheet Rows’. This setup allows Pabbly Connect to monitor your Google Sheets for any new entries.

After selecting your trigger, you will receive a webhook URL. Copy this URL, as it will be used to connect your Google Sheets with Pabbly Connect. Follow the instructions to paste this URL into the Google Sheets extension for Pabbly Connect Webhooks.

  • Open Google Sheets and navigate to Extensions > Add-ons > Get Add-ons.
  • Search for Pabbly Connect Webhooks and install it.
  • After installation, refresh your Google Sheets.

Once refreshed, go to Extensions > Pabbly Connect Webhooks > Initial Setup. Here, paste the webhook URL and specify the trigger column, which is typically the last column of your data. This step ensures that Pabbly Connect captures the correct data from your Google Sheets.


4. Integrating AI Agent for Email Generation

After setting up your trigger, it’s time to integrate your AI agent. In this tutorial, we will use OpenAI as our AI agent. Select OpenAI as your action application and choose the action event as ‘Chat GPT’. This allows Pabbly Connect to generate personalized email content based on the lead details.

To connect OpenAI, you will need an API key. Follow the prompts to generate and copy this key from the OpenAI API key page. Paste the key into Pabbly Connect to establish the connection.

Select the AI model, such as GPT-4. Enter a prompt like ‘Generate a professional and engaging email for new lead inquiry.’ Map lead details from the previous step into the prompt.

This mapping ensures that the generated email is dynamic and personalized for each lead, showcasing the power of Pabbly Connect in automating your email communication.


5. Sending Automated Emails via Gmail

With your AI agent set up, the next step is to send the generated email using Gmail. Select Gmail as your action application and choose the action event as ‘Send Email v2’. This integration allows Pabbly Connect to send out the emails automatically.

Connect your Gmail account by following the prompts and granting necessary permissions. Once connected, fill in the recipient’s email address by mapping it from the OpenAI response. This ensures that the email goes to the correct lead.

Map the subject and body of the email from the OpenAI response. Fill in any other required details as necessary. Click on ‘Save and Send Test Request’ to test the email functionality.

Upon successful testing, you will see the email sent to your lead’s inbox, demonstrating how Pabbly Connect streamlines the entire process of automated email communication.


Conclusion

In conclusion, using Pabbly Connect to automate emails with an AI agent significantly boosts your efficiency. By following this tutorial, you can seamlessly integrate Google Sheets, OpenAI, and Gmail to send personalized emails without manual effort. Start automating today to enhance your email communication!

Ensure you check out Pabbly Connect to create business automation workflows and reduce manual tasks. Pabbly Connect currently offer integration with 2,000+ applications.

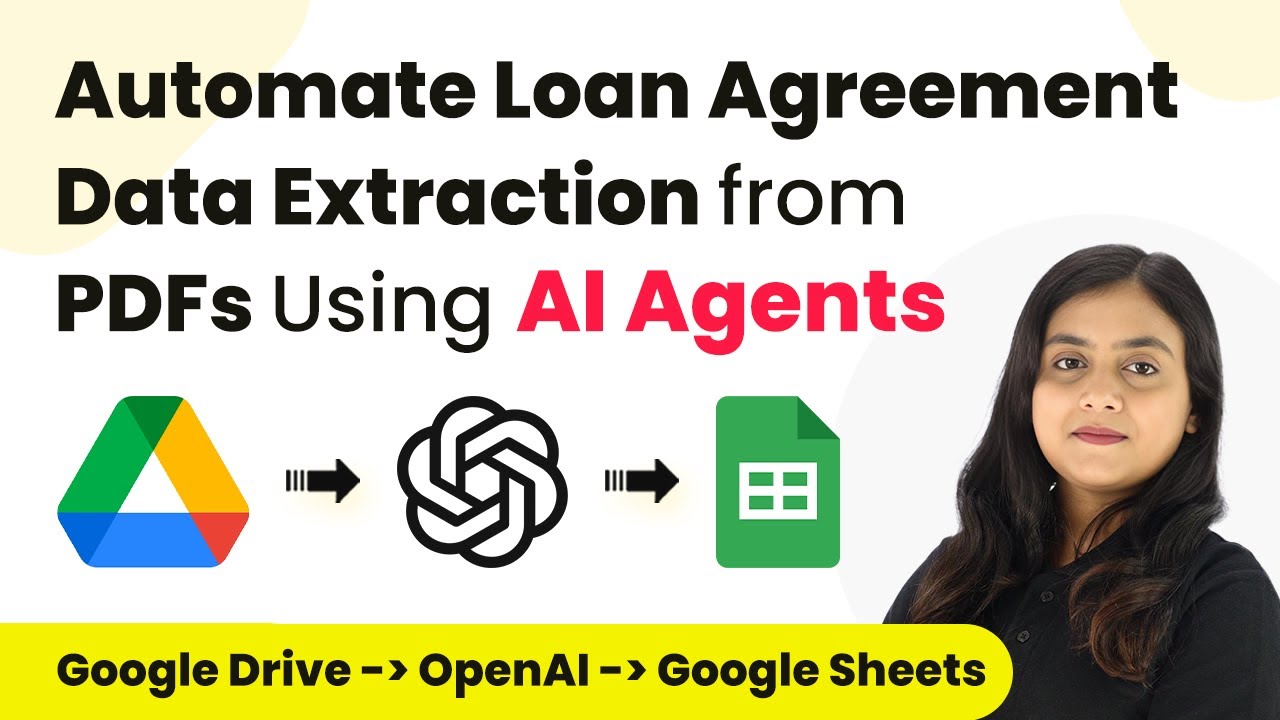
Automate Loan Agreement Data Extraction from PDFs Using Pabbly Connect

Learn how to automate loan agreement data extraction from PDFs using Pabbly Connect, Google Drive, and AI agents. Step-by-step tutorial included. Learn to create powerful connections between your critical applications without requiring specialized programming knowledge or extensive technical background.

Watch Step By Step Video Tutorial Below


1. Accessing Pabbly Connect for Automation

To automate loan agreement data extraction from PDFs, you first need to access Pabbly Connect. Start by visiting the official Pabbly Connect website and signing in to your account. If you are a new user, you can sign up for free and receive 100 free tasks every month.

After logging in, you will see various Pabbly applications. Click on the ‘Access Now’ button for Pabbly Connect to enter the dashboard where you will create a new workflow for your automation process.


2. Creating a Workflow in Pabbly Connect

In Pabbly Connect, the next step is to create a workflow for automating the loan data extraction. Click on the ‘Create Workflow’ button in the top right corner. A dialog box will appear asking for the workflow name and folder selection.

  • Name your workflow: ‘Automate Loan Agreement Data Extraction from PDFs Using AI Agents’.
  • Select a folder to save the workflow, e.g., ‘AI Agent Automations’.

After entering the name and selecting the folder, click on the ‘Create’ button. This will set up your workflow, which consists of a trigger and an action step.


3. Setting Up the Trigger in Pabbly Connect

The next step in Pabbly Connect is to set up the trigger for your workflow. Since you will be uploading loan agreements to Google Drive, select ‘Google Drive’ as the trigger application. The trigger event should be set to ‘New File in Specific Folder’.

After selecting Google Drive, click on the ‘Connect’ button. You will need to authorize Pabbly Connect to access your Google Drive account. Once authorized, select the folder where the loan agreements are stored. Ensure that this folder is accessible to the AI agent to extract data from the PDFs.


4. Extracting Data from PDFs Using AI Agents

With the trigger set up, the next action is to extract data from the uploaded PDFs using an AI agent. For this, choose ‘OpenAI’ as the action application in Pabbly Connect and select the ‘Extract Content from PDF’ event.

Click on the ‘Connect’ button and enter your OpenAI API token to establish the connection. Map the PDF link from the previous step as the input for the AI agent. You can set up structured output for specific data points like borrower name, lender name, loan amount, interest rate, and repayment date.

  • Define the prompt for the AI agent to extract the required information.
  • Use structured output to get data in JSON format.

After configuring the extraction settings, click on the ‘Save and Send Test Request’ button to test the AI agent. The extracted data will be displayed in the response.


5. Recording Extracted Data in Google Sheets

Finally, to keep a systematic record of the extracted loan agreement data, you need to add another action step in Pabbly Connect. Select ‘Google Sheets’ as the action application and choose the ‘Add New Row’ event.

Connect to your Google Sheets account and select the spreadsheet where you want to store the data. You will need to map the fields from the extraction step to the columns in your Google Sheets, including borrower name, lender name, loan amount, and other relevant details.

After mapping all required fields, click on the ‘Save and Send Test Request’ button to send the data to Google Sheets. You can then verify that the data has been successfully recorded in your spreadsheet.


Conclusion

In this tutorial, you learned how to automate loan agreement data extraction from PDFs using Pabbly Connect. By integrating Google Drive, OpenAI, and Google Sheets, you can streamline your workflow and save time on manual data entry. This automation enhances efficiency and accuracy in handling loan agreements.

Ensure you check out Pabbly Connect to create business automation workflows and reduce manual tasks. Pabbly Connect currently offer integration with 2,000+ applications.

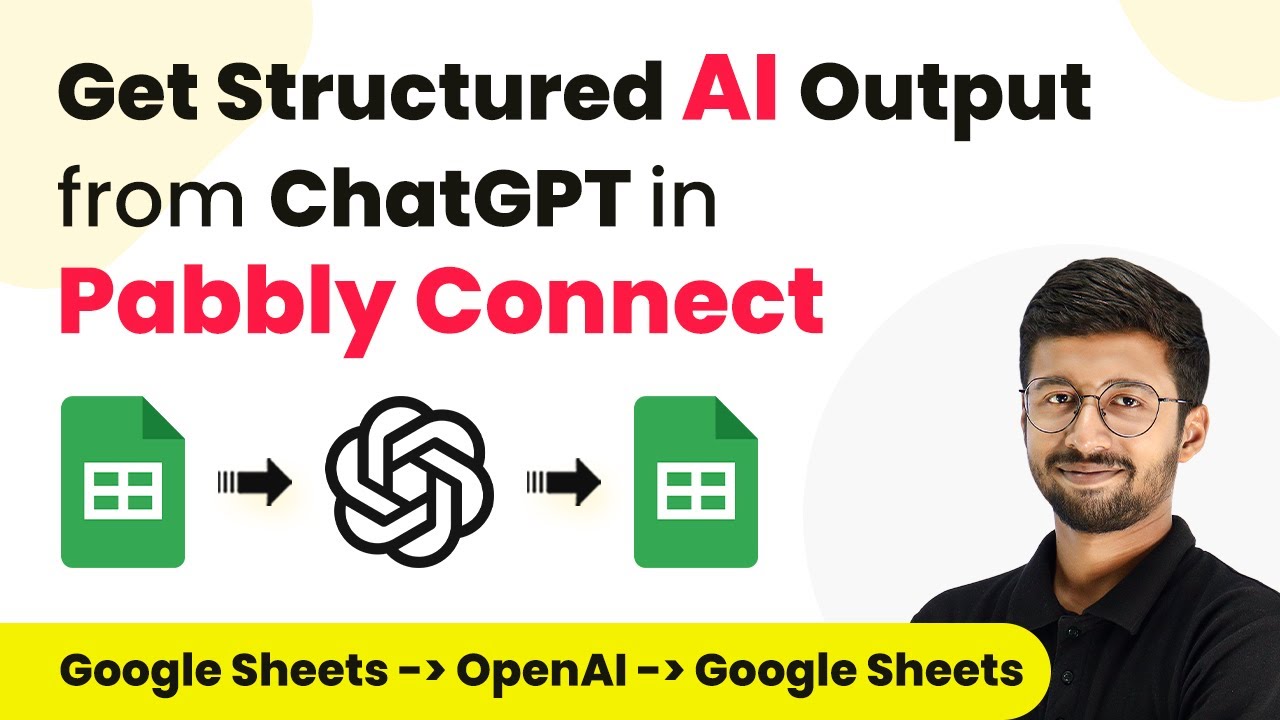
How to Get Structured AI Output from ChatGPT in Pabbly Connect

Learn how to use Pabbly Connect to integrate ChatGPT for structured AI output with Google Sheets, Facebook, and more. Discover hidden automation capabilities within your existing tools. This guide shows you how to connect your essential applications and permanently eliminate redundant manual processes.

Watch Step By Step Video Tutorial Below


1. Introduction to Pabbly Connect for Structured AI Output

To get structured AI output from ChatGPT, you need to utilize Pabbly Connect. This integration platform allows you to connect multiple applications seamlessly, including Google Sheets and OpenAI.

In this tutorial, we will guide you through the steps to set up this integration. First, ensure you have accounts for Google Sheets and OpenAI, as they will be essential in the process.


2. Setting Up Google Sheets with Pabbly Connect

The first step is to create a Google Sheet where you will input the topics for which you want to generate content. In Pabbly Connect, this Google Sheet will serve as the trigger for your automation.

  • Create a new Google Sheet with columns for Topic, Platform, and Status.
  • Input a topic and select the platform in the corresponding columns.
  • Set the status to ‘Generate’ to trigger the automation.

Once your Google Sheet is ready, connect it to Pabbly Connect to capture the data. This will allow you to send the topic and platform information to OpenAI for structured output generation.


3. Connecting OpenAI to Pabbly Connect

Next, we will connect OpenAI to Pabbly Connect. This connection is crucial for generating structured AI output based on the topics you provide in Google Sheets.

In Pabbly Connect, choose OpenAI as the action app and select the action event as ‘ChatGPT Structured AI Output’. This new feature allows you to specify the format of the response you want from OpenAI.

  • Click on ‘Connect’ and add a new connection.
  • Enter your OpenAI API key to authenticate the connection.
  • Select the AI model you wish to use, such as GPT-4 Mini.

After establishing this connection, you can now define the roles and prompts for the AI to generate content based on your requirements.


4. Defining AI Roles and Prompts in Pabbly Connect

In this step, you’ll specify the roles and prompts that OpenAI will use to generate structured output. This is done through the action step in Pabbly Connect.

To set up the roles, you can enter a system prompt that defines how the AI should behave. For example, you might specify that the AI is a content marketing expert tasked with generating engaging content for social media.

Enter the system prompt to define the AI’s behavior. Specify user prompts to guide the content generation. Ensure to include the required output fields such as title, content, keywords, and image prompts.

Once you have defined these prompts, you can specify the response format as JSON schema to ensure the output is structured as desired.


5. Testing and Using the Structured Output

After setting up the prompts and roles, it’s time to test the integration. Trigger the automation by updating your Google Sheet with a new topic and platform.

Pabbly Connect will send this information to OpenAI, which will generate a structured output based on your specifications. You will receive a JSON response containing separate fields for the title, content, keywords, and image prompt.

Check the response in Pabbly Connect to ensure it matches your expectations. You can then map these outputs back to your Google Sheet or any other application as needed. Utilize the structured data for your marketing needs, such as generating social media posts.

This process demonstrates how Pabbly Connect effectively facilitates structured AI output generation from ChatGPT, allowing for seamless integration and automation.


Conclusion

In this tutorial, we explored how to use Pabbly Connect to generate structured AI output from ChatGPT. By integrating Google Sheets and OpenAI, you can automate content creation efficiently. This structured output can significantly enhance your content marketing efforts.

Ensure you check out Pabbly Connect to create business automation workflows and reduce manual tasks. Pabbly Connect currently offer integration with 2,000+ applications.

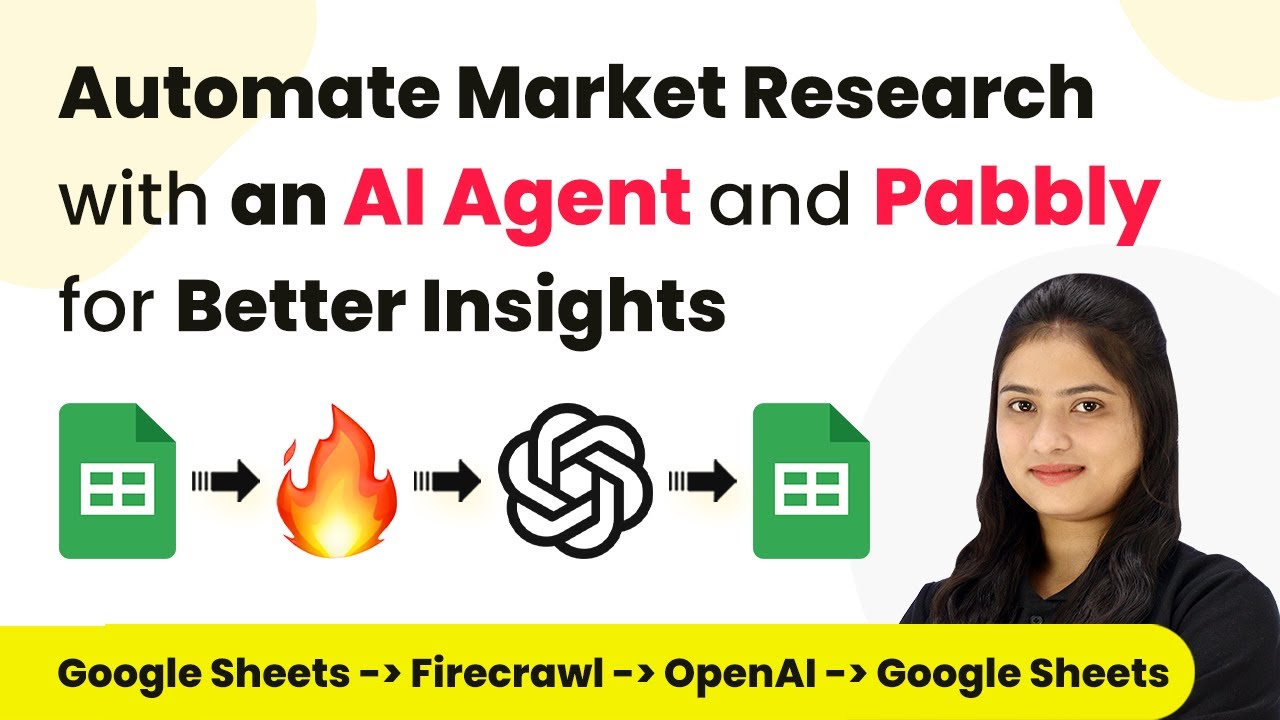
Automate Market Research with Pabbly Connect and AI Agents

Learn how to automate market research using Pabbly Connect, integrating Google Sheets, OpenAI, and web scraping tools for better insights. Develop expertise in application integration and learn how to design streamlined automation workflows using proven, simplified approaches.

Watch Step By Step Video Tutorial Below


1. Accessing Pabbly Connect for Market Research Automation

To begin automating your market research, access Pabbly Connect by visiting the URL Pabbly.com/connect/inr. Here, you can either sign in if you’re an existing user or click on ‘Sign Up for Free’ to create a new account.

Once logged in, you will be directed to the dashboard where you can manage your workflows. To create a new workflow, click on the ‘Create Workflow’ button and name your workflow, such as ‘Automate Market Research with an AI Agent and Pabbly for Better Insights.’ This setup is crucial as it will facilitate the integration of various applications through Pabbly Connect.


2. Setting Up Google Sheets with Pabbly Connect

The next step involves integrating Google Sheets with Pabbly Connect. In your Google Sheets, you will need to use the Pabbly Connect Webhooks add-on. First, navigate to the Extensions menu, select Add-ons, and then Get Add-ons. Search for ‘Pabbly Connect Webhooks’ and install it.

  • Install the Pabbly Connect Webhooks add-on.
  • Refresh your Google Sheets to see the add-on.
  • Go to Initial Setup in the add-on to enter the Webhook URL provided by Pabbly Connect.

Once the setup is complete, you can define your trigger column in Google Sheets. This column will determine when data is sent to Pabbly Connect. For example, if column B is your trigger column, any new URL added there will initiate the data scraping process.


3. Scraping Data Using Firecrawl and Pabbly Connect

With Google Sheets set up, the next step is to scrape competitor website data using Firecrawl. In Pabbly Connect, select Firecrawl as your action application and choose the action event as ‘Add a Scrape.’ This will allow you to extract data from the URLs you input in Google Sheets.

To connect Firecrawl with Pabbly Connect, you will need an API token from your Firecrawl account. Once you have the token, paste it into the connection setup in Pabbly Connect. After establishing the connection, map the URL from Google Sheets to the Firecrawl action, allowing dynamic data scraping for each new entry.

  • Select Firecrawl as the action application in Pabbly Connect.
  • Map the URL field from Google Sheets to Firecrawl.
  • Choose the format for the scraped data (e.g., Markdown, HTML).

Once the data is scraped, it will be ready for analysis and summarization using your AI agent.


4. Analyzing Scraped Data with OpenAI through Pabbly Connect

After scraping the data, the next step is to analyze it using OpenAI. In Pabbly Connect, select OpenAI as your action application. Set the action event to ‘Generate Content’ and connect your OpenAI account using the API key.

In the prompt section, provide clear instructions on what you want the AI to do with the scraped data. For example, you might instruct it to summarize competitor pricing strategies and customer sentiments. This structured approach ensures that the AI generates useful insights that can be directly added to your Google Docs.

Select OpenAI as the action application and connect using your API key. Provide a clear prompt for the AI to summarize the data. Map the scraped data to the AI prompt for analysis.

This step is crucial for transforming raw data into actionable insights for your market research.


5. Documenting Insights in Google Docs via Pabbly Connect

Finally, to document the insights generated by OpenAI, integrate Google Docs with Pabbly Connect. Select Google Docs as your action application and choose the action event ‘Create a Blank Document.’ Name the document appropriately, such as ‘Competitor Analysis for [Competitor Name].’ This dynamic naming will help keep your documents organized.

Once the document is created, add another action step in Pabbly Connect to append the generated insights to this document. This ensures that all relevant data is stored in one place for future reference.

Select Google Docs to create a new document for analysis. Append the generated insights from OpenAI to the new document. Ensure the document is named dynamically based on the competitor.

This process not only saves time but also ensures that your team has easy access to valuable market insights.


Conclusion

By following these steps, you can effectively automate market research using Pabbly Connect. This integration allows you to scrape competitor data, analyze it with AI, and document insights seamlessly. Embrace automation for better insights and efficiency in your business operations.

Ensure you check out Pabbly Connect to create business automation workflows and reduce manual tasks. Pabbly Connect currently offer integration with 2,000+ applications.

Automate Email Translations and Responses Using AI Agent with Pabbly Connect

Learn how to automate email translations and responses using Pabbly Connect and AI agents like OpenAI. Step-by-step guide included. Revolutionize your productivity approach with just a few strategic clicks. Uncover professional methods for connecting applications and creating workflows that reclaim hours of your week.

Watch Step By Step Video Tutorial Below


1. Accessing Pabbly Connect for Automation

To begin automating email translations and responses, first access Pabbly Connect by visiting the URL Pabbly.com/connect/inr. This platform is essential for integrating your Gmail account with your AI agent, OpenAI.

Once on the Pabbly Connect homepage, you will see options to either sign in or sign up. If you are a new user, click on the ‘Sign up for free’ button to create an account and receive 100 free tasks monthly. Existing users should click ‘Sign in’ to log into their account and access the dashboard for creating workflows.


2. Creating a Workflow in Pabbly Connect

After signing into Pabbly Connect, navigate to the dashboard and click on the ‘Create Workflow’ button. You will be prompted to name your workflow. Enter a suitable name, such as ‘Automate Email Translations and Responses Using AI Agent with Pabbly.’ Select the appropriate folder for your workflow and click ‘Create’ to proceed.

Now, you will see two important sections: Trigger and Action. The Trigger is the event that starts the workflow, while the Action is what happens as a result. In this case, we will set Gmail as the trigger application and OpenAI as the action application. This setup allows emails received in different languages to be automatically translated and responded to without manual intervention.


3. Setting Up Gmail as the Trigger

To set up the trigger, select ‘Email Parser’ from the list of applications in Pabbly Connect. Choose the trigger event as ‘New Email Received.’ This event will activate the workflow whenever a new email is received in your Gmail account.

Next, you will need to copy the email parser address provided by Pabbly Connect. Go to your Gmail settings, navigate to ‘Forwarding and POP/IMAP’, and add the forwarding address using the copied email parser address. Confirm the forwarding to establish a connection between Gmail and Pabbly Connect. Once this is done, any new email received will trigger the workflow, capturing the necessary details for further processing.

  • Log into your Gmail account and go to Settings.
  • Select ‘Forwarding and POP/IMAP’ and add the email parser address.
  • Confirm the forwarding to connect Gmail with Pabbly Connect.

Once you receive an email, it will be captured in Pabbly Connect, allowing you to automate the response process effectively.


4. Connecting OpenAI for Email Responses

With Gmail set as the trigger, the next step involves integrating OpenAI into your workflow. Select OpenAI as the action application in Pabbly Connect and choose the action event as ‘Chat GPT.’ This connection will enable you to generate personalized responses based on the inquiries received from leads.

To establish the connection, you will need an API key from your OpenAI account. Click on the provided hyperlink to access the API key page, create a new secret key, and copy it back to Pabbly Connect. This key will facilitate the communication between Pabbly Connect and OpenAI, allowing for seamless automation of email responses.

  • Select OpenAI as the action application in Pabbly Connect.
  • Obtain your API key from the OpenAI account and paste it into Pabbly Connect.
  • Choose the appropriate model for generating responses.

After setting up the connection, you can now configure the prompt for Chat GPT to extract necessary details from the email and generate tailored responses in the lead’s native language.


5. Finalizing the Automation Process

To finalize the automation, you will need to set up the response generation based on the inquiries received. Create another action step in Pabbly Connect using OpenAI to generate the email response in the lead’s native language. This involves mapping the inquiry details and specifying the response format in JSON.

Once all configurations are complete, test the automation by sending a sample email to your Gmail account. Check if the email is captured in Pabbly Connect and if the response is generated correctly. This ensures that your automation for translating and responding to emails is functioning as intended.

With this setup, every time you receive an email inquiry from a lead, the automation will translate the message and generate a personalized response, streamlining your communication process.


Conclusion

In conclusion, automating email translations and responses using Pabbly Connect and AI agents like OpenAI allows businesses to efficiently manage inquiries from global leads. This step-by-step guide provides a clear path to set up the integration, ensuring timely and accurate responses to customer inquiries.

Ensure you check out Pabbly Connect to create business automation workflows and reduce manual tasks. Pabbly Connect currently offer integration with 2,000+ applications.

Effortlessly Convert Business Cards to CRM Contacts with Pabbly Connect

Learn how to use Pabbly Connect to automate the conversion of business cards into CRM contacts using Google Drive and AI Agent Automation. Build sophisticated automated workflows in less time than you think. This guide translates complex integrations into straightforward steps for immediate implementation.

Watch Step By Step Video Tutorial Below


1. Accessing Pabbly Connect for Automation

To start automating the conversion of business cards to CRM contacts, first, access Pabbly Connect by navigating to its homepage. You can sign up for a free account or log in if you’re an existing user. This platform is essential for connecting your applications seamlessly.

Once logged in, you will see the dashboard where you can create workflows. Click on the ‘Create Workflow’ button to initiate the setup process for your business card automation.


2. Creating Your Workflow in Pabbly Connect

After accessing Pabbly Connect, you need to create a new workflow. Name your workflow something descriptive, like ‘Effortlessly Convert Business Cards to CRM Contacts with AI Agent Automation.’ This helps in identifying the workflow later.

  • Click on the ‘Create Workflow’ button.
  • Enter your workflow name and select a folder to save it.
  • Click ‘Save’ to create the workflow.

This setup will allow you to automate the process of extracting contact details from business cards uploaded to Google Drive.


3. Setting Up Google Drive Trigger in Pabbly Connect

Next, you will configure the trigger for your workflow using Pabbly Connect. Select Google Drive as the trigger application since the workflow will activate whenever a new business card is uploaded.

Choose the event as ‘New File in Specific Folder’. This means that the automation will trigger when a new file is added to the designated folder in Google Drive. Click the ‘Connect’ button to link your Google Drive account with Pabbly Connect.

  • Select the Google Drive account you want to connect.
  • Choose the specific folder where business cards will be uploaded.
  • Test the connection to ensure it works properly.

This step is crucial as it allows Pabbly Connect to monitor the folder for any new business card uploads.


4. Extracting Data from Business Cards Using OpenAI

Once the trigger is set, the next step is to extract the contact details from the uploaded business card using OpenAI. In your workflow, add an action step and select OpenAI as the application.

For the action event, choose ‘Extract Content from PDF or Image’. Click on the ‘Connect’ button to link your OpenAI account with Pabbly Connect. You will need to provide your OpenAI API key to establish this connection.

Select the PDF URL mapped from the Google Drive trigger. Enter your prompt to specify the data you want to extract (e.g., first name, last name, email). Use structured output to get the extracted details in a clear format.

This action allows Pabbly Connect to utilize OpenAI’s capabilities to read the business card and extract essential information.


5. Creating CRM Contacts in Salesforce

The final step involves creating a new contact in your CRM, such as Salesforce, using the extracted data. Add another action step in your workflow and select Salesforce as the application.

Choose the action event ‘Create Contact’. Connect your Salesforce account to Pabbly Connect and map the extracted fields (first name, last name, email, etc.) to the corresponding Salesforce fields.

Map the first name, last name, email, and phone number from the OpenAI response. Click on ‘Save and Send Test Request’ to create the contact. Check Salesforce to confirm that the contact has been created successfully.

This finalizes the automation process, allowing you to effortlessly convert business cards into CRM contacts using Pabbly Connect.


Conclusion

In this tutorial, we demonstrated how to use Pabbly Connect to automate the conversion of business cards into CRM contacts. By integrating Google Drive, OpenAI, and Salesforce, you can streamline your workflow and save valuable time.

Ensure you check out Pabbly Connect to create business automation workflows and reduce manual tasks. Pabbly Connect currently offer integration with 2,000+ applications.

With these steps, you can focus more on building relationships rather than manual data entry. Implementing this automation not only enhances accuracy but also helps in faster follow-ups with potential clients.

Generate Hotel Marketing Scripts with Pabbly Connect and AI

Learn how to automate hotel marketing script generation using Pabbly Connect, integrating Google Sheets, Google Docs, and OpenAI seamlessly. Build sophisticated automated workflows in less time than you think. This guide translates complex integrations into straightforward steps for immediate implementation.

Watch Step By Step Video Tutorial Below


1. Setting Up Pabbly Connect for Hotel Marketing Automation

To generate marketing scripts for hotels using AI, the first step is to set up Pabbly Connect. This platform allows you to automate tasks between different applications seamlessly. Start by signing in to your Pabbly Connect account or creating a new one if you are a first-time user.

Once logged in, navigate to the dashboard where you can create a new workflow. Click on the ‘Create Workflow’ button and name your workflow as ‘Generate Scripts for Hotel and Tourism Marketing Using AI Agent’. This naming helps in identifying the workflow later.


2. Connecting Google Sheets with Pabbly Connect

In this section, you will connect Google Sheets to Pabbly Connect. This integration is crucial as it allows you to capture new hotel details automatically. First, select Google Sheets as your trigger application.

  • Choose the trigger event as ‘New or Updated Spreadsheet Row’.
  • Copy the webhook URL provided by Pabbly Connect.
  • Open Google Sheets and install the Pabbly Connect add-on.

After installing the add-on, refresh your Google Sheets. Under the extensions menu, select Pabbly Connect Webhooks and set up the initial configuration using the copied webhook URL. This setup ensures that every time a new hotel detail is added, it triggers the automation in Pabbly Connect.


3. Integrating OpenAI with Pabbly Connect

Next, you will integrate OpenAI with Pabbly Connect to generate marketing scripts based on the details entered in Google Sheets. In the action step of your workflow, select OpenAI as the application.

Choose the action event as ‘Test CH GPT’. You will need to create a new connection by entering your OpenAI API key. After successfully connecting, select the AI model you want to use, such as GPT-4, and map the necessary fields from the previous step, including hotel name, location, and features, into the prompt for generating scripts.


4. Creating Documents in Google Docs Using Pabbly Connect

After generating the marketing script, the next step is to create a new document in Google Docs using Pabbly Connect. Select Google Docs as your action application and choose the action event as ‘Create a Blank Document’.

Connect your Google Docs account and give the document a name based on the hotel and location. After creating the document, you will append the generated script to this document. Select Google Docs again, but this time choose the action event ‘Append a Paragraph to a Document’.

  • Map the document ID from the previous step.
  • Insert the generated script as the text to append.

This process ensures that your marketing scripts are saved in a structured format for future use.


5. Finalizing and Sharing Documents via Google Drive

Finally, to make your marketing script accessible, you will share the document using Google Drive through Pabbly Connect. Select Google Drive as the action application and choose the action event ‘Share a File with Anyone’.

Map the document ID from the previous step to ensure you are sharing the correct document. After this, you can also convert the document into PDF format and store the link in Google Sheets for easy access. Select Google Sheets again and choose the action event ‘Add a New Row’ to update your marketing scripts sheet with the PDF link.


Conclusion

In this tutorial, you learned how to automate the generation of marketing scripts for hotels using Pabbly Connect and various integrated applications. By setting up workflows with Google Sheets, OpenAI, Google Docs, and Google Drive, you can streamline your marketing efforts and save valuable time. This integration not only enhances productivity but ensures your marketing content is consistently updated and accessible.

Ensure you check out Pabbly Connect to create business automation workflows and reduce manual tasks. Pabbly Connect currently offer integration with 2,000+ applications.

How to Create Outlook Email Draft Using Pabbly Connect and AI Agent

Learn how to create an Outlook email draft using Pabbly Connect and AI Agent. This step-by-step guide covers the integration process with Microsoft Office 365 and Open AI.

Watch Step By Step Video Tutorial Below


1. Accessing Pabbly Connect for Integration

To create an Outlook email draft using Pabbly Connect, start by accessing the platform. Pabbly Connect is a powerful automation tool that requires no coding skills. Simply go to the Pabbly Connect website by typing Pabbly.com/connect in your browser.

Once you are on the landing page, sign in to your account. If you are a new user, you can sign up for free and receive 100 tasks monthly. After signing in, navigate to the Pabbly Connect dashboard where you can create your automation workflows.


2. Creating a New Workflow in Pabbly Connect

In this step, you will create a new workflow in Pabbly Connect. Click on the ‘Create Workflow’ button to start. You will need to provide a name for your workflow. For this integration, name it as ‘Create Outlook Email Draft Using AI Agent’. using Pabbly Connect

  • Click on the plus icon to create a new folder if needed.
  • Select the folder where you want to save this workflow.

After naming your workflow, click on the ‘Create’ button. This will set up your workflow environment where you can define triggers and actions for your automation.


3. Setting Up the Trigger for Outlook

Now, it’s time to set up the trigger for your workflow. The trigger will initiate the automation when a specific event occurs. In this case, select ‘Microsoft Office 365’ as your trigger application. using Pabbly Connect

Choose the event as ‘New Mail’. This means whenever you receive a new email in your Outlook account, it will trigger the workflow. After selecting the trigger, click on ‘Connect’ to establish a connection with your Microsoft Office 365 account.

  • Authorize Pabbly Connect to access your Microsoft Office 365 account.
  • Once authorized, you will see a success message indicating the connection is established.

This connection allows Pabbly Connect to monitor your Outlook account for any new emails, which will kickstart the automation process.


4. Configuring the Action to Create Email Draft

With the trigger set, the next step is to define the action that Pabbly Connect will take. Select ‘Open AI’ as your action application. Here, you will configure the action to generate a draft reply using AI. using Pabbly Connect

Choose the action event as ‘Chat GPT’. This action uses AI to generate a draft based on the content of the new email received. Click on ‘Connect’ to link your Open AI account with Pabbly Connect.

Enter the required API key for Open AI to enable the connection. Once connected, you can define the parameters for the AI response, such as the email content and format.

This configuration allows Pabbly Connect to utilize AI for creating a professional draft response for your Outlook emails.


5. Finalizing the Email Draft in Outlook

The last step involves finalizing the email draft in your Outlook account. After generating the draft using AI, you will need to send this draft back to your Microsoft Office 365 account. using Pabbly Connect

In this step, select ‘Microsoft Office 365’ again as the action application. Choose the action event as ‘Create Draft’. This will save the AI-generated draft directly into your Outlook drafts folder.

Map the email body content generated by Open AI to the draft body. Specify the recipient’s email address from the incoming email.

After mapping the required fields, click on ‘Save and Send Test Request’ to check if the draft is created successfully. Once confirmed, your automation is complete, and Pabbly Connect will handle future drafts automatically.


Conclusion

In this tutorial, we explored how to create an Outlook email draft using Pabbly Connect and AI Agent. By following the steps outlined, you can automate email responses efficiently, saving time and improving productivity. Pabbly Connect serves as the central platform that connects Microsoft Office 365 and Open AI seamlessly, enabling you to streamline your email management process.

Ensure you check out Pabbly Connect to create business automation workflows and reduce manual tasks. Pabbly Connect currently offer integration with 2,000+ applications.

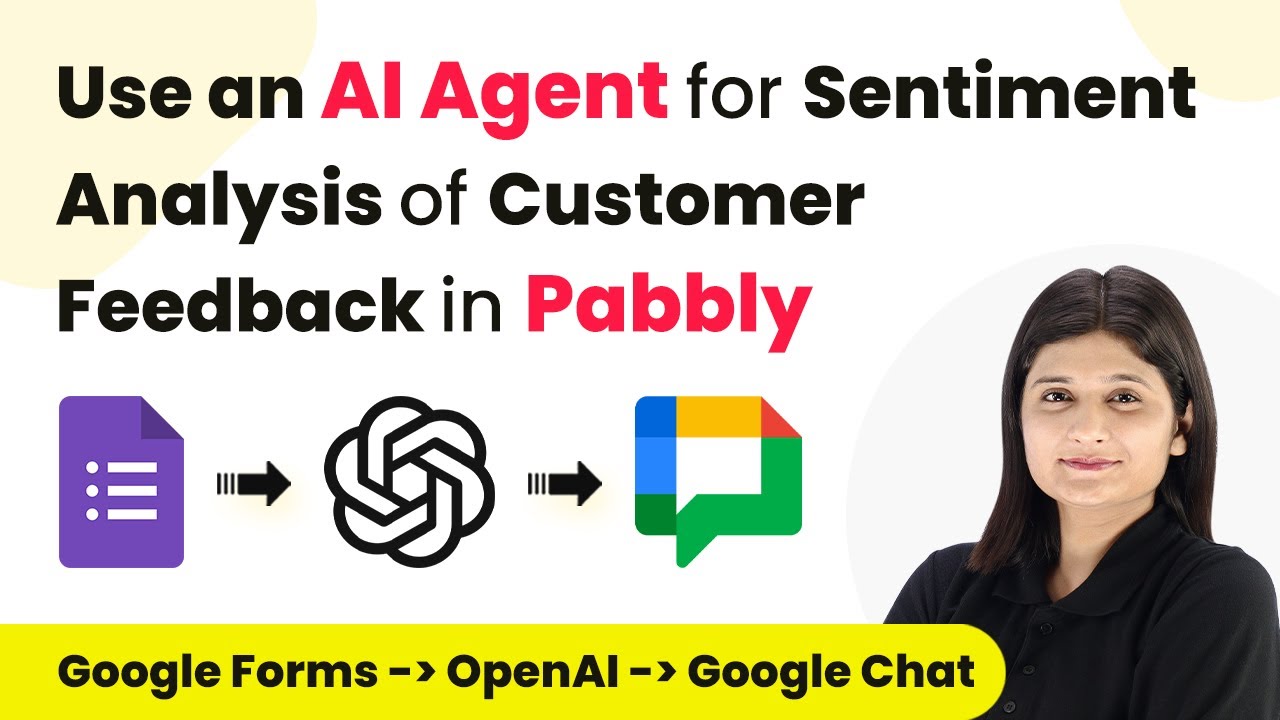
How to Use an AI Agent for Sentiment Analysis of Customer Feedback in Pabbly Connect

Learn how to utilize Pabbly Connect for sentiment analysis of customer feedback using an AI agent. Follow our detailed tutorial for step-by-step guidance. Develop expertise in application integration and learn how to design streamlined automation workflows using proven, simplified approaches.

Watch Step By Step Video Tutorial Below


1. Accessing Pabbly Connect for Automation

To start using Pabbly Connect for sentiment analysis, first, access the platform by navigating to the Pabbly Connect website. Sign in to your account or create a new one if you don’t have an existing account. Once logged in, you will be directed to the dashboard where you can manage your workflows. using Pabbly Connect

In the dashboard, locate the option to create a new workflow. This is where you will set up your integration for customer feedback analysis. Pabbly Connect will serve as the bridge between your feedback data and the AI agent used for sentiment analysis.


2. Creating a Workflow in Pabbly Connect

To create a workflow in Pabbly Connect, click on the ‘Create Workflow’ button. You will be prompted to name your workflow, for instance, ‘Customer Feedback Sentiment Analysis’. This helps in identifying the workflow later on. using Pabbly Connect

  • Click on the ‘Create’ button after naming your workflow.
  • Select the trigger application, which will be Google Forms in this case.
  • Choose the trigger event, such as ‘New Form Response’.

After setting up the trigger, you will configure the action steps. Pabbly Connect will automatically capture customer feedback from Google Forms and send it to the AI agent for sentiment analysis.


3. Integrating Google Forms with Pabbly Connect

To integrate Google Forms with Pabbly Connect, ensure you have created a Google Form that collects customer feedback. Open your Google Form and navigate to the responses section. Here, you will need to enable the responses to be recorded in a Google Sheet, which Pabbly Connect will access. using Pabbly Connect

Once the Google Sheet is set up, return to Pabbly Connect, and in the action step, select Google Sheets as your action application. Choose the action event as ‘Add Row’ to ensure each new response is captured. This setup allows Pabbly Connect to monitor the Google Sheet for any new feedback entries.


4. Utilizing the AI Agent for Sentiment Analysis

In this step, you will configure the AI agent for sentiment analysis using OpenAI. In Pabbly Connect, select OpenAI as your action application. You will need to provide the API key from OpenAI to facilitate the connection. using Pabbly Connect

Once connected, set the action event to ‘Generate Sentiment Analysis’. Enter the prompt that instructs the AI agent to analyze the customer feedback. For example, you might input, ‘Analyze the sentiment of the following customer feedback and classify it as positive, neutral, or negative.’

  • Ensure to map the customer feedback field from Google Sheets to the prompt field in OpenAI.
  • Test the integration to verify that the AI agent correctly analyzes the feedback.

This integration allows Pabbly Connect to automatically send customer feedback to the AI agent, which will return the sentiment analysis results.


5. Sending Results to Your Team

After the sentiment analysis is generated, the final step is to send the results to your team. In Pabbly Connect, add another action step and select your preferred communication tool, such as Google Hangouts or Email. using Pabbly Connect

Map the fields to include essential details such as customer name, email, feedback rating, and sentiment analysis results. This ensures that your team receives all relevant information to act on the feedback received.

Test the entire workflow by submitting a new response in Google Forms. Check if the results are correctly sent to your team. This confirms that Pabbly Connect effectively integrates all components for seamless customer feedback analysis.


Conclusion

In conclusion, using Pabbly Connect to automate sentiment analysis of customer feedback with an AI agent streamlines the process significantly. By following these steps, you can ensure timely and accurate insights into customer sentiment, leading to improved service and customer satisfaction.

Ensure you check out Pabbly Connect to create business automation workflows and reduce manual tasks. Pabbly Connect currently offer integration with 2,000+ applications.

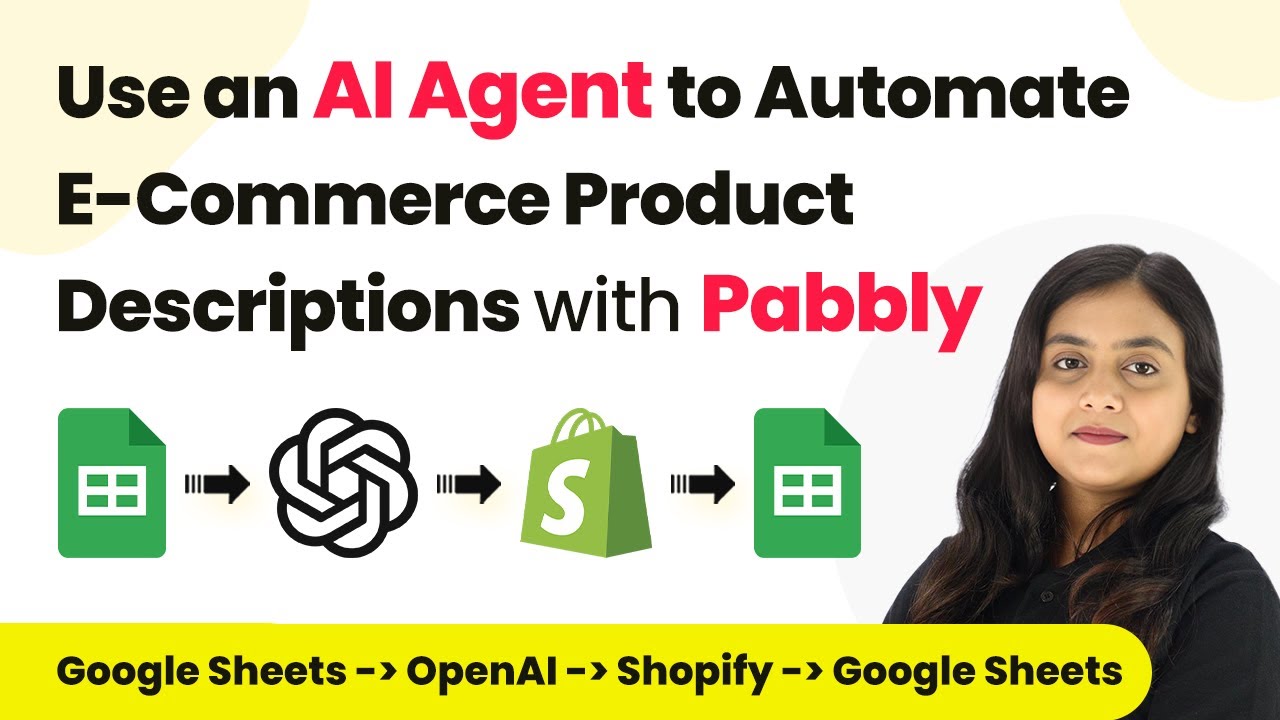
How to Use Pabbly Connect to Automate E-Commerce Product Descriptions with an AI Agent

Learn how to automate e-commerce product descriptions using Pabbly Connect. This step-by-step guide covers integration with Google Sheets, Shopify, and an AI agent. This comprehensive guide reveals exactly how to connect your applications and automate repetitive tasks — accessible for professionals of all technical backgrounds.

Watch Step By Step Video Tutorial Below


1. Accessing Pabbly Connect for E-Commerce Automation

To automate e-commerce product descriptions, start by accessing Pabbly Connect. This platform enables seamless integration between Google Sheets and Shopify, streamlining your workflow.

First, visit the Pabbly Connect website and log in to your account. If you are a new user, you can sign up for free and receive 100 tasks each month. Once logged in, you will see the dashboard where you can create workflows.


2. Creating a Workflow in Pabbly Connect

To initiate the automation process, click on the ‘Create Workflow’ button in Pabbly Connect. This opens a dialog box where you can name your workflow and select a folder for organization.

  • Name your workflow, for example, ‘AI Agent to Automate E-Commerce Product Descriptions.’
  • Select a folder to save your workflow, such as ‘AI Agent Automations.’

After filling in these details, click on the ‘Create’ button to set up your workflow. You will now see two windows: one for the trigger and one for the action.


3. Setting Up the Trigger with Google Sheets

In this step, you will configure the trigger in Pabbly Connect using Google Sheets. Select Google Sheets as your trigger application and choose the event ‘New or Updated Spreadsheet Row.’ This event captures any new data added to your Google Sheets.

Pabbly Connect will provide you with a webhook URL. Copy this URL and integrate it into your Google Sheets. To do this, go to Extensions, then Add-ons, and search for ‘Pabbly Connect Webhooks.’ Install it if you haven’t already, then refresh your spreadsheet.

  • Paste the webhook URL into the initial setup dialog.
  • Set the trigger column to the last column where the description will be updated.

After completing this setup, your Google Sheets will be connected to Pabbly Connect, ready to capture product details as they are added.


4. Generating Product Descriptions with AI

Now that your trigger is set up, the next step is to generate product descriptions using an AI agent through Pabbly Connect. Select OpenAI as the action application and choose ‘Create Content’ as the action event.

You will need to connect your OpenAI account by providing an API token. Generate this token from your OpenAI account and paste it into the required field in Pabbly Connect. Specify the AI model you wish to use, such as GPT-4 Mini.

Input a detailed prompt for the AI to create a clear, SEO-friendly product description. Map the required fields like product name, category, features, and keywords from the previous step.

After mapping these fields, click on ‘Save and Send Test Request’ to generate the product description. The AI will respond with a well-crafted description based on the details provided.


5. Creating a Product in Shopify

With the product description generated, the final step is to create a new product in your Shopify store using Pabbly Connect. Select Shopify as the action application and choose ‘Create Product’ as the action event.

Connect your Shopify account by providing the necessary credentials, including the subdomain and API access token. Once connected, you can map the details from the previous steps, including the product title and description generated by the AI agent.

Set the product status to draft to allow for future edits. Map the product pricing, stock quantity, and other relevant details.

After filling in all required fields, click on ‘Save and Send Test Request’ to create the product in Shopify. You will see the newly created product appear in your Shopify store, complete with the AI-generated description.


Conclusion

In this tutorial, we explored how to use Pabbly Connect to automate the generation of e-commerce product descriptions through an AI agent. By integrating Google Sheets and Shopify, the process becomes efficient and time-saving, ensuring that your product listings are always up to date.

Ensure you check out Pabbly Connect to create business automation workflows and reduce manual tasks. Pabbly Connect currently offer integration with 2,000+ applications.

Utilizing Pabbly Connect not only simplifies the workflow but also enhances your e-commerce operations, allowing you to focus on growing your business. With this setup, you can easily manage product descriptions and ensure they are SEO-friendly and engaging for your customers.