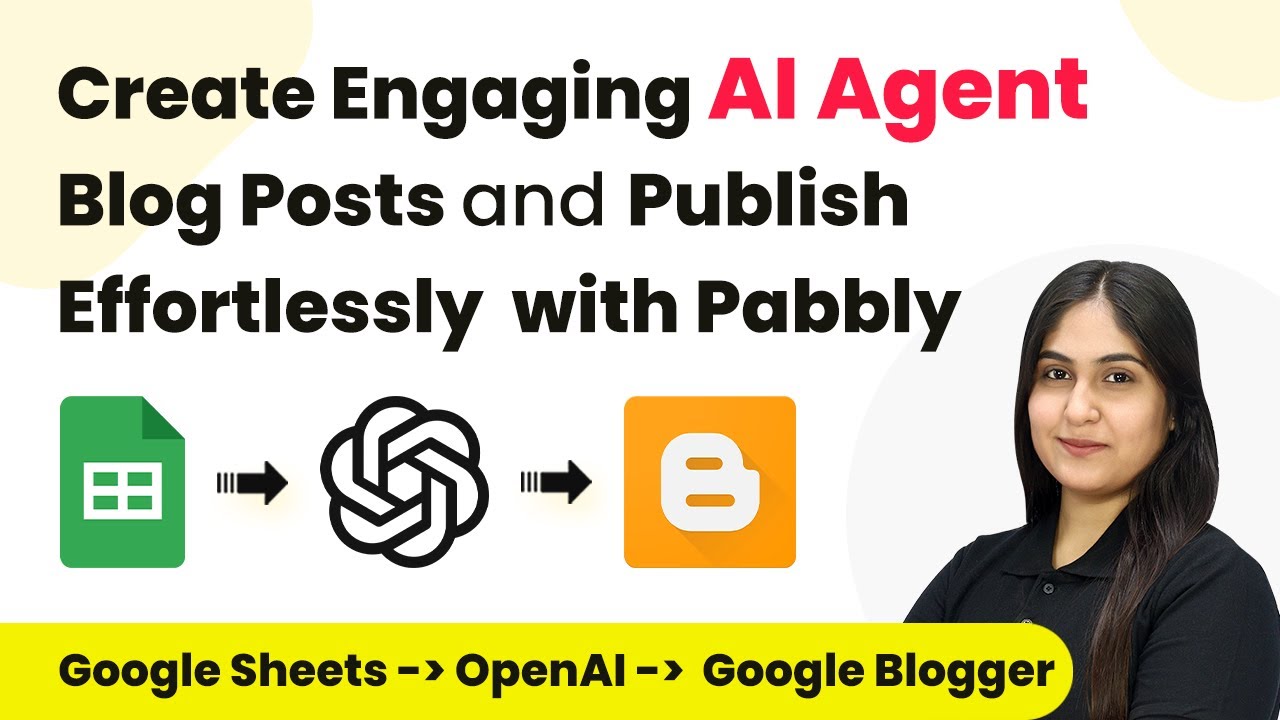
Learn how to integrate an AI agent with Google Sheets for automated content creation using Pabbly Connect. Follow our step-by-step tutorial for seamless automation. Eliminate manual repetitive tasks from your workflow. Discover proven automation methods with intuitive steps designed for efficiency-minded professionals.
Watch Step By Step Video Tutorial Below
1. Introduction to Pabbly Connect for Google Sheets Integration
Pabbly Connect is a powerful automation tool that enables seamless integration between various applications. In this tutorial, we will focus on how to use Pabbly Connect to integrate an AI agent with Google Sheets for automated content creation. This integration will allow you to generate content automatically whenever new data is added to your Google Sheets.
To begin, you need to access Pabbly Connect. If you are a new user, visit the Pabbly website and sign up for a free account. Existing users can simply log in. Once logged in, navigate to the Pabbly Connect dashboard to start creating your workflow.
2. Creating a Workflow in Pabbly Connect
To create a new workflow in Pabbly Connect, click on the ‘Create Workflow’ button located at the top right corner of the dashboard. You will need to name your workflow, for example, ‘Integrate AI Agent with Google Sheets for Automated Content Creation.’ Select a folder to save your workflow if desired.
- Click on the ‘Create Workflow’ button.
- Name your workflow accordingly.
- Select a folder to organize your workflows.
After creating the workflow, you will see the options for setting up a trigger and action. The trigger will be your Google Sheets application, which activates the workflow whenever new data is added.
3. Setting Up Google Sheets Trigger in Pabbly Connect
In this step, select Google Sheets as your trigger application in Pabbly Connect. Choose the trigger event as ‘New or Updated Spreadsheet Row’. This means that whenever a new row is added or an existing row is updated in your Google Sheets, the workflow will be triggered.
Once you select the trigger event, Pabbly Connect will provide you with a webhook URL. Copy this URL, as it will be used to connect your Google Sheets with Pabbly Connect. Open your Google Sheets and install the Pabbly Connect Webhooks add-on from the Google Workspace Marketplace.
- Select Google Sheets as the trigger application.
- Choose the trigger event ‘New or Updated Spreadsheet Row’.
- Copy the webhook URL provided by Pabbly Connect.
After installing the add-on, refresh your Google Sheets and set up the webhook by pasting the copied URL. Specify the trigger column that will activate the webhook, typically the column where you will enter new content.
4. Connecting OpenAI with Pabbly Connect
Now that your Google Sheets is connected to Pabbly Connect, the next step is to integrate OpenAI. In the action step of your workflow, select OpenAI as the application and choose the action event as ‘ChatGPT’. This will allow you to generate content based on the data from Google Sheets.
To connect OpenAI, you will need your API key. Log in to your OpenAI account, navigate to the API keys section, and create a new key. Copy this key and go back to Pabbly Connect to paste it into the appropriate field.
Select OpenAI as the action application. Choose ‘ChatGPT’ as the action event. Paste your OpenAI API key into Pabbly Connect.
After connecting OpenAI, you will need to enter a prompt for generating content. Map the fields from your Google Sheets to dynamically insert the content theme and post description into the prompt. This ensures that every time new data is added, the content generated is relevant and tailored.
5. Updating Google Sheets with Generated Content
After successfully generating content using OpenAI, the final step is to update your Google Sheets with the newly created content. In this action step, again select Google Sheets as your application and choose the action event as ‘Update a Cell Value’. This will allow you to specify where in your Google Sheets the generated content should be placed.
Connect your Google Sheets account again in this step, select the appropriate spreadsheet and sheet name, and specify the cell range where the content should be updated. Map the value field to the generated content from OpenAI to ensure it is inserted correctly into your Google Sheets.
Select Google Sheets as the action application. Choose ‘Update a Cell Value’ as the action event. Map the generated content to the value field.
Once this setup is complete, every time you add a new content theme and description in Google Sheets, Pabbly Connect will automatically trigger OpenAI to generate the content and update your Google Sheets accordingly. This automation saves time and ensures consistent content creation.
Conclusion
In this tutorial, we explored how to integrate an AI agent with Google Sheets for automated content creation using Pabbly Connect. By following the steps outlined, you can automate your content generation process, making it efficient and hassle-free. This integration allows you to focus more on your creative tasks while ensuring quality content is generated automatically.
Ensure you check out Pabbly Connect to create business automation workflows and reduce manual tasks. Pabbly Connect currently offer integration with 2,000+ applications.
- Check out Pabbly Connect – Automate your business workflows effortlessly!
- Sign Up Free – Start your journey with ease!
- 10,000+ Video Tutorials – Learn step by step!
- Join Pabbly Facebook Group – Connect with 21,000+ like minded people!
