How to Use Pabbly Connect to Extract Property Tax Information from PDFs

Learn how to use Pabbly Connect to automate the extraction of property tax information from PDFs, including property ID, tax amount, and due date. Revolutionize your productivity approach with just a few strategic clicks. Uncover professional methods for connecting applications and creating workflows that reclaim hours of your week.

Watch Step By Step Video Tutorial Below


1. Accessing Pabbly Connect for Automation

To start using Pabbly Connect, first navigate to the Pabbly Connect website at Pabbly.com/connect/inr/. Here, you can sign in or create a new account. If you’re a new user, you can sign up for free and receive 100 free tasks every month.

Upon signing in, you will see the Pabbly apps window. Click on the ‘Access Now’ button for Pabbly Connect. This action will take you to the dashboard where you can create your automation workflows.


2. Creating a Workflow in Pabbly Connect

In the Pabbly Connect dashboard, click on the ‘Create Workflow’ button located in the top right corner. A dialog box will appear, prompting you to name your workflow and select a folder to save it in.

  • Name the workflow ‘AI agent to extract property tax information from PDFs’.
  • Select the folder for saving the workflow, such as ‘AI agent automations’.

Once you have entered the name and selected the folder, click on the ‘Create’ button. This will establish your workflow, which consists of two main components: trigger and action.


3. Setting Up the Trigger in Pabbly Connect

For the trigger application, select ‘Google Drive’ since you will be uploading property tax receipts there. The trigger event should be set to ‘New File in Specific Folder’. Click on the ‘Connect’ button to authorize Pabbly Connect to access your Google Drive.

After clicking connect, a window will prompt you to either add a new connection or select an existing one. Choose ‘Sign in with Google’ and select the Google account linked to your Drive. Allow the necessary permissions to complete the connection.


4. Uploading PDF Files to Google Drive

Now, upload your property tax receipt PDF to the designated Google Drive folder. Once uploaded, return to Pabbly Connect and click on the ‘Save and Send Test Request’ button. This will trigger the workflow and capture the most recent file uploaded.

Ensure that the folder settings allow access to anyone with the link. This is crucial for the AI agent to access the document. After making the folder accessible, re-test the connection to confirm that the PDF link is captured successfully.

  • Upload the PDF file to the Google Drive folder.
  • Click ‘Save and Send Test Request’ to capture the file link.

Upon successful capture, you will see the web content link of the PDF, which is essential for the next steps in your workflow.


5. Extracting Data Using AI Agent

In this step, select ‘Open AI’ as the action application in Pabbly Connect. The action event will be ‘Extract Content from PDF and Image’. Connect to Open AI by providing your API token, which you can generate from your Open AI account.

Once connected, map the PDF URL from the previous step to the corresponding field in this action. Set the prompt to specify the details you want to extract, such as the receipt number, date, and property tax details.

Use the mapped PDF URL for extraction. Specify the prompt for the AI agent to extract the details.

After configuring these settings, click ‘Save and Send Test Request’. The AI agent will process the PDF and return the extracted data, which can then be stored in Google Sheets for systematic record-keeping.


Conclusion

This tutorial detailed how to use Pabbly Connect to automate the extraction of property tax information from PDFs. By integrating Google Drive and Open AI, you can efficiently manage property tax records without manual effort. Now, you can streamline your workflow and improve efficiency in managing property taxes effortlessly.

Ensure you check out Pabbly Connect to create business automation workflows and reduce manual tasks. Pabbly Connect currently offer integration with 2,000+ applications.

Automate Email Summarization Using Pabbly Connect and AI Agent

Learn how to automate email summarization with Pabbly Connect and an AI Agent step-by-step for efficient lead management. Eliminate manual repetitive tasks from your workflow. Discover proven automation methods with intuitive steps designed for efficiency-minded professionals.

Watch Step By Step Video Tutorial Below


1. Accessing Pabbly Connect for Email Summarization

To begin automating email summarization, first access Pabbly Connect by navigating to the URL pav.com/connect/inr in your browser. Here, you will find options to sign in or sign up for free.

If you are a new user, click on the ‘Sign up for free’ button to create your account. Existing users should simply sign in. Once logged in, you can explore the powerful automation capabilities of Pabbly Connect.


2. Creating a Workflow in Pabbly Connect

After signing in, you will be directed to the dashboard of Pabbly Connect. Here, click on the ‘Create Workflow’ option to initiate a new automation. You will be prompted to name your workflow for easy identification.

  • Provide a name for the workflow, e.g., ‘Automated Email Summarization’.
  • Select an appropriate folder for your automation.
  • Click on the ‘Create’ button to save your workflow settings.

Once created, the workflow screen will display trigger and action options essential for setting up email summarization automation.


3. Setting Up the Trigger with Gmail

In the trigger section, select Gmail as the application to initiate the workflow. The trigger event should be set to ‘New Email Received’. This means that every time a new email arrives in your Gmail account, it will trigger the workflow.

To connect Gmail with Pabbly Connect, you will use the Email Parser feature. Copy the provided email parser address and paste it into your Gmail settings under ‘Forwarding and POP/IMAP’. This will allow emails received in Gmail to be forwarded to Pabbly Connect.


4. Integrating AI Agent for Email Summarization

After setting up the trigger, the next step is to integrate the AI Agent for summarization. In the action step, choose OpenAI as the application. The action event should be set to ‘Summarize Email’. This integration allows you to utilize AI for summarizing the content of the received emails.

  • Ensure you are logged into your OpenAI account to create a connection.
  • Provide the necessary API token to facilitate the connection between OpenAI and Pabbly Connect.
  • Set the model to use for summarization, e.g., GPT-4.

With this setup, the AI Agent will automatically summarize incoming emails based on the defined parameters, enhancing productivity and efficiency.


5. Recording Summarized Emails in Google Sheets

The final step is to record the summarized email details in Google Sheets. In the action step, select Google Sheets as the application and choose ‘Add New Row’ as the action event. This allows you to create a systematic record of the summarized inquiries. using Pabbly Connect

Map the fields from the AI Agent’s response to the corresponding columns in your Google Sheets, such as name, email, subject, and summarized inquiry. Once mapped, click on ‘Save and Send Test Request’ to ensure that the data is recorded correctly.


Conclusion

By following the steps outlined in this tutorial, you can effectively automate email summarization using Pabbly Connect and an AI Agent. This integration allows for efficient lead management, ensuring that you never miss important inquiries while maintaining organized records.

Ensure you check out Pabbly Connect to create business automation workflows and reduce manual tasks. Pabbly Connect currently offer integration with 2,000+ applications.

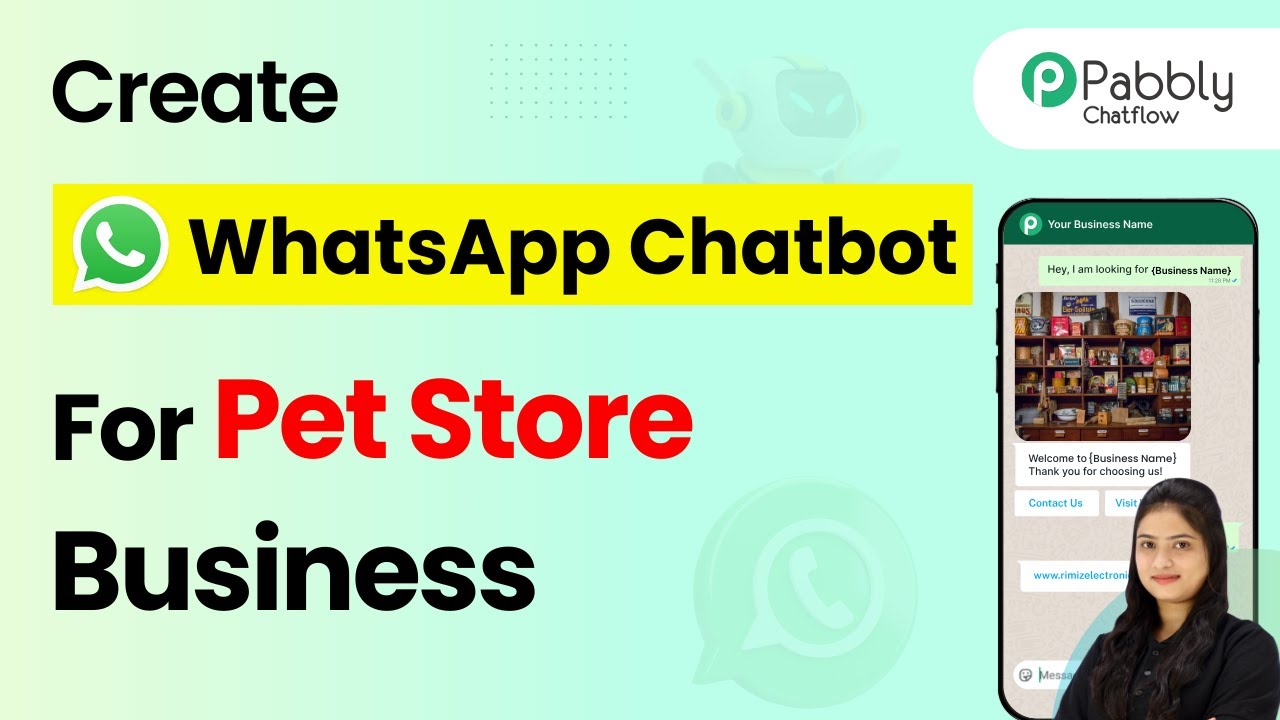
How to Build a WhatsApp Chatbot for Your Pet Store Using Pabbly Chatflow

Learn how to create a WhatsApp chatbot for your pet store using Pabbly Chatflow. Step-by-step tutorial for automating customer engagement. Explore how leading businesses automate customer interactions with carefully designed chat sequences that feel natural and helpful.

Watch Step By Step Video Tutorial Below


1. Introduction to Pabbly Chatflow for WhatsApp Chatbot

Pabbly Chatflow is the ideal platform to create a WhatsApp chatbot for your pet store. This powerful tool allows you to automate customer interactions effortlessly, providing 24/7 engagement without any coding skills. With Pabbly Chatflow, you can streamline communication and enhance customer service. using Pabbly Connect

To get started, visit the Pabbly Chatflow website and log into your account. If you don’t have an account yet, you can easily sign up. Once logged in, you’ll have access to features that enable you to manage chats, create flows, and send automated responses to customer inquiries.


2. Setting Up Your WhatsApp Chatbot with Pabbly Chatflow

To create your WhatsApp chatbot, begin by clicking on the ‘Add Flow’ button in Pabbly Chatflow. This will allow you to start building a new flow tailored for your pet store. You will need to configure the flow to respond to specific keywords that customers might use. using Pabbly Connect

  • Click on ‘Add Flow’ to create a new flow.
  • Enter keywords like ‘pet’, ‘cat’, ‘dog’, and ‘help’ to trigger responses.
  • Use the regex feature to capture variations in customer messages.

Once you’ve set your keywords, configure the flow to start sending automated replies whenever these keywords are detected. This ensures that your customers receive immediate responses, enhancing their experience with your pet store.


3. Creating Interactive Messages in Pabbly Chatflow

After setting up the keywords, the next step is to create interactive messages that will engage your customers. Use Pabbly Chatflow to ask customers for their names and offer them options related to your products and services. using Pabbly Connect

To ask for the customer’s name, drag the ‘Ask Question’ action into your flow. You can customize the message to say, ‘Hi there! We would love to help you and your furry friend. Could you please tell us your name?’

  • Connect the ‘Ask Question’ action to your flow start.
  • Use a custom field to save the customer’s name.
  • Send a personalized welcome message using the customer’s name.

This personalized approach not only makes customers feel valued but also encourages them to interact further with your pet store’s offerings.


4. Offering Options to Customers Through Pabbly Chatflow

Once you have the customer’s name, the next step is to provide options they can choose from. Use Pabbly Chatflow to create buttons for various services like pet products, grooming, and pet care tips. using Pabbly Connect

For example, create buttons labeled ‘Explore Pet Products’, ‘Grooming Services’, and ‘Pet Care Tips’. Connect each button to specific messages that provide detailed information about each option.

Here’s how to structure the options:

Button 1: ‘Explore Pet Products’ – Send a message listing popular items. Button 2: ‘Grooming Services’ – Provide details about grooming options. Button 3: ‘Pet Care Tips’ – Share helpful tips for pet owners.

This interactive feature allows customers to engage with your pet store easily and find the information they need quickly.


5. Testing Your WhatsApp Chatbot in Pabbly Chatflow

After building your WhatsApp chatbot, it’s essential to test its functionality to ensure everything works as intended. Use Pabbly Chatflow to simulate customer interactions and verify that the flow responds correctly to various inputs. using Pabbly Connect

Send test messages using the keywords you set up earlier. Ensure that the chatbot asks for the customer’s name and provides the right options based on their selections. This step is crucial for identifying any issues before going live.

Here’s a quick checklist for testing:

Test each keyword to ensure the flow starts correctly. Check that personalized messages include the customer’s name. Verify that all buttons lead to the correct messages.

By thoroughly testing your WhatsApp chatbot, you can ensure a smooth experience for your customers, ultimately helping to grow your pet store business.


Conclusion

Creating a WhatsApp chatbot for your pet store using Pabbly Chatflow is a straightforward process that can significantly enhance customer engagement. By following the steps outlined in this tutorial, you can automate interactions and provide valuable information to your customers 24/7. Start using Pabbly Chatflow today to improve your pet store’s customer service and boost sales.

Ensure you check out Pabbly Connect to create business automation workflows and reduce manual tasks. Pabbly Connect currently offer integration with 2,000+ applications.

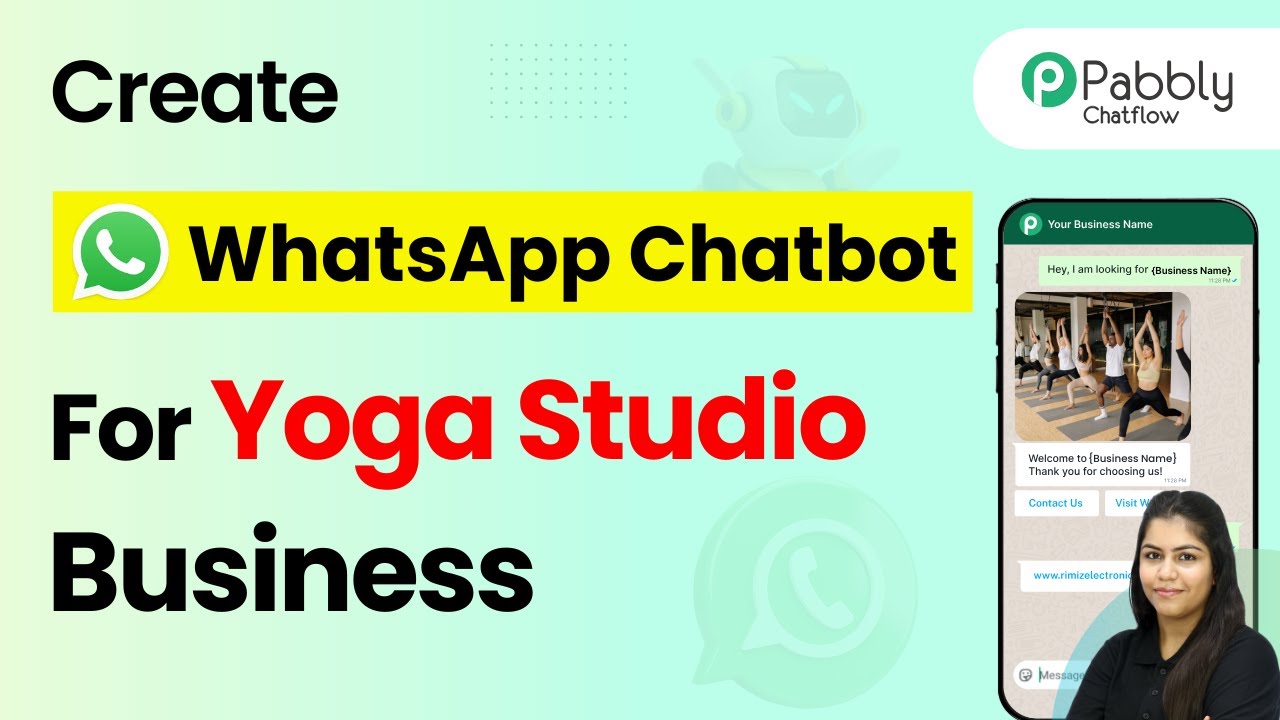
Creating a WhatsApp Chatbot for Your Yoga Studio with Pabbly Chatflow

Learn how to create a WhatsApp chatbot for your yoga studio using Pabbly Chatflow. Step-by-step guide for seamless integration with Facebook and YouTube. This detailed guide shows you how to build powerful chat automation that engages visitors and converts prospects—without any coding required.

Watch Step By Step Video Tutorial Below


1. Getting Started with Pabbly Chatflow for Your Yoga Studio

To create a WhatsApp chatbot for your yoga studio, you must first access Pabbly Chatflow. This platform allows you to automate responses to common queries, saving you time and effort. Begin by logging into your Pabbly Chatflow account and navigating to the dashboard.

Once you are on the dashboard, head to the left sidebar and locate the ‘Flow’ section. Here, you will see all the flows you have created. To start a new flow, click on the ‘Add Flow’ button. This action will prompt a window to appear, offering you three options: enter keywords, enter regex, or choose a template.


2. Setting Up Keywords and Regex in Pabbly Chatflow

In this step, you will configure the keywords and regex that will trigger your WhatsApp chatbot. Select the ‘Enter Keywords’ option to begin. You can input commonly used greetings such as ‘hey’, ‘hello’, and ‘hi’ to ensure your bot recognizes initial contact. using Pabbly Connect

  • Input keywords: hey, hello, hi
  • Enter regex patterns for common queries
  • Activate case sensitivity if required

After entering your keywords, you will also need to input regex patterns that match various user inquiries about class schedules, costs, and trial bookings. This setup allows your chatbot to respond intelligently to different variations of questions, enhancing user experience.


3. Creating Chatbot Interactions with Pabbly Chatflow

Once you have established the triggering keywords and regex, it’s time to set up the interaction flow. Start by dragging and dropping the ‘Ask Question’ action into your flow. This will be used to greet users and request their full name. using Pabbly Connect

For example, you can configure the greeting message to say: ‘Welcome to the Yoga Tree! We are here to guide you on your yoga journey. Before we begin, can you please share your full name?’ You will also need to connect this action to a custom field where the user’s full name will be stored.

  • Drag and drop ‘Ask Question’ action
  • Set custom field for full name
  • Add validation messages if necessary

After asking for the full name, you will follow a similar process to request the user’s email address, ensuring that you capture essential contact information for further communication.


4. Offering Options Through Pabbly Chatflow

Once you have collected the user’s name and email, you can provide options for further engagement. This can be accomplished by sending a message like: ‘How can we assist you today?’ accompanied by buttons for different services such as viewing the schedule, learning about yoga types, or checking membership plans. using Pabbly Connect

For each button, you will set up corresponding actions. For instance, if a user selects ‘View Schedule,’ you will configure a message that details the class timings and types available. This interaction keeps users engaged and provides them with the information they need promptly.

Create buttons for user options Set up corresponding messages for each option Include additional buttons for free trials and contact

By providing multiple options, your WhatsApp chatbot will be able to cater to various user queries effectively, enhancing the overall customer experience.


5. Testing Your Pabbly Chatflow WhatsApp Chatbot

After setting up your WhatsApp chatbot, it’s crucial to test its functionality. Save your flow and ensure it is active. You can then send a test message via WhatsApp, such as ‘Hey, let me know the class timing.’ This will initiate the chatbot and allow you to see how it responds. using Pabbly Connect

As you interact with the chatbot, check for personalized messages and ensure that it correctly captures user input, such as full names and email addresses. This testing phase is essential to confirm that your chatbot operates as intended and provides accurate information.

Once you are satisfied with the performance, you can officially launch your WhatsApp chatbot for your yoga studio, providing a seamless experience for your clients.


Conclusion

In this tutorial, we explored how to create a WhatsApp chatbot for a yoga studio using Pabbly Chatflow. By automating responses to common queries, you can enhance customer engagement and streamline communication. With the right setup, your WhatsApp chatbot can significantly improve client interactions and operational efficiency.

Ensure you check out Pabbly Connect to create business automation workflows and reduce manual tasks. Pabbly Connect currently offer integration with 2,000+ applications.

How to Generate Video Scripts for Charity Campaigns using Pabbly Connect

Learn how to automate video script generation for charity campaigns using Pabbly Connect. Step-by-step guide for seamless integration with Google Sheets and AI agents. Discover hidden automation capabilities within your existing tools. This guide shows you how to connect your essential applications and permanently eliminate redundant manual processes.

Watch Step By Step Video Tutorial Below


1. Overview of Pabbly Connect for Video Script Generation

Pabbly Connect serves as the central platform for automating the generation of video scripts for charity campaigns. This powerful tool allows users to integrate various applications seamlessly, eliminating the need for manual script creation. With Pabbly Connect, you can connect Google Sheets, AI agents, and Google Docs to streamline your workflow. using Pabbly Connect

By utilizing Pabbly Connect, you can save time and effort in drafting video scripts. The automation process begins by entering campaign details into a Google Sheet. Once the information is added, Pabbly Connect triggers the AI agent to generate a script, which is then stored in Google Docs for easy access and sharing.


2. Setting Up Pabbly Connect for Automation

To get started with Pabbly Connect, first, visit the Pabbly Connect website and log in to your account. If you are a new user, you can sign up for a free account, which offers 100 tasks per month. Once logged in, navigate to the Pabbly Connect dashboard to begin creating your workflow. using Pabbly Connect

  • Click on the ‘Create Workflow’ button.
  • Name your workflow, for example, ‘Generate Video Scripts for Charity Campaigns’.
  • Select the folder to save your workflow.

After creating the workflow, you will be directed to the workflow window where you can set up the trigger and actions. The trigger will initiate the process when a new campaign detail is added to Google Sheets, allowing Pabbly Connect to automate the script generation.


3. Integrating Google Sheets with Pabbly Connect

In this section, you will integrate Google Sheets as the trigger application in Pabbly Connect. Start by selecting Google Sheets from the list of applications and choose the trigger event as ‘New or Updated Spreadsheet Row’. This will allow Pabbly Connect to monitor your spreadsheet for any new entries. using Pabbly Connect

Next, you will receive a webhook URL from Pabbly Connect. Copy this URL and proceed to your Google Sheets. In your spreadsheet, navigate to Extensions > Add-ons > Get Add-ons, and search for the Pabbly Connect Webhooks add-on. Install it and refresh your spreadsheet.

  • Open the Pabbly Connect Webhooks add-on and select ‘Initial Setup’.
  • Paste the webhook URL you copied earlier.
  • Set the trigger column to F, which will send data when details are added.

Once the setup is complete, Pabbly Connect will be ready to capture data from your Google Sheets. This connection is crucial for automating the video script generation process.


4. Integrating AI Agent with Pabbly Connect

Now that Google Sheets is integrated, the next step is to connect your AI agent, such as OpenAI, to Pabbly Connect. Select OpenAI as the action application and choose the action event as ‘Chat GPT’. This will allow Pabbly Connect to utilize the AI agent for generating video scripts based on the campaign details entered in Google Sheets. using Pabbly Connect

To establish this connection, you will need an API key from OpenAI. Navigate to the OpenAI API key page and create a new secret key. Copy this key and return to Pabbly Connect. Paste the API key in the required field and select the AI model you want to use, such as GPT-4.

Enter a prompt for the AI agent, such as ‘Generate a compelling video script for charity campaign based on the following details’. Map the details from the Google Sheets response to the prompt. Click on ‘Save and Send Test Request’ to generate the video script.

Pabbly Connect will now trigger the AI agent to create the video script automatically, ensuring a smooth and efficient process for your charity campaigns.


5. Storing Scripts in Google Docs

After generating the video script using the AI agent, the next step is to store it in Google Docs. To do this, select Google Docs as the action application in Pabbly Connect. Choose the action event as ‘Create Blank Document’. This allows you to create a new document for each campaign. using Pabbly Connect

Once connected, you will need to map the document name to the campaign name from Google Sheets. This ensures that each document is labeled correctly. After creating the document, the next step is to append the generated video script into the document by selecting the same Google Docs application and choosing the action event ‘Append Paragraph to Document’.

Map the document ID from the previous step to ensure the script is added to the correct document. Insert the video script content from the AI agent’s response. Click on ‘Save and Send Test Request’ to confirm the addition of the script.

With this integration, Pabbly Connect allows you to easily manage and store your video scripts in Google Docs, making them accessible for your team to review and use.


Conclusion

Using Pabbly Connect to generate video scripts for charity campaigns streamlines the entire process, saving time and enhancing productivity. By integrating Google Sheets, AI agents, and Google Docs, you can automate script creation effectively. This tutorial provides a comprehensive guide to set up your automation workflow, ensuring seamless operations for your charity initiatives.

Ensure you check out Pabbly Connect to create business automation workflows and reduce manual tasks. Pabbly Connect currently offer integration with 2,000+ applications.

Automate YouTube SEO with AI Agents Using Pabbly Connect

Learn how to automate YouTube SEO using AI agents with Pabbly Connect. Step-by-step tutorial for integrating Google Sheets and OpenAI for effective SEO management. Follow this definitive guide to creating powerful automated workflows with straightforward, efficiency-focused solutions that save valuable time.

Watch Step By Step Video Tutorial Below


1. Setting Up Pabbly Connect for YouTube SEO Automation

To automate YouTube SEO with AI agents using Pabbly Connect, start by signing up for a free account on the Pabbly Connect platform. Once you have your account, log in to access the dashboard where you will create a new workflow.

Click on the ‘Create Workflow’ button and name your workflow, for example, ‘AI Agent for YouTube SEO.’ After selecting a folder for your automation, click on ‘Create’ to start building your integration.


2. Integrating Google Sheets with Pabbly Connect

In this step, you will connect Google Sheets to Pabbly Connect to capture video titles. In the trigger section, select Google Sheets as the app and choose the trigger event as ‘New or Updated Spreadsheet Row.’ This will allow your workflow to respond whenever a new title is added.

  • Select Google Sheets in Pabbly Connect.
  • Choose ‘New or Updated Spreadsheet Row’ as the trigger event.
  • Copy the webhook URL provided by Pabbly Connect.

After copying the webhook URL, go back to your Google Sheets. Navigate to Extensions > Add-ons > Get Add-ons, and search for Pabbly Connect Webhooks. Install the add-on, refresh your Google Sheets, and proceed to the initial setup under Extensions > Pabbly Connect Webhooks.


3. Setting Up the Webhook in Google Sheets

In the initial setup dialog of the Pabbly Connect Webhooks add-on, you will input the necessary details to link your Google Sheets to Pabbly Connect. Select the relevant sheet, paste the webhook URL, and specify the trigger column, which is typically the last column where data will be entered.

After filling in these fields, click on ‘Send Test’ to ensure the connection works. If successful, you will see the test data sent confirmation. This means your Google Sheets is now ready to send data to Pabbly Connect whenever a new title is added.

  • Select the sheet where you will enter video titles.
  • Paste the copied webhook URL into the setup.
  • Choose the trigger column for data entry.

Finally, click on ‘Submit’ to complete the setup. Your Google Sheets is now effectively integrated with Pabbly Connect.


4. Filtering Conditions for SEO Content Generation

Once your Google Sheets is connected, the next step involves setting up a filter condition in Pabbly Connect. This filter will determine whether the AI agent should generate SEO content based on the status selected in your Google Sheets.

In the action step of your workflow, select the filter option in Pabbly Connect. Choose the label as ‘Status’ and set the condition to equal ‘Generate.’ This ensures that the AI agent only processes rows marked for generation.

Select ‘Filter’ in the action step. Set the condition to ‘Status equals Generate.’ Click ‘Save and Send Test Request’ to validate the filter.

If the status is set to ‘Generate,’ the filter will confirm and proceed to the next step of generating SEO content using OpenAI.


5. Using OpenAI for SEO Content Generation

In this section, you will connect OpenAI to Pabbly Connect to generate SEO content. Select OpenAI as the app and choose the action event as ‘Chat GPT Structured AI Output.’ You will need to connect your OpenAI account using an API key.

To obtain the API key, log into your OpenAI account and navigate to the API key section. Create a new secret key, copy it, and paste it back into Pabbly Connect. After connecting, set the AI model to your preference, such as GPT-4 Mini, and enter the prompt for generating SEO content.

Connect your OpenAI account using the API key. Select the AI model for content generation. Enter the prompt for generating SEO content based on the video title.

After setting up the prompt, click ‘Save and Send Test Request’ to generate the SEO content. The response will include the generated description, tags, and keywords, which will then be mapped back to your Google Sheets in the final step.


6. Updating Google Sheets with Generated SEO Content

The final step involves updating your Google Sheets with the SEO content generated by OpenAI. In this action step, select Google Sheets again and choose the action event as ‘Update Row.’ Connect your Google Sheets account if prompted. using Pabbly Connect

In the update row setup, select the spreadsheet and sheet you are working with. Map the row index from the trigger step to ensure the correct row is updated with the new SEO content. Finally, map the generated description, tags, and keywords to their respective columns in your Google Sheets.

After completing the mappings, click ‘Save and Send Test Request’ to update the row. If successful, the Google Sheets will now reflect the generated SEO content, completing the automation process.


Conclusion

This tutorial demonstrated how to automate YouTube SEO using AI agents with Pabbly Connect. By integrating Google Sheets and OpenAI, you can efficiently generate SEO content for your YouTube videos. Start automating your YouTube SEO today using Pabbly Connect!

Ensure you check out Pabbly Connect to create business automation workflows and reduce manual tasks. Pabbly Connect currently offer integration with 2,000+ applications.

Create an AI Assistant for Telegram Channel Using Pabbly Connect

Learn how to create an AI assistant for your Telegram channel using Pabbly Connect. Step-by-step guide for seamless integration with Facebook and other tools. Explore efficient methods for automating routine tasks with clear, concise instructions suited for both newcomers and experienced professionals.

Watch Step By Step Video Tutorial Below


1. Setting Up Pabbly Connect for Your AI Assistant

To create an AI assistant for your Telegram channel, the first step involves accessing Pabbly Connect. You can easily sign up for a free account through the link provided in the description.

Once you log into Pabbly Connect, you will find yourself on the dashboard. From here, click on the ‘Create Workflow’ button. Enter a name for your workflow, such as ‘AI Assistant for Telegram’. Select the folder where you want to save this workflow and click on ‘Create’. This will open a new workflow window where you can set up your automation.


2. Creating a Telegram Bot Using Pabbly Connect

To integrate with Telegram, you need to create a bot. Open Telegram and search for ‘BotFather’. Start a chat with BotFather and send the command ‘/newbot’ to create a new bot. You will be prompted to give your bot a name, for instance, ‘Papon AI Assistant’.

  • Enter a username for your bot, ending with ‘_bot’.
  • Once created, you will receive an API token which you will use to connect your bot to Pabbly Connect.
  • Add this bot as an admin to your Telegram channel.

After adding the bot, refresh your Telegram page to ensure it is listed as an admin. This setup allows the bot to monitor messages in the channel, which Pabbly Connect will use to trigger responses.


3. Connecting the Telegram Bot to Pabbly Connect

Now, return to Pabbly Connect and in the workflow, select the Telegram Bot as the application for the trigger event. Choose the event as ‘Set Webhook/Watch Updates’. Click on connect and select ‘Add New Connection’.

In the connection window, paste the API token you received from BotFather and click on ‘Save’. Once connected, click on ‘Save and Send Test Request’. This action makes Pabbly Connect wait for a message from the Telegram bot.

Send a message in the Telegram channel, tagging your bot. This message will be captured by Pabbly Connect, allowing you to proceed with the next steps to create your AI assistant.


4. Creating the AI Assistant with Pabbly Connect

After the Telegram bot is connected, the next step is to create the AI assistant. In your Pabbly Connect workflow, add a new action step and select ‘AI Assistant by Pabbly’. Choose the action event ‘Create Assistant’.

Connect to your OpenAI account by entering your API key. This key can be generated from your OpenAI dashboard under the API key section. Name your assistant and provide a knowledge base URL, which can be a Google Drive link, ensuring it’s publicly accessible.

  • Enter chatbot instructions that guide how the AI should respond.
  • Select the OpenAI model you wish to use for generating replies.
  • Click on ‘Save and Send Test Request’ to create the assistant.

After this step, you will have a functioning AI assistant integrated with Pabbly Connect, ready to respond to user queries in the Telegram channel.


5. Sending Replies Back to Telegram Using Pabbly Connect

With the AI assistant set up, the final step is to send responses back to Telegram. Add another action step in your Pabbly Connect workflow and select ‘Telegram Bot’ again. This time, choose the action event ‘Send a Text Message or Reply’.

Map the chat ID from the previous steps and enter the reply text that the AI assistant generated. You can also specify whether to disable notifications or web page previews. Finally, click on ‘Save and Send Test Request’ to send the reply back to the Telegram channel.

Once this is set up, any message tagged to your bot in the Telegram channel will trigger the AI assistant, which will generate a response and post it back in the channel, all facilitated through Pabbly Connect.


Conclusion

In conclusion, creating an AI assistant for your Telegram channel using Pabbly Connect is a straightforward process. By following these steps, you can automate responses to user inquiries efficiently, enhancing engagement in your channel. This integration not only saves time but also provides instant support to your users.

Ensure you check out Pabbly Connect to create business automation workflows and reduce manual tasks. Pabbly Connect currently offer integration with 2,000+ applications.

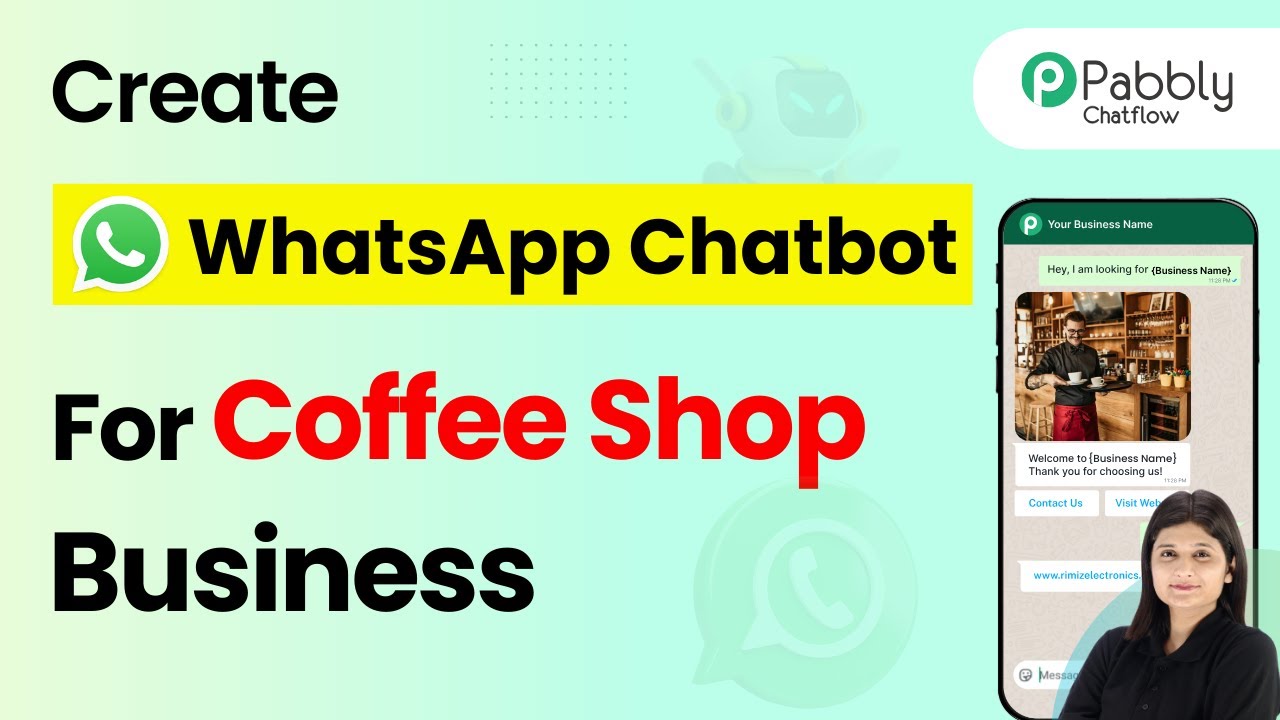
How to Create a WhatsApp Chatbot for Your Coffee Shop Business Using Pabbly Chatflow

Learn how to create a WhatsApp chatbot for your coffee shop business using Pabbly Chatflow. Step-by-step guide to enhance customer engagement. Create intelligent chat experiences that delight users while collecting valuable information and moving prospects through your sales process.

Watch Step By Step Video Tutorial Below


1. Accessing Pabbly Chatflow for Your Coffee Shop Business

To create a WhatsApp chatbot for your coffee shop business, first, you need to access Pabbly Chatflow. This powerful tool allows you to automate customer interactions efficiently. You can visit the platform by typing in chat.Pabbly.com to create your account.

Once logged in, you will be directed to the dashboard. Here, you can start building your chatbot by selecting the ‘Create New Flow’ option. This is where the automation magic begins for your coffee shop business, allowing you to respond to customer queries instantly.


2. Creating Your Chatbot Flow in Pabbly Chatflow

After accessing Pabbly Chatflow, you will need to create a new flow specifically for your coffee shop. Click on the ‘Flows’ option on the left-hand side, then select ‘Create New Flow’ to start building your chatbot.

In this section, you will define the triggers and responses for your chatbot. Here are the steps to follow:

  • Click on the ‘Create Flow’ button.
  • Name your flow, for example, ‘Coffee Shop Bot’.
  • Select the trigger type, such as ‘New Message’.

Ensure the flow is saved and active to start receiving customer messages through WhatsApp. This integration will enhance your coffee shop’s customer service experience by providing immediate responses.


3. Defining Responses for Your Coffee Shop Chatbot

Once your flow is set up in Pabbly Chatflow, it’s time to define how your chatbot will respond to customer inquiries. This is crucial for managing customer expectations and providing timely information about your coffee shop.

You can use different types of responses such as text messages, images, or buttons. Here’s how to set it up:

  • Add a text response to greet customers, e.g., ‘Welcome to our Coffee Shop! How can I assist you today?’
  • Include buttons for options like ‘View Menu’, ‘Order Coffee’, or ‘Talk to Support’.
  • Utilize media responses to show images of your coffee offerings.

These responses will ensure that your customers receive the information they need promptly, enhancing their experience with your coffee shop business.


4. Testing Your Coffee Shop Chatbot Functionality

After defining your chatbot responses in Pabbly Chatflow, it’s essential to test the functionality to ensure everything works as intended. Testing helps identify any issues that may arise during customer interactions.

To test your chatbot, follow these steps:

Send a test message through WhatsApp to your chatbot. Check if the responses are accurate and timely. Adjust any responses or flows based on your testing feedback.

Conducting thorough testing ensures that your chatbot is ready to handle real customer inquiries and enhances the efficiency of your coffee shop operations.


5. Launching Your WhatsApp Chatbot for Your Coffee Shop

Once testing is complete and you are satisfied with the performance of your chatbot in Pabbly Chatflow, it’s time to launch it officially. This step will enable your coffee shop to start engaging with customers through automated responses.

To launch, simply activate your flow and promote your WhatsApp number to customers. Make sure to inform them that they can now order coffee, check the menu, or get support through WhatsApp. This will significantly enhance customer engagement and streamline operations for your coffee shop business.


Conclusion

Creating a WhatsApp chatbot for your coffee shop business using Pabbly Chatflow is a straightforward process that enhances customer engagement and operational efficiency. By following the steps outlined above, you can automate responses, streamline orders, and improve customer satisfaction.

Ensure you check out Pabbly Connect to create business automation workflows and reduce manual tasks. Pabbly Connect currently offer integration with 2,000+ applications.

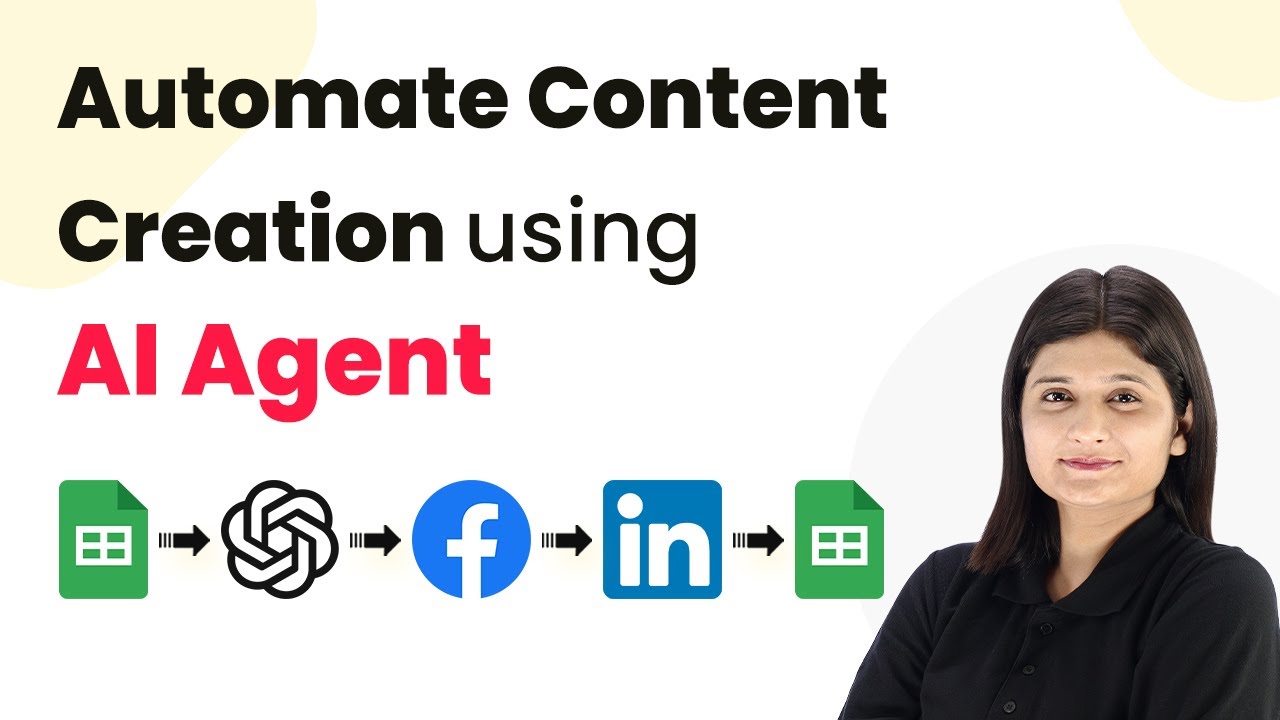
Automate Content Creation Using Pabbly Connect and AI Agents

Learn how to automate content creation using Pabbly Connect, integrating Google Sheets, Facebook, and LinkedIn with AI agents for seamless workflow. Master proven automation processes with practical implementation examples and strategic recommendations you can apply immediately in your workflow.

Watch Step By Step Video Tutorial Below


1. Accessing Pabbly Connect for Automation

To begin automating content creation using Pabbly Connect, first, visit the Pabbly website. You can access it by typing Pabbly.com in your browser. Once there, sign in to your account. If you are a new user, you can sign up for free, which provides you with 100 tasks monthly.

After signing in, navigate to the Pabbly Connect dashboard. Here, you will see all your workflows. To create a new workflow, click on the ‘Create Workflow’ button. Name your workflow appropriately, such as ‘Automate Content Creation Using AI Agent’, and select a folder to save it in. This organization helps manage multiple workflows effectively.


2. Setting Up the Trigger with Google Sheets

In this step, we will set up the trigger using Google Sheets in Pabbly Connect. Select Google Sheets as your trigger application. The trigger event will be when a new row is added to the spreadsheet. This action will initiate the automation process.

  • Choose the specific Google Sheets where your content ideas will be stored.
  • Ensure that your spreadsheet has a designated column for the final data entry, which will trigger the automation.
  • After setting this up, click on ‘Save and Test’ to verify the connection.

Once the test is successful, your Google Sheets will be connected to Pabbly Connect, ready to send data whenever a new content idea is added. This is the first step towards automating your content creation process.


3. Generating Content Using AI Agent

Next, we will use an AI agent, specifically OpenAI, to generate content based on the ideas entered in Google Sheets. In Pabbly Connect, select OpenAI as your action application. You will need to set up the action event to create content.

To do this, enter the API token for OpenAI. This token is crucial for authenticating your requests. If you don’t have an API token, you can create one through the OpenAI platform. Once you have it, paste it into the specified field in Pabbly Connect.

  • Set the prompt to guide the AI in generating relevant content based on the ideas from Google Sheets.
  • Map the content idea from your Google Sheets to the prompt field in OpenAI.
  • Click ‘Save and Send Test Request’ to check if the AI generates the expected content.

After the successful generation of content, you can proceed to post it directly to your social media accounts. This integration between Pabbly Connect and OpenAI streamlines the content creation process significantly.


4. Posting Generated Content on Facebook and LinkedIn

Now that the content is generated, we will use Pabbly Connect to post it on Facebook and LinkedIn. Start by selecting Facebook Pages as your action application. Choose the action event to create a page post.

Authorize Pabbly Connect to access your Facebook account if you haven’t done so already. Select the Facebook page where you want to post the content. Map the generated content and any images you want to include in your post from the previous steps.

Enter the message field with the content generated by OpenAI. Use the image URL generated earlier to enrich your post. After mapping, click ‘Save and Send Test Request’ to ensure the post is created successfully.

Repeat this process for LinkedIn by selecting LinkedIn as another action application in Pabbly Connect. This way, you can automate posting across multiple platforms simultaneously, enhancing your online presence.


5. Updating Google Sheets Status

Finally, to keep track of the posts made, we will update the Google Sheets status using Pabbly Connect. Select Google Sheets again as your action application and choose the action to update the row value.

Map the necessary fields such as the spreadsheet name and the specific range that needs updating. You can set the status to ‘Posted’ once the content is successfully shared on your social media platforms. This step is essential for maintaining an organized workflow.

Enter the spreadsheet name where the status will be updated. Specify the column and row where the status should reflect the posting result. Click ‘Save and Send Test Request’ to confirm the update.

With this final step, your Pabbly Connect workflow for automating content creation is complete. You can now add new content ideas in Google Sheets, and the entire process from generation to posting will be handled automatically.


Conclusion

In conclusion, using Pabbly Connect to automate content creation enhances efficiency and saves time. By integrating Google Sheets, OpenAI, Facebook, and LinkedIn, you can streamline your workflow and maintain an active online presence effortlessly. This powerful automation tool allows you to focus on your core business activities while ensuring consistent content delivery.

Ensure you check out Pabbly Connect to create business automation workflows and reduce manual tasks. Pabbly Connect currently offer integration with 2,000+ applications.

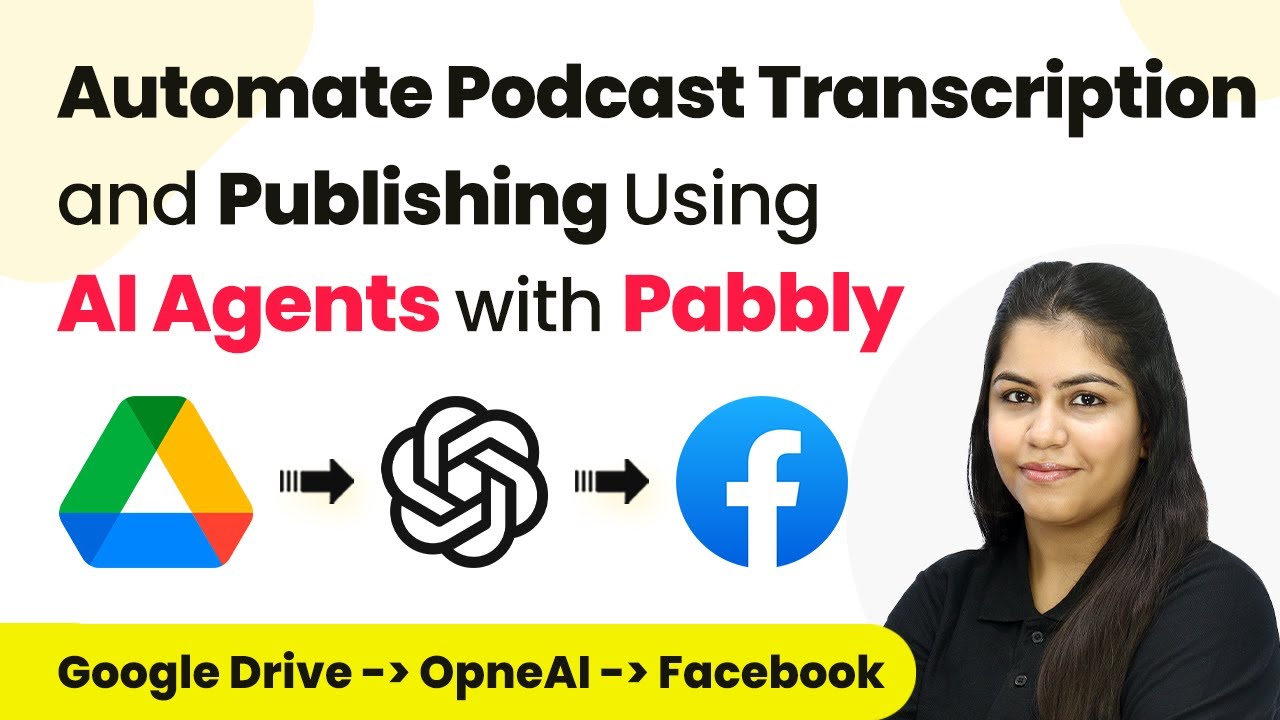
Automate Podcast Transcription and Publishing Using Pabbly Connect

Learn how to automate podcast transcription and publishing using Pabbly Connect. Follow our step-by-step guide to streamline your podcast workflow. Develop expertise in application integration and learn how to design streamlined automation workflows using proven, simplified approaches.

Watch Step By Step Video Tutorial Below


1. Accessing Pabbly Connect for Podcast Automation

To automate podcast transcription and publishing, start by accessing Pabbly Connect. Open your browser and search for Pabbly.com. Once on the landing page, you will see options to sign in or sign up for free.

If you are a new user, click on ‘Sign up for free’ to create an account. Existing users can simply click on ‘Sign in’. After signing in, navigate to the Pabbly apps and select Pabbly Connect to begin creating your workflow.


2. Creating a New Workflow in Pabbly Connect

After accessing Pabbly Connect, click on ‘Create Workflow’ to start a new automation project. You will need to name your workflow; for this tutorial, name it ‘Automate Podcast Transcription and Publishing’ and select a folder to save it.

  • Click on the ‘Create’ button to open the workflow window.
  • Choose a trigger application, which for this automation will be Google Drive.
  • Select the trigger event as ‘New File in a Specific Folder’.

Once you have set the trigger, click on ‘Connect’ to establish a connection with your Google Drive account. If you haven’t connected before, choose ‘Add a New Connection’ and follow the prompts to sign in with your Google account.


3. Setting Up the Google Drive Trigger

After connecting your Google Drive, select the specific folder where your podcast audio files are stored. Make sure this folder is shareable to enable Pabbly Connect to access it easily. using Pabbly Connect

  • Ensure the folder permissions are set to allow access for anyone with the link.
  • Upload your audio file in MP3 format to this folder.
  • Click on ‘Save and Send Test Request’ to verify the connection.

Upon successful setup, Pabbly Connect will capture the latest file added to your Google Drive, which will trigger the next steps in your automation workflow.


4. Automating Podcast Transcription with AI Agent

The next step involves using an AI agent, such as OpenAI, to transcribe your podcast. In this section, select OpenAI as your action application and choose the event ‘Generate Transcript’. using Pabbly Connect

Connect to OpenAI by adding a new connection, where you will need to enter your API key. This key can be obtained from your OpenAI account. Once connected, map the audio file URL from the previous Google Drive step to the input for the transcription.

Select the model for transcription, typically the latest version. Click on ‘Save and Send Test Request’ to generate the transcript. Review the generated transcript for accuracy.

Once the transcript is generated, you can use it in subsequent steps to create engaging posts for social media.


5. Publishing to Facebook Using Pabbly Connect

After generating the transcript, the final step is to publish a post on Facebook about your new podcast episode. Add another action step in your workflow and select Facebook as the action application.

Choose the action event as ‘Create Page Post’. Connect your Facebook account and select the appropriate page where you want to post the update. Map the content generated from the AI agent, including the transcript summary and any relevant hashtags.

Click on ‘Save and Send Test Request’ to publish the post. Check your Facebook page for the new post to verify it was published successfully.

With this setup, every time you upload a new podcast episode, Pabbly Connect will automatically handle the transcription and publishing process, saving you significant time and effort.


Conclusion

In this tutorial, we explored how to automate podcast transcription and publishing using Pabbly Connect. By integrating Google Drive, OpenAI, and Facebook, you can streamline your podcast workflow effectively. This automation not only saves time but also enhances audience engagement with timely updates.

Ensure you check out Pabbly Connect to create business automation workflows and reduce manual tasks. Pabbly Connect currently offer integration with 2,000+ applications.