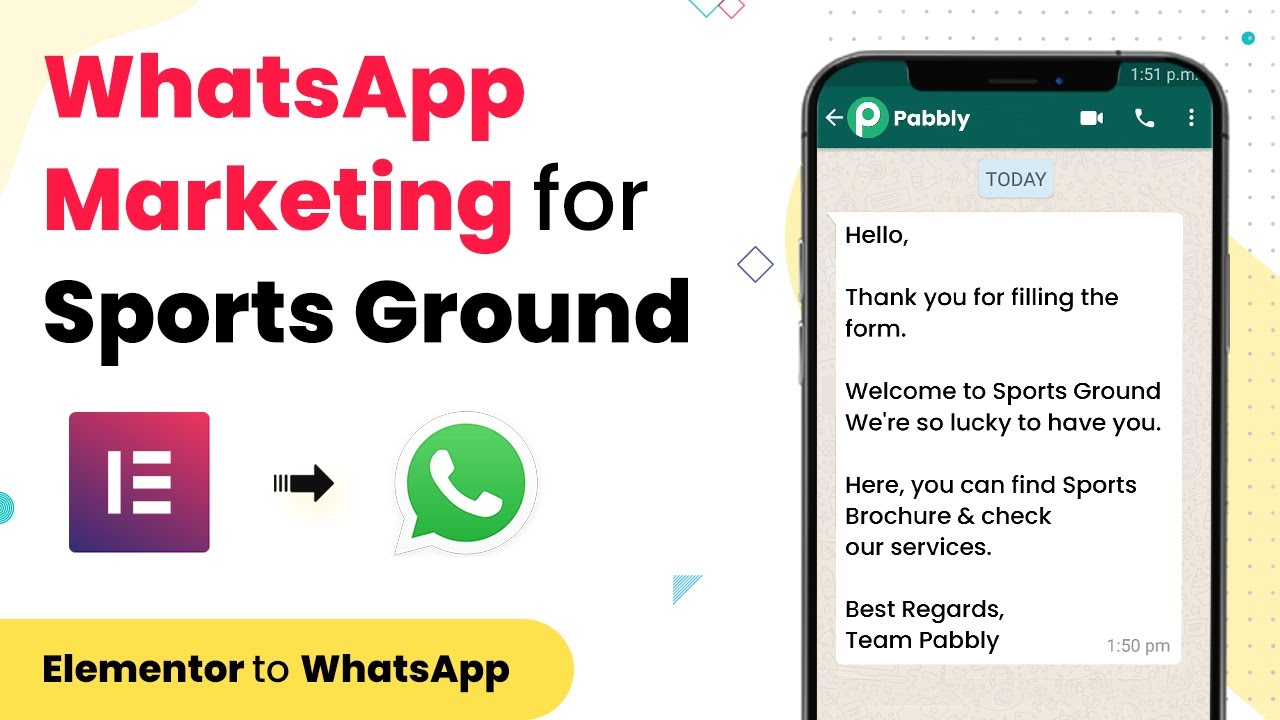
Automate WhatsApp Messages for Sports Ground Booking with Pabbly Connect

Learn how to automate sending WhatsApp messages for sports ground bookings using Pabbly Connect. Follow this detailed tutorial for seamless integration. Transform complex automation concepts into accessible, actionable steps that eliminate unnecessary manual work while maximizing existing application capabilities.

Watch Step By Step Video Tutorial Below


1. Setting Up Pabbly Connect for WhatsApp Integration

To begin automating WhatsApp messages for sports ground bookings, first, access Pabbly Connect. This platform is essential for integrating various applications and streamlining your workflow.

Once you log into Pabbly Connect, navigate to the ‘Create New Workflow’ option. Here, you will set up the automation to send WhatsApp messages whenever an inquiry is made on your website.


2. Selecting Applications in Pabbly Connect

In this step, you will choose the applications you want to integrate using Pabbly Connect. Start by selecting your inquiry form application, which collects customer details from your website.

  • Choose your inquiry form application.
  • Select WhatsApp as the messaging platform.
  • Connect both applications through Pabbly Connect.

After selecting the applications, set up the trigger event for your inquiry form. This is crucial as it will initiate the WhatsApp message once a customer submits their details.


3. Configuring the WhatsApp Message Template

Next, you need to configure the WhatsApp message template that will be sent to customers. Using Pabbly Connect, you can customize this message based on the information collected from the inquiry form.

Make sure to include the customer’s name and the details of their booking in the message. This personalization enhances customer engagement and satisfaction.

  • Include placeholders for customer name and booking details.
  • Use a friendly tone in your message.
  • Ensure the message is clear and concise.

Once your template is ready, save the changes in Pabbly Connect to ensure they are applied whenever an inquiry is made.


4. Testing the Integration in Pabbly Connect

After setting up the WhatsApp message template, it’s essential to test the integration. Use Pabbly Connect to simulate an inquiry submission and see if the WhatsApp message is sent correctly.

During testing, check for any errors or missing information in the message. This step is crucial to ensure that your customers receive accurate and timely notifications.

Submit a test inquiry through your website. Monitor the WhatsApp message received for accuracy. Adjust any settings in Pabbly Connect if necessary.

Once you confirm that the integration works flawlessly, you can proceed to launch it live on your website.


5. Final Setup and Launch of the Automation

With successful testing completed, it’s time to finalize your automation setup in Pabbly Connect. Ensure that all settings are correctly configured and that the workflow is active.

Once everything is set, monitor the initial inquiries to confirm that WhatsApp messages are being sent as intended. This will help you catch any issues early on.

After verifying everything works smoothly, your automation is ready to enhance customer engagement by sending timely WhatsApp messages for sports ground bookings.


Conclusion

In this tutorial, we explored how to use Pabbly Connect to automate sending WhatsApp messages for sports ground bookings when inquiries are made on your website. Implementing this automation will streamline your communication and improve customer satisfaction.

Ensure you check out Pabbly Connect to create business automation workflows and reduce manual tasks. Pabbly Connect currently offer integration with 2,000+ applications.

Integrating Google Sheets with Infusionsoft Using Pabbly Connect

Learn how to automatically add contacts to Infusionsoft from Google Sheets using Pabbly Connect with this step-by-step tutorial. Learn to create powerful connections between your critical applications without requiring specialized programming knowledge or extensive technical background.

Watch Step By Step Video Tutorial Below


1. Setting Up Pabbly Connect for Integration

To begin integrating Google Sheets with Infusionsoft, the first step is to set up Pabbly Connect. This platform allows you to automate the process of adding contacts from Google Sheets directly into Infusionsoft. Start by logging into your Pabbly Connect account.

Once logged in, navigate to the dashboard where you can create a new workflow. This will be the foundation of your integration. Click on the button to create a new workflow, and give it a name that reflects its purpose, such as ‘Google Sheets to Infusionsoft’.


2. Configuring Google Sheets in Pabbly Connect

In this section, you will configure Google Sheets as your trigger application within Pabbly Connect. This involves selecting Google Sheets from the list of applications and setting it as the trigger for your workflow. You will need to authorize Pabbly Connect to access your Google Sheets account.

  • Select ‘Google Sheets’ as the trigger application.
  • Choose the trigger event, such as ‘New Spreadsheet Row’.
  • Authorize Pabbly Connect to access your Google Sheets account.

After you’ve authorized Pabbly Connect, you will need to select the specific Google Sheet that contains the contact details you want to transfer to Infusionsoft. Make sure the sheet is formatted correctly to avoid any issues during the integration process.


3. Setting Up Infusionsoft in Pabbly Connect

Next, you will set up Infusionsoft as your action application in Pabbly Connect. This step is crucial as it defines what happens to the data collected from Google Sheets. Choose Infusionsoft from the list of applications and select the action event, such as ‘Add/Update Contact’.

During this step, you will also need to authorize Pabbly Connect to access your Infusionsoft account. Once authorized, map the fields from your Google Sheets data to the corresponding fields in Infusionsoft. This ensures that the correct information is transferred accurately.

  • Select ‘Infusionsoft’ as the action application.
  • Choose the action event, such as ‘Add/Update Contact’.
  • Authorize Pabbly Connect to access your Infusionsoft account.

Finally, confirm that all necessary fields are mapped correctly before proceeding. This setup will ensure that when a new row is added to your Google Sheets, the contact information will automatically update or create a new contact in Infusionsoft.


4. Testing the Integration with Pabbly Connect

After configuring both Google Sheets and Infusionsoft, the next step is to test your integration. Testing is essential to ensure that the data flows correctly from Google Sheets to Infusionsoft via Pabbly Connect. You can do this by adding a new row to your Google Sheets with sample contact information.

Once you’ve added the new row, return to Pabbly Connect and run the workflow to see if the contact is added to Infusionsoft. If everything is set up correctly, you should see the new contact appear in your Infusionsoft account.

If the test is successful, you can activate the workflow in Pabbly Connect to automate the process. This means every time you add a new contact in Google Sheets, it will automatically be added to Infusionsoft without any manual intervention.


5. Conclusion: Automate Your Contact Management

Integrating Google Sheets with Infusionsoft using Pabbly Connect streamlines your contact management process. By following the steps outlined in this tutorial, you can automate the addition of contacts, saving time and reducing manual errors.

Ensure you check out Pabbly Connect to create business automation workflows and reduce manual tasks. Pabbly Connect currently offer integration with 2,000+ applications.

This integration not only enhances efficiency but also ensures that your contact database is always up-to-date. Start using Pabbly Connect today to take advantage of this powerful automation tool!

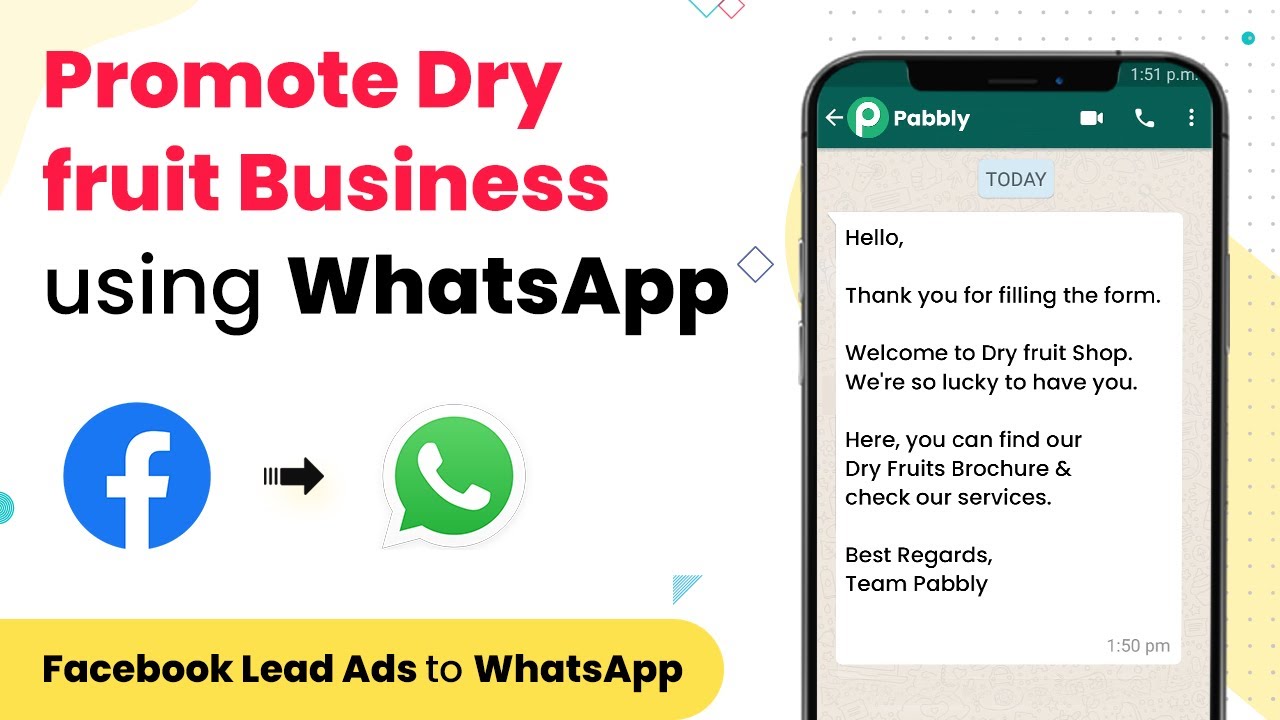
How to Grow Your Dry Fruit Business Using WhatsApp and Pabbly Connect

Learn how to grow your dry fruit business using WhatsApp with Pabbly Connect for seamless integration and effective marketing strategies. Eliminate manual repetitive tasks from your workflow. Discover proven automation methods with intuitive steps designed for efficiency-minded professionals.

Watch Step By Step Video Tutorial Below


1. Introduction to Pabbly Connect for Dry Fruit Business

Pabbly Connect is an essential tool for growing your dry fruit business using WhatsApp. This automation platform helps integrate various applications like Facebook and Gmail to streamline marketing efforts. By using Pabbly Connect, you can automate customer interactions and enhance your marketing strategies.

To start, create an account on Pabbly Connect. Once logged in, you can set up integrations that connect your WhatsApp with other platforms, allowing for seamless communication with your customers. This integration is crucial for managing customer inquiries and automating responses efficiently.


2. Setting Up WhatsApp Integration with Pabbly Connect

To set up WhatsApp integration, you first need to navigate to the Pabbly Connect dashboard. Here, you can create a new workflow that will connect WhatsApp with other applications. Follow these steps to get started:

  • Select ‘Create Workflow’ from the dashboard.
  • Name your workflow, such as ‘Dry Fruit Business WhatsApp Integration’.
  • Choose WhatsApp as the trigger application.

After selecting WhatsApp, you will need to authenticate your WhatsApp account. This is done by following the on-screen instructions provided by Pabbly Connect. Once authenticated, you can start sending automated messages to your customers, enhancing communication and engagement.


3. Automating Customer Responses with Pabbly Connect

Once your WhatsApp is integrated with Pabbly Connect, you can automate responses to customer inquiries. This automation not only saves time but also ensures that your customers receive timely responses. To set this up, create a new action in your workflow:

  • Select ‘Send WhatsApp Message’ as the action event.
  • Customize your message template to include customer names and product details.
  • Test the integration to ensure messages are sent correctly.

This automation feature of Pabbly Connect allows you to keep your customers informed about new products, promotions, and other essential information, thus enhancing customer satisfaction and driving sales.


4. Using Facebook for Marketing Your Dry Fruit Business

Integrating Facebook with Pabbly Connect can significantly enhance your marketing efforts. By connecting your Facebook page to Pabbly Connect, you can automate posts and engage with your audience effectively. Start by creating a new workflow that includes the following steps:

Select Facebook as the trigger application. Choose the event that triggers the workflow, such as ‘New Post’. Link your Facebook account to Pabbly Connect.

This integration allows you to post updates about your dry fruit products directly to your Facebook page. Additionally, you can create engaging content that encourages followers to interact and share, thus expanding your reach.


5. Final Steps and Best Practices for Using Pabbly Connect

After setting up your integrations, it’s essential to monitor their performance. Use the analytics features in Pabbly Connect to track customer interactions and engagement levels. This data can help you refine your marketing strategies and improve customer service.

Additionally, ensure that your messaging is consistent across all platforms. Regularly update your message templates in Pabbly Connect to reflect new products or promotions. By maintaining a strong communication strategy, you can effectively grow your dry fruit business through WhatsApp and other integrated platforms.


Conclusion

By leveraging Pabbly Connect for integrating WhatsApp with Facebook and other applications, you can significantly enhance your dry fruit business. This automation not only saves time but also improves customer engagement and satisfaction, driving sales and growth.

Ensure you check out Pabbly Connect to create business automation workflows and reduce manual tasks. Pabbly Connect currently offer integration with 2,000+ applications.

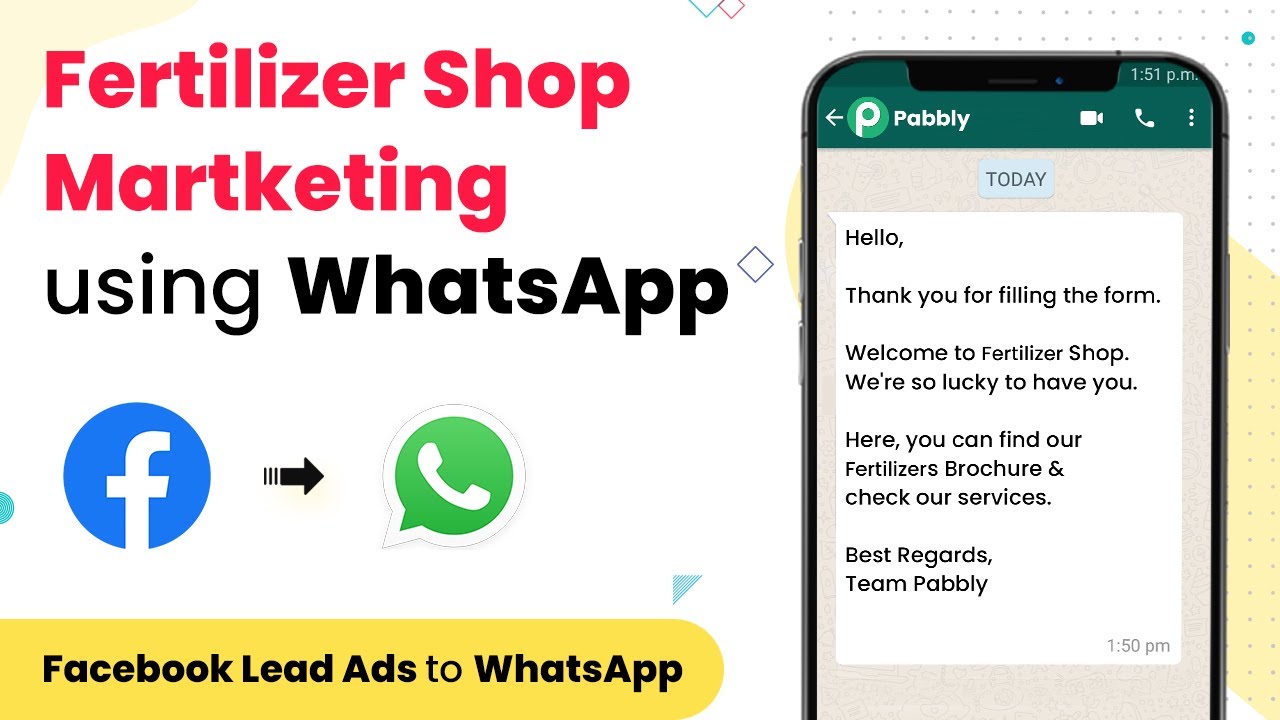
How to Use WhatsApp for Marketing of Fertilizer Shop with Pabbly Connect

Learn how to effectively market your fertilizer shop using WhatsApp and Pabbly Connect to automate your lead responses seamlessly. Follow this definitive guide to creating powerful automated workflows with straightforward, efficiency-focused solutions that save valuable time.

Watch Step By Step Video Tutorial Below


1. Introduction to Pabbly Connect for Fertilizer Shop Marketing

In this tutorial, we will discuss how to leverage Pabbly Connect for marketing your fertilizer shop through WhatsApp. By integrating various applications, you can automate responses to leads generated from your Facebook ads. This process ensures that you engage with potential customers promptly, enhancing your marketing efforts.

Pabbly Connect serves as the central platform that connects Facebook Lead Ads with WhatsApp. This integration allows you to send personalized messages along with your fertilizer shop’s brochure directly to leads who express interest in your products.


2. Setting Up Pabbly Connect for Facebook Lead Ads

To start using Pabbly Connect, navigate to the Pabbly website and create an account if you haven’t already. Once logged in, access Pabbly Connect from the dashboard to begin creating your workflow for the fertilizer shop.

  • Go to Pabbly Connect and click on ‘Create Workflow’.
  • Name your workflow appropriately, e.g., ‘WhatsApp Marketing for Fertilizer Shop’.
  • Select Facebook Lead Ads as the trigger application.

After setting up the workflow, you will need to connect your Facebook account to Pabbly Connect. This connection allows Pabbly Connect to capture lead data from your Facebook ads, streamlining the process of reaching out to potential customers.


3. Capturing Lead Data from Facebook Ads

Once you have set up the trigger in Pabbly Connect, the next step is to capture lead data from Facebook Lead Ads. This involves selecting the specific ad campaign and lead form that you wish to monitor for new submissions.

To capture data effectively, follow these steps:

  • Fill out a test lead form on Facebook to generate sample data.
  • Return to Pabbly Connect and click on ‘Save and Send Test Request’.
  • Verify that the captured data includes the lead’s name, phone number, and email address.

By capturing this data, Pabbly Connect prepares to send personalized messages to leads via WhatsApp, enhancing your marketing strategy.


4. Sending Messages via WhatsApp with Pabbly Connect

After capturing lead data through Pabbly Connect, the next step is to send a message to the lead’s WhatsApp number. This is done using the 360 Dialog application, which facilitates WhatsApp messaging through Pabbly Connect.

To send messages, follow these detailed steps:

Connect your 360 Dialog account to Pabbly Connect by providing the required API key and domain. Select the message template you created for sending the brochure. Map the lead data from Facebook to the message fields in the template.

This process allows you to send personalized messages that thank leads for their interest and provide them with your fertilizer shop brochure, enhancing customer engagement.


5. Conclusion: Automating Your Fertilizer Shop Marketing

In conclusion, using Pabbly Connect to integrate Facebook Lead Ads with WhatsApp offers a powerful way to automate your marketing efforts for your fertilizer shop. By setting up this workflow, you can efficiently manage leads and ensure timely communication with potential customers.

Ensure you check out Pabbly Connect to create business automation workflows and reduce manual tasks. Pabbly Connect currently offer integration with 2,000+ applications.

Implementing this integration not only saves time but also increases the likelihood of converting leads into sales. Start using Pabbly Connect today to streamline your marketing processes and enhance your fertilizer shop’s outreach.


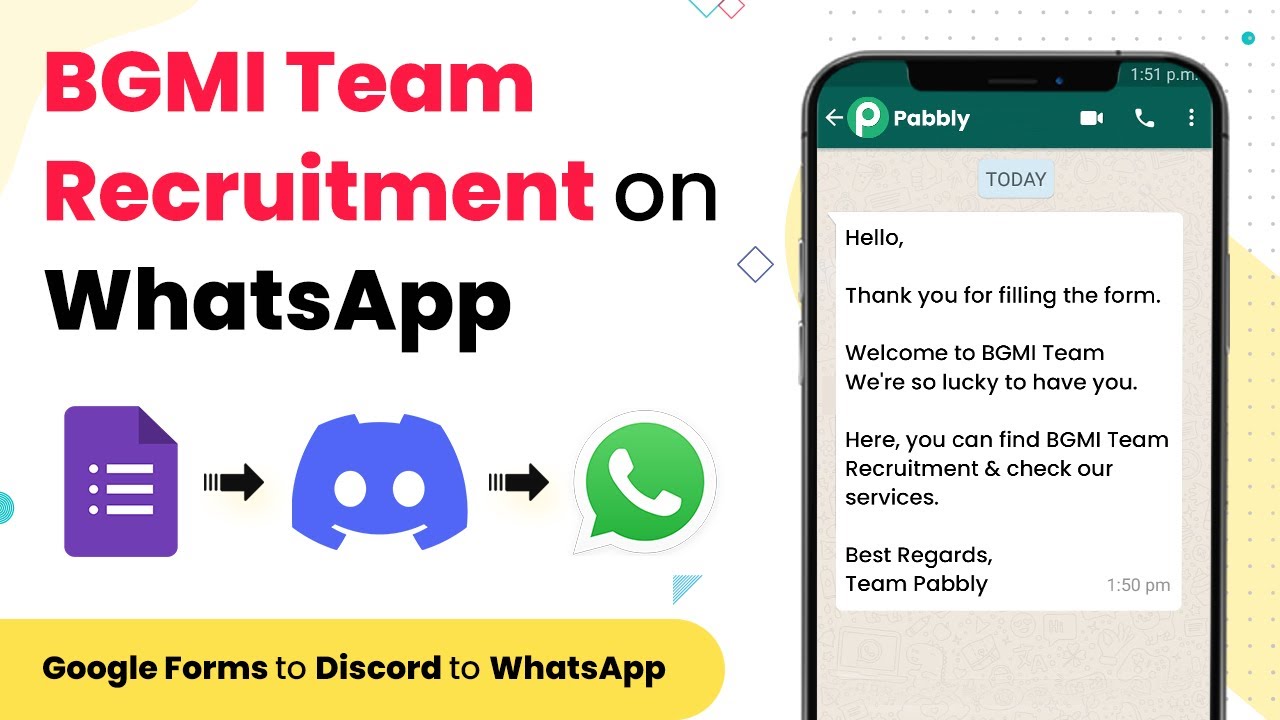
How to Create a BGMI Team with Discord, Google Forms, and WhatsApp Using Pabbly Connect

Learn how to create a BGMI recruitment team using Pabbly Connect to integrate Discord, Google Forms, and WhatsApp seamlessly. Build sophisticated automated workflows in less time than you think. This guide translates complex integrations into straightforward steps for immediate implementation.

Watch Step By Step Video Tutorial Below


1. Introduction to Pabbly Connect for BGMI Team Recruitment

In this tutorial, we will explore how to use Pabbly Connect to create a BGMI recruitment team by integrating Discord, Google Forms, and WhatsApp. This integration process simplifies team management and enhances communication.

First, you need to log into your Pabbly Connect account. If you don’t have an account, create one for free. Once logged in, you will be ready to connect the applications needed for your BGMI team recruitment.


2. Setting Up Google Forms with Pabbly Connect

To start the recruitment process, create a Google Form where participants can fill in their details. This form will serve as the entry point for all applicants. Using Pabbly Connect, you can automate the process of sending responses to your team.

  • Create a new Google Form.
  • Add fields such as Name, Email, and WhatsApp Number.
  • Set up a confirmation message for form submission.

Once your Google Form is ready, you can connect it to Pabbly Connect to capture the responses automatically. This integration allows you to gather participant information efficiently.


3. Integrating Discord with Pabbly Connect

Next, we will integrate Discord using Pabbly Connect. This integration allows you to send notifications to your Discord channel whenever a new participant submits the Google Form. Start by selecting Discord as your application in Pabbly Connect.

Follow these steps to set up the integration:

  • Choose the ‘Send Channel Message’ action.
  • Connect your Discord account by authorizing Pabbly Connect.
  • Select the channel where you want to send notifications.

Now, every time a participant fills out the Google Form, a message will be sent to your chosen Discord channel, keeping your team updated in real-time.


4. Sending WhatsApp Notifications via Pabbly Connect

The final step in our integration process involves sending WhatsApp notifications to participants. By using Pabbly Connect, you can automate the process of sending welcome messages to your new team members.

Here’s how to set it up:

Select WhatsApp as the application in Pabbly Connect. Choose the action to send a message. Map the WhatsApp number from the Google Form responses.

Once configured, every participant will receive a personalized welcome message on WhatsApp, enhancing their onboarding experience.


5. Finalizing Your BGMI Team Recruitment Process

After setting up the integrations with Google Forms, Discord, and WhatsApp through Pabbly Connect, your BGMI team recruitment process is fully automated. This means that all participant data will flow seamlessly between the platforms.

To ensure everything is working correctly, test the entire process by submitting a test entry through your Google Form. Check if the notifications are sent to Discord and WhatsApp as expected. This step is crucial to confirm that Pabbly Connect is functioning correctly.

With this setup, you can efficiently manage your BGMI team recruitment, streamline communications, and keep your team updated instantly.


Conclusion

In this tutorial, we demonstrated how to create a BGMI team recruitment process using Pabbly Connect to integrate Google Forms, Discord, and WhatsApp. This automation simplifies participant management and enhances communication, making your recruitment process efficient and effective.

Ensure you check out Pabbly Connect to create business automation workflows and reduce manual tasks. Pabbly Connect currently offer integration with 2,000+ applications.

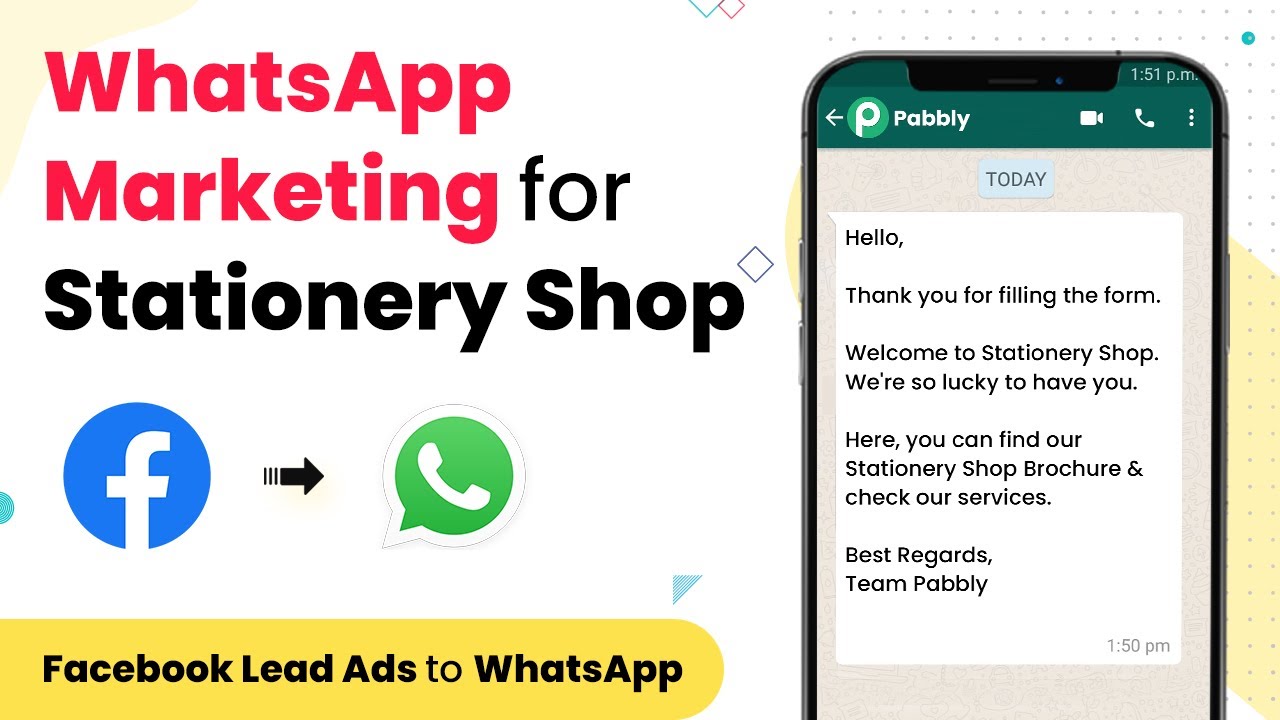
Get More Customers in Your Stationery Shop Business using Pabbly Connect and WhatsApp via Facebook Lead Ads

Learn how to integrate WhatsApp with Facebook Lead Ads using Pabbly Connect to enhance your stationery shop business and attract more customers. Transform complex automation concepts into accessible, actionable steps that eliminate unnecessary manual work while maximizing existing application capabilities.

Watch Step By Step Video Tutorial Below


1. Access Pabbly Connect for Integration

To start integrating WhatsApp with Facebook Lead Ads, you need to access Pabbly Connect. First, navigate to the Pabbly Connect website and sign up for a free account if you are a new user.

Once logged in, you will be directed to the Pabbly Connect dashboard. From here, click on the ‘Create Workflow’ button to begin setting up your automation process. It’s essential to have a clear workflow name, such as ‘Send Stationery Shop Brochure to Leads’.


2. Setting Up Facebook Lead Ads as Trigger in Pabbly Connect

In this step, you will set up Facebook Lead Ads as the trigger for your workflow in Pabbly Connect. Click on the ‘Choose App’ option and select Facebook Lead Ads from the dropdown menu. This action will allow you to capture leads directly from your Facebook ads.

  • Select the Facebook Page linked to your stationery shop.
  • Choose the specific lead generation form you have created for your ads.
  • Click on the ‘Save & Send Test Request’ button to test the connection.

After successfully connecting, Pabbly Connect will fetch the most recent lead data from your Facebook Lead Ads. This data will be used in the next steps to send messages via WhatsApp.


3. Sending WhatsApp Messages Using Pabbly Connect

Now that your lead data is captured, the next step is to send a WhatsApp message using Pabbly Connect. You need to create a new action step by selecting the ‘WhatsApp’ app from the list.

To proceed, you will need to enter your WhatsApp API credentials. Follow these steps:

  • Input your API key and domain from your WhatsApp service provider.
  • Select the message template that you want to send to your leads.
  • Customize the message with the lead’s name and any other relevant details.

Once you have set up the message, click on the ‘Save’ button to finalize this action. This integration will ensure that every new lead from your Facebook ads receives a personalized WhatsApp message with your stationery shop brochure attached.


4. Testing the Integration Workflow

After setting up both the trigger and action, it’s crucial to test the entire workflow in Pabbly Connect. You can do this by submitting a test lead through your Facebook Lead Ads form.

Once the test lead is submitted, monitor the Pabbly Connect dashboard to see if the WhatsApp message is sent successfully. If everything is configured correctly, you should see the message appear in your WhatsApp account shortly after the lead is captured.

In case of any issues, revisit the steps to ensure that all fields and settings are correctly configured. It’s essential to troubleshoot any problems to ensure a smooth customer interaction process.


Conclusion

By using Pabbly Connect, you can effectively automate the process of sending WhatsApp messages to leads generated through Facebook Lead Ads. This integration streamlines your communication efforts, helping you get more customers for your stationery shop business.

Ensure you check out Pabbly Connect to create business automation workflows and reduce manual tasks. Pabbly Connect currently offer integration with 2,000+ applications.

Implementing this workflow not only saves time but also enhances customer engagement, ensuring that your leads are promptly followed up with personalized messages.

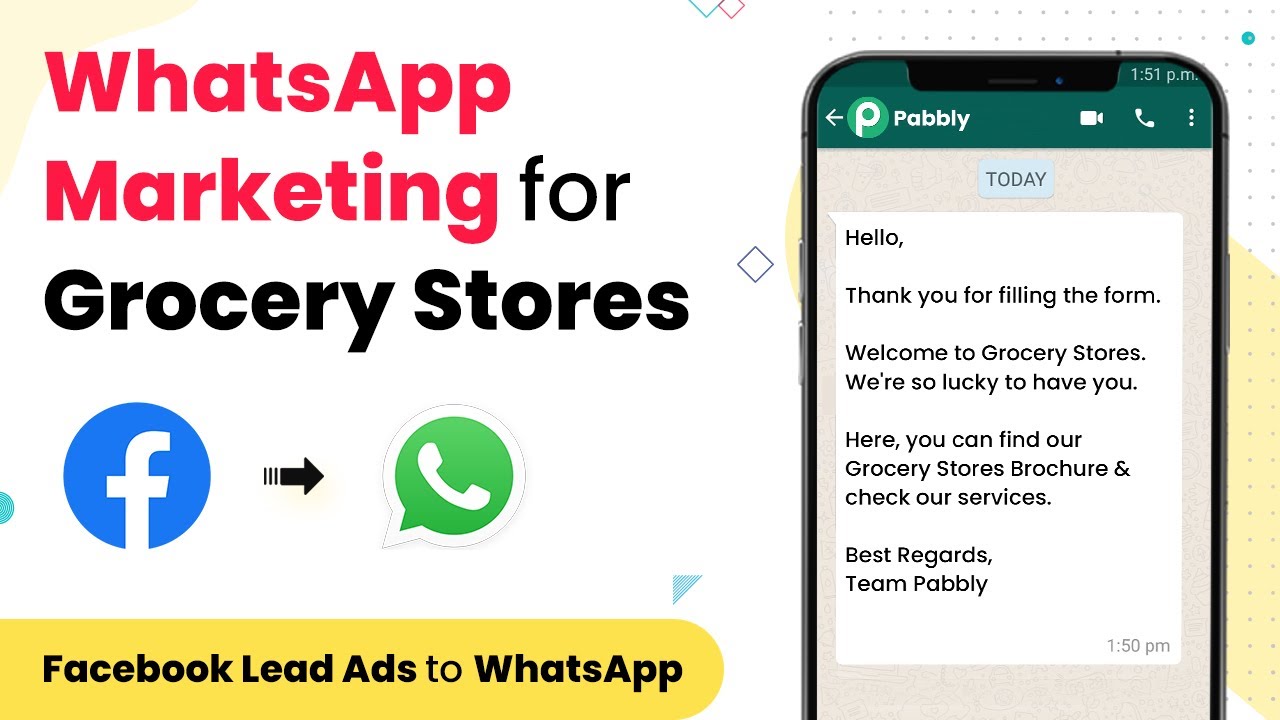
Automate Sending Grocery Store Flyers to Facebook Leads on WhatsApp Using Pabbly Connect

Learn how to automatically send grocery store online flyers to Facebook leads on WhatsApp using Pabbly Connect in this detailed tutorial. Transform complex automation concepts into accessible, actionable steps that eliminate unnecessary manual work while maximizing existing application capabilities.

Watch Step By Step Video Tutorial Below


1. Introduction to Pabbly Connect for Automation

Pabbly Connect is an automation solution that enables you to seamlessly integrate various applications. In this tutorial, we will learn how to send grocery store online flyers to Facebook leads on WhatsApp automatically using Pabbly Connect. This integration simplifies the process of reaching out to potential customers through WhatsApp.

To begin, you need to access your Pabbly Connect account. If you don’t have one, you can easily create it. Once you’re logged in, you can start setting up the automation by selecting the applications you want to integrate.


2. Setting Up Facebook Leads in Pabbly Connect

To send flyers to your Facebook leads, you first need to set up Facebook as a trigger in Pabbly Connect. This will allow you to capture leads directly from your Facebook page. Start by selecting Facebook as your trigger app.

  • Choose the trigger event as ‘New Lead’
  • Connect your Facebook account to Pabbly Connect
  • Select the Facebook page from which you want to capture leads

After setting up the trigger, you can test it to ensure that Pabbly Connect is capturing leads correctly. This step is crucial for the automation to work effectively.


3. Integrating WhatsApp with Pabbly Connect

Once you have set up Facebook leads, the next step is to integrate WhatsApp for sending messages. In Pabbly Connect, choose WhatsApp as your action application. This will enable you to send messages directly to the leads captured from Facebook.

Follow these steps to complete the WhatsApp integration:

  • Select the action event as ‘Send Message’
  • Connect your WhatsApp account to Pabbly Connect
  • Map the fields such as phone number and message content

This integration allows you to send personalized messages to each lead, enhancing your engagement with potential customers.


4. Creating and Sending Flyers Automatically

Now that you have integrated Facebook and WhatsApp through Pabbly Connect, the next step is to create the online flyers you want to send. You can create these flyers using any graphic design tool or template that suits your grocery store’s branding.

Once your flyers are ready, upload them to a cloud storage service like Google Drive. In Pabbly Connect, you can set up a step to fetch these flyers and include them in your WhatsApp messages. Here’s how:

Use the Google Drive integration to fetch the flyer link Include the flyer link in your WhatsApp message Test the message to ensure the flyer is sent correctly

By automating this process, you ensure that every new lead receives your latest promotions instantly.


5. Conclusion: Automate Your Grocery Store Promotions

In conclusion, using Pabbly Connect to automate sending grocery store flyers to Facebook leads on WhatsApp is a game-changer for your business. With this integration, you can effortlessly reach out to potential customers and keep them informed about your latest offers.

Ensure you check out Pabbly Connect to create business automation workflows and reduce manual tasks. Pabbly Connect currently offer integration with 2,000+ applications.

By following the steps outlined in this tutorial, you can set up an efficient workflow that maximizes your outreach and engagement. Start leveraging the power of automation with Pabbly Connect today!


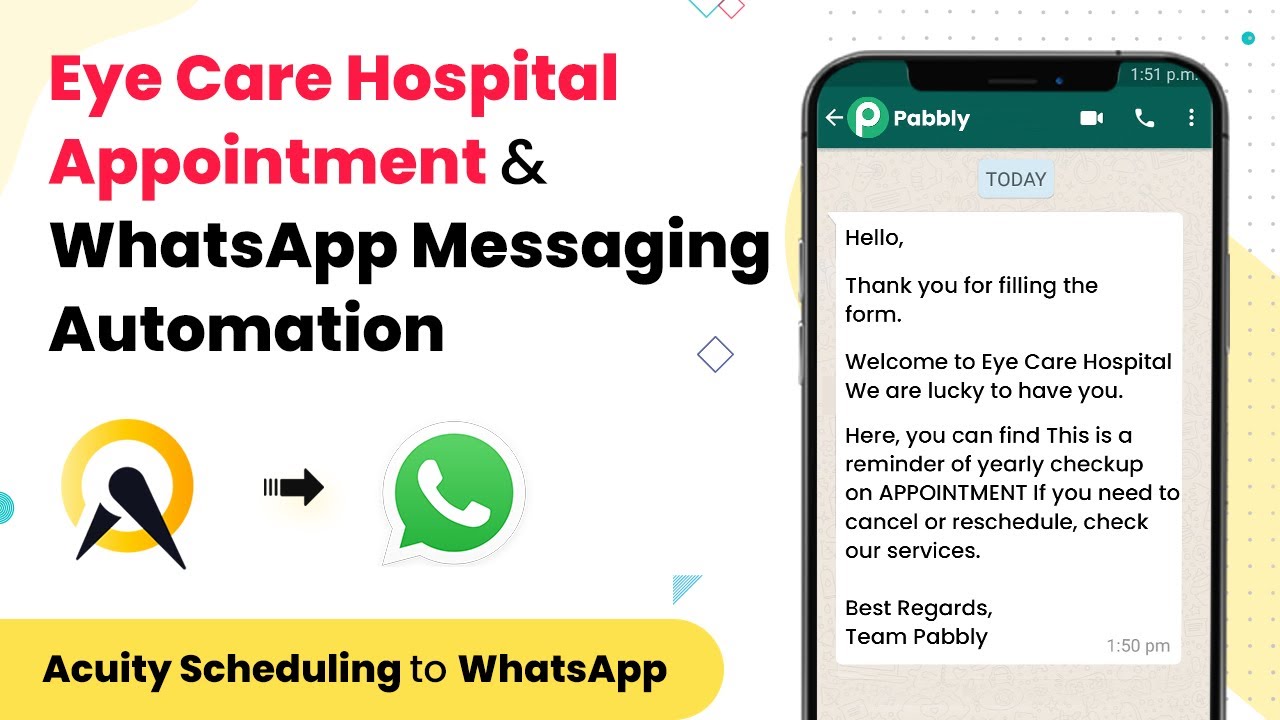
Integrate Pabbly Connect for Eye Care Appointments and WhatsApp Notifications

Learn how to use Pabbly Connect to automate appointment bookings for Eye Care Hospitals and send booking confirmations via WhatsApp. Develop expertise in application integration and learn how to design streamlined automation workflows using proven, simplified approaches.

Watch Step By Step Video Tutorial Below


1. Setting Up Pabbly Connect for Appointment Booking

In this section, we will explore how to set up Pabbly Connect to manage appointment bookings for an Eye Care Hospital. First, access the Pabbly Connect dashboard by logging into your account. Once logged in, click on ‘Create Workflow’ to begin the integration process.

After creating a workflow, you will need to select a trigger application. In this case, choose Facebook or YouTube, depending on where the appointment requests are coming from. This setup allows Pabbly Connect to capture new appointment requests automatically.


2. Configuring Appointment Details

Next, you will need to configure the details of the appointment booking. Use Pabbly Connect to connect to the appointment booking page. This step is crucial as it will allow you to collect patient information effectively.

  • Enter the patient’s name and contact details.
  • Select the appointment date and time.
  • Provide any additional notes relevant to the appointment.

Once the details are filled in, Pabbly Connect will allow you to save this information and prepare for the next step, which involves sending a confirmation message.


3. Sending Confirmation via WhatsApp

The next crucial step is to send a booking confirmation to the patients via WhatsApp. Utilize Pabbly Connect to integrate with WhatsApp Web, ensuring that each patient receives their confirmation message automatically.

To set this up, select WhatsApp as the action application in Pabbly Connect. Create a message template that includes the patient’s name, appointment date, and time. This template will be used to send personalized confirmations.


4. Testing and Verifying Integration

After setting up the workflow, it’s essential to test the integration to ensure everything is functioning correctly. Use Pabbly Connect to simulate an appointment booking and verify that the confirmation message is sent to the specified WhatsApp number.

Check the logs in Pabbly Connect to ensure that the data is being captured accurately and that the confirmation messages are being delivered without errors. This step is vital to ensure smooth operation during actual appointment bookings.


5. Conclusion

In conclusion, using Pabbly Connect to automate appointment bookings for Eye Care Hospitals and send confirmations via WhatsApp streamlines the process significantly. By following these steps, you can enhance patient experience and improve operational efficiency.

Ensure you check out Pabbly Connect to create business automation workflows and reduce manual tasks. Pabbly Connect currently offer integration with 2,000+ applications.

Integrating Pabbly Connect with your appointment system not only saves time but also ensures that patients receive timely updates regarding their appointments, making the process seamless and efficient.

Promote Your Musical Instrument Business on WhatsApp with Pabbly Connect

Learn how to promote your musical instrument business on WhatsApp using Pabbly Connect. Boost sales by engaging customers through seamless integrations with Facebook and YouTube.

Watch Step By Step Video Tutorial Below


1. Accessing Pabbly Connect for Integrations

To promote your musical instrument business effectively, the first step is to access Pabbly Connect. This powerful integration platform allows you to connect various applications seamlessly.

Once you log into your Pabbly Connect account, you can start creating workflows that will automate your promotional activities. This process ensures that you can engage customers efficiently through various channels.


2. Integrating Facebook with Pabbly Connect

Integrating Facebook with Pabbly Connect is crucial for promoting your musical instrument business. Start by selecting the Facebook application within the Pabbly Connect dashboard.

  • Log in to your Facebook account through Pabbly Connect.
  • Select the page you want to connect for promotions.
  • Authorize Pabbly Connect to access your Facebook account.

After completing these steps, your Facebook account will be integrated with Pabbly Connect, allowing you to automate posts and engage with your audience effectively.


3. Sending Messages via WhatsApp through Pabbly Connect

Using Pabbly Connect, you can send automated messages to customers via WhatsApp. This feature is essential for keeping your audience informed about new products and promotions.

To set this up, create a new workflow in Pabbly Connect and choose WhatsApp as the action application. You will need to:

  • Select the trigger event for sending messages.
  • Map the customer details from your Facebook leads.
  • Customize your message template to engage customers effectively.

Once these steps are completed, Pabbly Connect will automate message sending, allowing you to maintain constant communication with your customers.


4. Boosting Sales with Pabbly Connect Integrations

To effectively boost sales, integrating multiple platforms through Pabbly Connect is essential. This means connecting your Facebook, WhatsApp, and email marketing tools to create a seamless promotional strategy.

By leveraging these integrations, you can:

Automatically send promotional emails to leads captured from Facebook. Engage customers through personalized WhatsApp messages. Track customer interactions and improve your marketing strategy.

Using Pabbly Connect for these integrations allows your musical instrument business to operate more efficiently and effectively, ultimately leading to increased sales.


5. Conclusion: Engage Customers with Pabbly Connect

In conclusion, using Pabbly Connect to promote your musical instrument business on WhatsApp is a game changer. By integrating Facebook, YouTube, and other applications, you can engage customers more effectively.

Ensure you check out Pabbly Connect to create business automation workflows and reduce manual tasks. Pabbly Connect currently offer integration with 2,000+ applications.

This seamless integration not only boosts sales but also enhances customer relationships. Start using Pabbly Connect today to elevate your business to new heights.

How to Send Your Party Equipment Rental Plan to Facebook Leads on WhatsApp Using Pabbly Connect

Learn how to automate sending your party equipment rental plans to Facebook leads on WhatsApp using Pabbly Connect. Step-by-step tutorial included. Revolutionize your productivity approach with just a few strategic clicks. Uncover professional methods for connecting applications and creating workflows that reclaim hours of your week.

Watch Step By Step Video Tutorial Below


1. Setting Up Pabbly Connect for Integration

To send your party equipment rental plan to Facebook leads on WhatsApp, the first step is to set up Pabbly Connect. This powerful automation tool allows you to connect various applications seamlessly. Start by visiting the Pabbly Connect website and signing up for a free account.

Once logged in, navigate to the dashboard where you can create a new workflow. Click on the ‘Create Workflow’ button and name your workflow appropriately, such as ‘Facebook Leads to WhatsApp’. This sets the stage for your automation process.


2. Connecting Facebook Leads with Pabbly Connect

The next step involves connecting your Facebook leads to Pabbly Connect. In your newly created workflow, select Facebook as the trigger application. You will need to authenticate your Facebook account to allow Pabbly Connect to access your leads.

  • Choose the correct Facebook page that collects leads.
  • Select the lead form that you have created for your party equipment rental service.
  • Test the connection to ensure that Pabbly Connect can retrieve lead data from Facebook.

After successfully connecting Facebook, you will be able to capture lead information directly into Pabbly Connect. This data will be crucial for sending messages via WhatsApp.


3. Sending Messages to WhatsApp via Pabbly Connect

Now that you have your Facebook leads connected, it’s time to set up WhatsApp messaging through Pabbly Connect. Select WhatsApp as the action application. You will need to authenticate your WhatsApp account using the API provided by your WhatsApp service provider.

  • Choose the message template you want to send to your leads.
  • Map the lead’s phone number to the WhatsApp number field in Pabbly Connect.
  • Customize the message body to include your rental plan details.

After configuring the message, conduct a test to verify that the message is sent correctly to WhatsApp. This ensures that your leads receive the necessary information without any hitches.


4. Finalizing the Integration with Pabbly Connect

With the WhatsApp message setup complete, the final step is to finalize your integration in Pabbly Connect. Review all settings to ensure everything is correctly configured. Make sure to save your workflow to avoid losing any changes.

You can also set up additional filters or conditions if you want to customize the flow further. For instance, you might want to send messages only to leads who have shown specific interests in your rental services.


5. Testing the Workflow for Efficiency

Once your integration is finalized, it’s crucial to test the entire workflow in Pabbly Connect. This involves generating a test lead from your Facebook page and checking if the message is sent to WhatsApp as intended.

During the test, monitor both the Facebook and WhatsApp accounts to ensure that the data is flowing correctly. If any issues arise, revisit the workflow settings and make necessary adjustments.

By successfully setting up this automation, you streamline your communication with potential customers and enhance your service efficiency.


Conclusion

Using Pabbly Connect, you can automate sending your party equipment rental plans to Facebook leads via WhatsApp efficiently. This integration not only saves time but also improves customer engagement.

Ensure you check out Pabbly Connect to create business automation workflows and reduce manual tasks. Pabbly Connect currently offer integration with 2,000+ applications.