How to Extract and Summarize Data from Google Sheets using Pabbly Connect

Learn how to automate data extraction and summarization from Google Sheets using Pabbly Connect and AI Agent. Step-by-step tutorial included. Master proven automation processes with practical implementation examples and strategic recommendations you can apply immediately in your workflow.

Watch Step By Step Video Tutorial Below


1. Accessing Pabbly Connect for Automation

To start automating the data extraction and summarization process, first, access Pabbly Connect. Visit the official Pabbly website and sign in to your account. If you are a new user, you can sign up for free and receive 100 tasks monthly.

Once logged in, navigate to the Pabbly Connect dashboard where you can create new workflows. This is the central hub for all your automation tasks. Click on the ‘Create Workflow’ button to initiate the setup for integrating Google Sheets with AI Agent through Pabbly Connect.


2. Setting Up Your Workflow in Pabbly Connect

In this section, you will set up your workflow in Pabbly Connect to extract and summarize data from Google Sheets. Start by naming your workflow appropriately, such as ‘Extract and Summarize Data from Google Sheets’. This helps you identify the workflow later.

  • Click on the ‘Create’ button to start the workflow.
  • Select Google Sheets as the trigger application.
  • Choose the trigger event as ‘New Spreadsheet Row’.

After setting the trigger, you will need to connect your Google Sheets account with Pabbly Connect. Follow the prompts to authenticate your Google account and allow necessary permissions. This connection enables Pabbly Connect to fetch data from your specified Google Sheets.


3. Configuring AI Agent in Pabbly Connect

Once your Google Sheets trigger is set up, the next step is to configure the AI Agent within Pabbly Connect. This agent will process the data extracted from Google Sheets. Select OpenAI as the action application and choose the action event as ‘Generate Summary’.

Now, you need to provide the necessary API key for OpenAI. This key allows Pabbly Connect to communicate with the AI Agent. If you don’t have an API key, you can generate one from your OpenAI account. Ensure that you enter this key in the specified field to establish a successful connection.


4. Sending Summarized Data to Slack

After the AI Agent summarizes the data, the next step is to send this information to your team via Slack. In this step, select Slack as the action application within Pabbly Connect. Choose the action event as ‘Send Channel Message’.

  • Enter your Slack channel ID where the message should be sent.
  • Compose the message that includes the summary generated by OpenAI.
  • Test the action to ensure that the message is sent successfully to Slack.

This integration allows real-time communication of summarized data to your team, enhancing collaboration and decision-making. With Pabbly Connect, this entire process is automated and requires no manual intervention.


5. Testing and Activating Your Workflow

The final step in this automation process is to test and activate your workflow in Pabbly Connect. After setting up all necessary integrations, it is crucial to run a test to ensure everything works smoothly. Add a new row in your Google Sheets and check if the summary is generated and sent to Slack.

If the test is successful, you can activate your workflow. This will ensure that every time new data is added to your Google Sheets, the summary will be automatically generated and sent to your Slack channel. This automated workflow saves time and improves efficiency in your data management processes.


Conclusion

Using Pabbly Connect to automate data extraction and summarization from Google Sheets significantly enhances productivity. By following this tutorial, you can seamlessly integrate multiple applications and streamline your workflow.

Ensure you check out Pabbly Connect to create business automation workflows and reduce manual tasks. Pabbly Connect currently offer integration with 2,000+ applications.

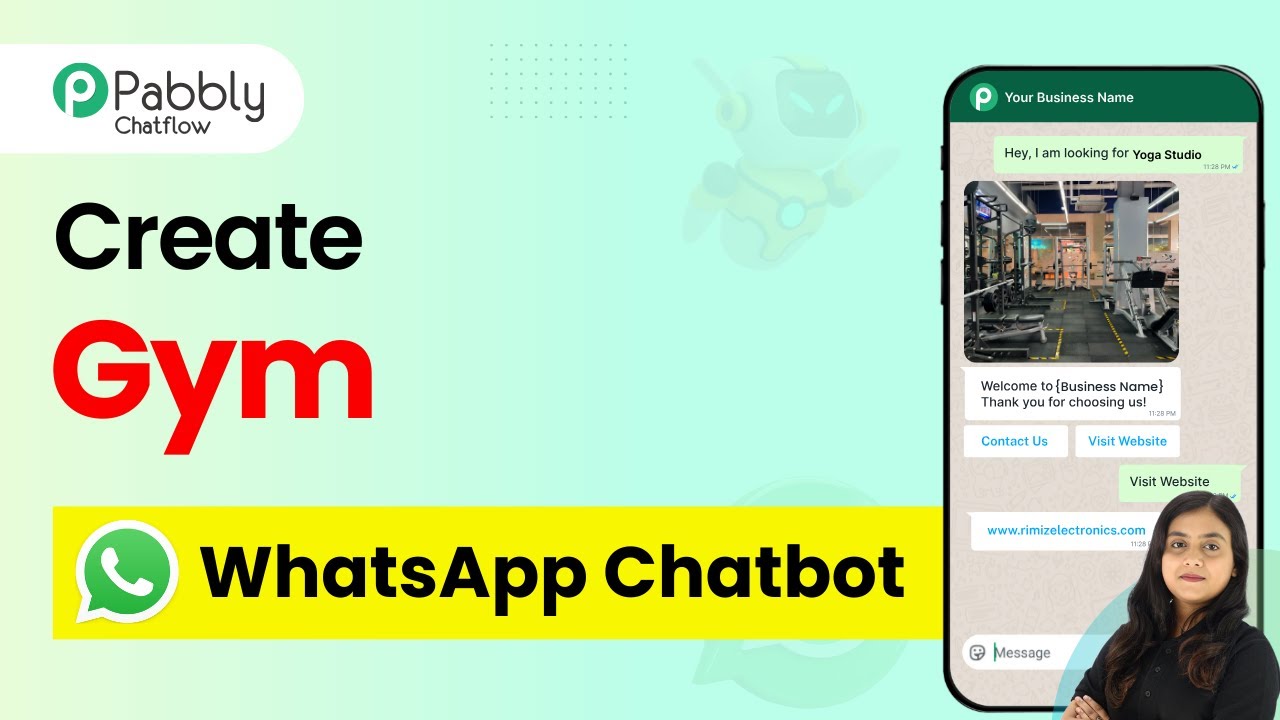
How to Build a WhatsApp Chatbot for a Gym Using Pabbly Chatflow

Learn to create an interactive WhatsApp chatbot for your gym using Pabbly Chatflow. Follow our detailed tutorial for seamless integration with Facebook and YouTube. Discover how to design chat experiences that feel personal and responsive while handling customer inquiries automatically around the clock.

Watch Step By Step Video Tutorial Below


1. Accessing Pabbly Chatflow to Build Your Gym WhatsApp Chatbot

To build a WhatsApp chatbot for your gym, you need to access Pabbly Chatflow. Start by visiting the Pabbly Chatflow website at pave.com/chatflow/inr/. If you are a new user, you can sign up for free and receive 100 free tasks every month.

Once you have signed up, log into your Pabbly Chatflow account. After logging in, you will see the dashboard where you can access various Pabbly products. Click on the ‘Access Now’ button for Pabbly Chatflow to begin.


2. Creating a Flow in Pabbly Chatflow

After accessing Pabbly Chatflow, you need to create a flow for your WhatsApp chatbot. Navigate to the ‘Flows’ section from the left panel and click on the ‘Add Flow’ button.

  • Click on ‘Add Flow’ to create a new flow.
  • Rename your flow as ‘Gym Bot’.
  • Set up trigger keywords such as ‘hello’, ‘hey’, ‘hi’, and ‘help’.

These keywords will trigger the chatbot when customers reach out. After setting the keywords, you will use regular expressions to identify inquiries related to gym membership plans.


3. Setting Up Questions for Your Chatbot Using Pabbly Chatflow

Once your flow is created, the next step is to set up the questions that the bot will ask customers. Start by adding an action to ask the user for their full name. Use the ‘Ask Question’ feature from the left panel and drag it into the flow. using Pabbly Connect

  • Ask for the user’s full name with a message like, ‘Hey there, welcome to FitHub. May I know your full name?’.
  • Store this information in a custom field created in your Pabbly Chatflow account.
  • Connect this question to the flow trigger.

After the name is collected, ask for the user’s email address in a similar manner. This data collection is vital for following up with potential gym clients.


4. Providing Options and Sending Brochures via Pabbly Chatflow

After gathering the user’s name and email, your chatbot will send a welcome message with options for gym membership plans, personal training, and booking a free trial. Use the ‘Text Button’ feature to create interactive buttons for each option. using Pabbly Connect

Add buttons for ‘Gym Membership Plans’, ‘Personal Training’, and ‘Book a Free Trial’. Each button should lead to specific actions like sending brochures or links to book trials.

For example, when a user selects ‘Gym Membership Plans’, the bot will send a PDF brochure with detailed membership options. This automated interaction engages users effectively.


5. Testing Your WhatsApp Chatbot in Pabbly Chatflow

Once you have set up all the interactions, save your flow by clicking the ‘Save’ button in Pabbly Chatflow. This ensures that all your settings are stored and ready for testing.

To test the chatbot, send a message that includes one of the trigger keywords. For instance, if you send ‘Hey, what are your gym membership plans?’, the bot should respond with the initial greeting and ask for your full name.

As you test the flow, ensure that the bot sends the correct responses and that all buttons function as intended. This step is crucial to confirm that your Pabbly Chatflow setup works seamlessly before going live.


Conclusion

In conclusion, using Pabbly Chatflow to build a WhatsApp chatbot for your gym can significantly enhance customer engagement. By automating responses and providing instant information, you can efficiently manage inquiries and promote your services. Start creating your chatbot today with Pabbly Chatflow and enjoy the benefits of automation!

Ensure you check out Pabbly Connect to create business automation workflows and reduce manual tasks. Pabbly Connect currently offer integration with 2,000+ applications.

Automate Newsletter Writing Using AI Agent with Pabbly Connect

Learn how to automate newsletter writing using Pabbly Connect, integrating Google Sheets and Google Docs for efficient content generation. Implement the precise methodologies leading organizations use to automate repetitive tasks, illustrated with practical examples designed for immediate application.

Watch Step By Step Video Tutorial Below


1. Accessing Pabbly Connect for Automation

To automate newsletter writing using the AI agent, the first step is accessing Pabbly Connect. Start by visiting the Pabbly website and signing into your account. If you are a new user, you can easily sign up for free and get 100 free tasks every month.

Once logged in, navigate to the ‘All Apps’ section and select Pabbly Connect by clicking the ‘Access Now’ button. This will take you to the Pabbly Connect dashboard where you can create your automation workflows.


2. Creating a Workflow in Pabbly Connect

In this section, we will create a workflow specifically for automating newsletter writing. Click on the ‘Create Workflow’ button located at the top right corner of the dashboard. A dialog box will prompt you for a workflow name and folder selection. using Pabbly Connect

  • Name the workflow: ‘AI Agent to Automate Newsletter Writing’.
  • Select a folder to save the workflow.

After filling in these details, click on the ‘Create’ button. This will set up your workflow, showing two windows: one for the trigger and another for the action.


3. Setting Up the Trigger with Google Sheets

The next step is to set up the trigger for our workflow using Pabbly Connect. Click on the trigger application and select ‘Google Sheets’. The trigger event should be set to ‘New or Updated Spreadsheet Row’. This ensures that whenever new data is added to your Google Sheets, it will trigger the workflow.

After selecting the trigger, Pabbly Connect will provide you with a unique webhook URL. Copy this URL and proceed to your Google Sheets. Navigate to the ‘Extensions’ menu, select ‘Add-ons,’ and then ‘Get Add-ons’ to install the Pabbly Connect Webhooks add-on.


4. Action Steps to Generate Newsletter Content

After setting the trigger, we will set up the action steps to generate content using an AI agent. In this case, we will use OpenAI as our AI platform. Select OpenAI from the action application list and choose the ‘Chat GPT’ action event. using Pabbly Connect

  • Connect to OpenAI by entering your API token.
  • Set the AI model to GPT-4 mini.
  • Craft a prompt that specifies the content requirements for the newsletter.

After entering the required details, click on ‘Save and Send Test Request’. This will generate the newsletter content based on the data from your Google Sheets.


5. Finalizing Document Creation in Google Docs

The last step involves creating a document for the generated newsletter content. Still within Pabbly Connect, add another action step and select ‘Google Docs’ as the action application. Choose the action event ‘Create Document from Template’.

Connect to your Google account and select the template you created for the newsletter. Map the fields for the topic, key points, and content generated by the AI agent into the respective variables in your template. Finally, click ‘Save and Send Test Request’ to create the document in Google Docs.


Conclusion

In this tutorial, we explored how to automate newsletter writing using Pabbly Connect with Google Sheets and Google Docs integration. By following the steps outlined, you can efficiently generate engaging newsletters without manual effort. This automation not only saves time but also ensures consistent communication with your audience.

Ensure you check out Pabbly Connect to create business automation workflows and reduce manual tasks. Pabbly Connect currently offer integration with 2,000+ applications.

Extract Data from Images Using Pabbly Connect and AI Agent

Learn how to extract data from images using Pabbly Connect and AI Agent. This step-by-step guide walks you through the integration process with Google Drive and Google Sheets.

Watch Step By Step Video Tutorial Below


1. Accessing Pabbly Connect for Integrations

To start extracting data from images using Pabbly Connect, first, access the platform by visiting the Pabbly Connect website. You can sign up for a free account or log in if you are already a user. Once logged in, you will be directed to the Pabbly Connect dashboard, where you can create workflows to automate tasks. using Pabbly Connect

After reaching the dashboard, click on the ‘Create Workflow’ button to set up your first integration. You can name this workflow something like ‘AI Agent for Text Extraction from Image’. Select the appropriate folder in your Pabbly account to save this workflow, then click on ‘Create’.


2. Setting Up the Trigger with Google Drive

In this section, we will set up the trigger in Pabbly Connect to monitor a specific Google Drive folder for new images. This is crucial for the AI agent to know when to start the extraction process. Select Google Drive as the app in the trigger section and choose ‘New File in Specific Folder’ as the trigger event. using Pabbly Connect

  • Connect your Google Drive account by clicking on the ‘Sign in with Google’ button.
  • Choose the folder where you will upload images for data extraction.
  • Click on ‘Save and Send Test Request’ to check if the integration is successful.

Once you upload an image to the selected folder, the trigger will activate, sending the image details to Pabbly Connect. This is the first step in building your AI agent.


3. Extracting Data with AI Agent

After the trigger is set, the next step is to extract data from the uploaded images using the AI Agent. In the action section of Pabbly Connect, select OpenAI as the app and choose the action event ‘Extract Content from PDF/Image’. This allows Pabbly Connect to communicate with OpenAI for text extraction. using Pabbly Connect

To connect your OpenAI account, you will need an API key. Log in to OpenAI, navigate to the API keys section, and generate a new secret key. Copy this key back to Pabbly Connect to establish the connection.

  • Choose the model you want to use for extraction; GPT-4 Mini is recommended.
  • Map the image URL from the trigger step to the OpenAI action step.
  • Set the prompt to instruct OpenAI on how to extract the text.

Once everything is set up, click on ‘Save and Send Test Request’ to verify that the extraction works correctly. You should receive the extracted text in response, confirming that the AI agent is functioning as intended.


4. Storing Extracted Data in Google Sheets

To complete the workflow, we need to store the extracted data in Google Sheets. In this step, select Google Sheets as the app in the action section and choose ‘Add New Row’ as the action event. This will allow Pabbly Connect to add a new row in your spreadsheet with the extracted details. using Pabbly Connect

Connect your Google Sheets account by clicking on the ‘Sign in with Google’ button. After connecting, select the spreadsheet where you want to store the data. You will then map the appropriate fields from the previous steps to the columns in your Google Sheet.

Map the file name, image URL, and extracted text content into their respective columns. Click ‘Save and Send Test Request’ to ensure the data is added correctly.

Once the test request is successful, check your Google Sheet to verify that a new row has been added with all the details from the uploaded image.


5. Testing the AI Agent Workflow

With everything set up, it’s time to test the AI agent. Upload a new image to the Google Drive folder you specified earlier. Wait for a few minutes for Pabbly Connect to process the image and extract the text. using Pabbly Connect

After approximately 10 minutes, check your Google Sheets to see if the new data has been added. You should see the file name, image link, and extracted text content in the new row. This confirms that the AI agent is working effectively.

If all goes well, you can now use this AI agent to automate the extraction of text from images uploaded to your Google Drive. This workflow can be expanded or modified to include additional applications and processes as needed.


Conclusion

In this tutorial, we explored how to extract data from images using Pabbly Connect and AI Agent. By integrating Google Drive and Google Sheets, we automated the entire process, making it efficient and easy to manage.

Ensure you check out Pabbly Connect to create business automation workflows and reduce manual tasks. Pabbly Connect currently offer integration with 2,000+ applications.

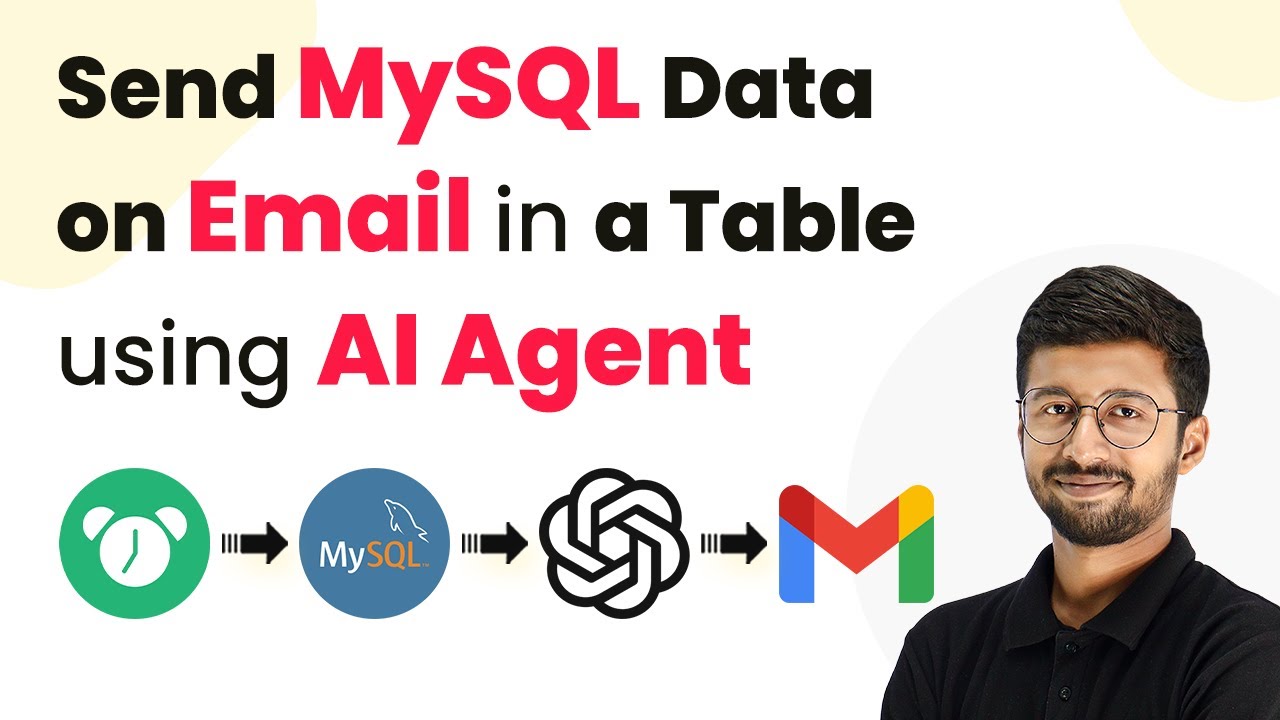
How to Send MySQL Data on Email in a Table using AI Agent with Pabbly Connect

Learn how to send MySQL data via email using Pabbly Connect. This tutorial covers step-by-step integration with AI Agent and Gmail to automate your workflow.

Watch Step By Step Video Tutorial Below


1. Accessing Pabbly Connect to Set Up Your AI Agent

To start sending MySQL data via email, first, access Pabbly Connect. Go to your browser and search for Pabbly Connect. You will reach the landing page where you can sign up or sign in if you already have an account. Signing up is straightforward and takes just a couple of minutes.

After logging in, you will see the ‘All Apps’ page. Click on ‘Access Now’ under Pabbly Connect. This will take you to the dashboard where you can create a workflow for your AI agent. Click on the ‘Create Workflow’ button and name your workflow, for example, ‘Create Table from MySQL Data’. Select the folder where you want to store this workflow and click on create.


2. Setting Up the Trigger in Pabbly Connect

In this section, you will set up the trigger for your AI agent using Pabbly Connect. The trigger will be scheduled to run at specific times. For instance, you can set it to run every day from Monday to Saturday at 9:00 AM. This ensures that the AI agent fetches data from your MySQL database at the desired intervals.

  • Select ‘Scheduled by Pabbly’ as the trigger.
  • Choose the trigger event as ‘Schedule Workflow’.
  • Specify the days (Monday to Saturday) and the time (9:00 AM).

After entering these details, click on save. This configuration allows your AI agent to fetch appointment details from your MySQL database every morning at the specified time.


3. Fetching Data from MySQL Database

Next, you will configure the action step in Pabbly Connect to fetch data from your MySQL database. For this, select MySQL as your action app and choose ‘Custom Query’ as the action event. You will need to connect your MySQL account by entering your database credentials such as username, password, host, and database name.

Once connected, you will input your SQL query to fetch today’s appointment details. For example, you might use a query like: ‘SELECT * FROM appointments WHERE appointment_date = CURDATE();’. This query retrieves all appointments scheduled for the current date.

After entering the query, turn off the ‘Simple Response’ option and click on ‘Save and Send Test Request’. You should receive a response confirming that data has been successfully fetched from your MySQL database.


4. Creating an HTML Email with OpenAI

After fetching the data, the next step is to create an HTML email using Pabbly Connect and OpenAI. Add an action step and select OpenAI as your app. Choose ‘Chat GPT’ as the action event and connect your OpenAI account using your API key.

  • Select the model you want to use, such as GPT-4.
  • Input a prompt detailing how you want the HTML email to be formatted.
  • Map the JSON data fetched from MySQL into the prompt.

After setting up the prompt, click ‘Save and Send Test Request’. You should receive an HTML response that contains the email body with the table of appointment details formatted correctly.


5. Sending the Email via Gmail

Finally, you will send the generated HTML email using Gmail through Pabbly Connect. Add another action step and select Gmail as your app, choosing ‘Send Email’ as the action event. Connect your Gmail account and specify the recipient’s email address.

In the email setup, enter the subject line, sender name, and the HTML content generated from OpenAI. Make sure to select ‘HTML’ as the email content type. After filling in all the necessary details, click on ‘Save and Send Test Request’. You should receive a confirmation that the email has been sent successfully.

Check your inbox to verify that the email containing the appointment details in table format has been received. This entire process showcases how Pabbly Connect allows for seamless integration between MySQL, OpenAI, and Gmail to automate your email workflows.


Conclusion

In this tutorial, we demonstrated how to send MySQL data via email using Pabbly Connect and AI Agent. By following the steps outlined, you can automate the process of fetching data from your MySQL database and sending it in a well-formatted HTML email. This integration simplifies your workflow and enhances productivity.

Ensure you check out Pabbly Connect to create business automation workflows and reduce manual tasks. Pabbly Connect currently offer integration with 2,000+ applications.

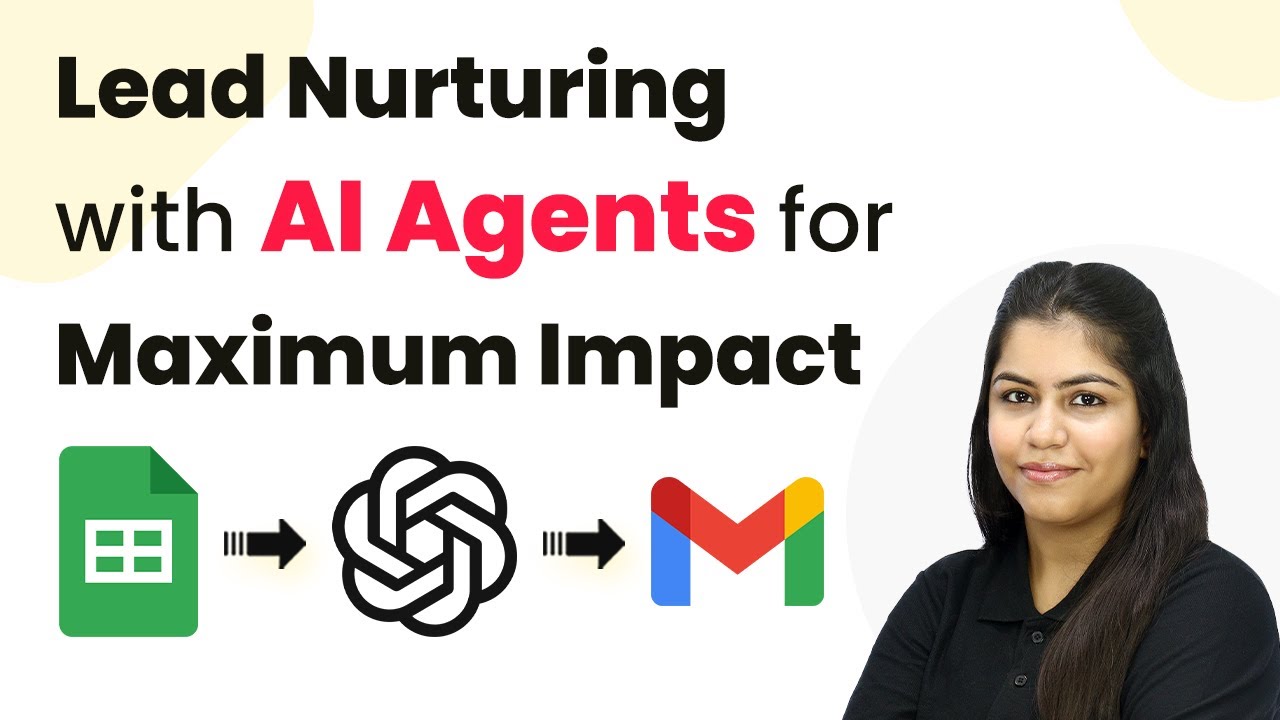
How to Automate Lead Nurturing with AI Agents Using Pabbly Connect

Learn how to automate lead nurturing with AI agents using Pabbly Connect for maximum impact. Step-by-step tutorial on integrating Google Sheets, Gmail, and OpenAI. This comprehensive guide reveals exactly how to connect your applications and automate repetitive tasks — accessible for professionals of all technical backgrounds.

Watch Step By Step Video Tutorial Below


1. Accessing Pabbly Connect for Automation

To begin automating lead nurturing, you need to access Pabbly Connect. Start by visiting the Pabbly Connect landing page by searching for ‘Pabbly.com/connect/inr’ in your browser. You will see options to either sign in or sign up for free.

If you are a new user, click on the ‘Sign up for free’ button to explore the application with hundreds of free tasks monthly. Existing users can click on ‘Sign in’ to access their accounts. After signing in, navigate to the Pabbly Connect dashboard to create your automation workflows.


2. Creating a Workflow in Pabbly Connect

Within your Pabbly Connect dashboard, click on the ‘Create Workflow’ button. You will be prompted to name your workflow; for this tutorial, name it ‘Automate Lead Nurturing with AI Agents Using Pabbly for Maximum Impact’ and select the appropriate folder to save it.

After naming your workflow, click on the ‘Create’ button. This will open the workflow window, where you can set up your triggers and actions. The trigger is the event that starts your workflow, while actions are the responses to that trigger.

  • Click on the ‘Create Workflow’ button.
  • Name your workflow and select a folder.
  • Set up triggers and actions in the workflow window.

With this setup, you are prepared to select a trigger application to initiate the automation process.


3. Setting Up Google Sheets as Trigger

In this step, you will set Google Sheets as the trigger application in your Pabbly Connect workflow. Search for ‘Google Sheets’ and select it as your trigger application. For the trigger event, choose ‘New or Updated Spreadsheet Rows’ to capture any new lead entries.

After selecting the trigger event, you will receive a webhook URL. Copy this URL to establish a connection between Google Sheets and your Pabbly Connect workflow. Open your Google Sheets account, navigate to ‘Extensions’, then ‘Add-ons’, and select ‘Get Add-ons’ to install the Pabbly Connect Webhooks extension.

  • Select Google Sheets as the trigger application.
  • Choose ‘New or Updated Spreadsheet Rows’ as the trigger event.
  • Copy the webhook URL and install the Pabbly Connect Webhooks extension.

After installing the extension, refresh your Google Sheets to access the Pabbly Connect Webhooks option and proceed with the initial setup.


4. Initial Setup in Google Sheets

Once you have the Pabbly Connect Webhooks extension installed, navigate to the initial setup section in Google Sheets. Here, paste the copied webhook URL and specify the trigger column, which should be your final data column (e.g., column E).

After entering the trigger column, click on the ‘Submit’ button. You will see a confirmation message indicating that the setup was configured successfully. This means that your Google Sheets is now connected to Pabbly Connect, and it is ready to send data to your workflow.

Paste the webhook URL in the initial setup. Specify the trigger column (e.g., E). Click on ‘Submit’ to complete the setup.

Now, your workflow will trigger whenever a new lead is added to your Google Sheets, allowing you to automate the lead nurturing process effectively.


5. Integrating OpenAI for Email Generation

Next, you will integrate OpenAI as the action application in your Pabbly Connect workflow. Search for ‘OpenAI’ and select it. For the action event, choose ‘Chat GPT’. After clicking on ‘Connect’, you will need to add a new connection by providing the OpenAI API key.

To get the API key, follow the provided link to the OpenAI API key page. Create a new secret key by naming it (e.g., AI Agent) and clicking on ‘Create Secret Key’. Copy this key and paste it into Pabbly Connect to establish the connection.

Select OpenAI as the action application. Choose ‘Chat GPT’ as the action event. Obtain and enter the OpenAI API key.

Once your OpenAI account is connected, you can set up prompts to generate personalized email subjects and bodies for your leads, enhancing your lead nurturing strategy significantly.


Conclusion

In this tutorial, we explored how to automate lead nurturing using AI agents with Pabbly Connect. By integrating Google Sheets and OpenAI, you can streamline your email processes and enhance engagement with your leads. This automation not only saves time but also personalizes communication for maximum impact.

Ensure you check out Pabbly Connect to create business automation workflows and reduce manual tasks. Pabbly Connect currently offer integration with 2,000+ applications.

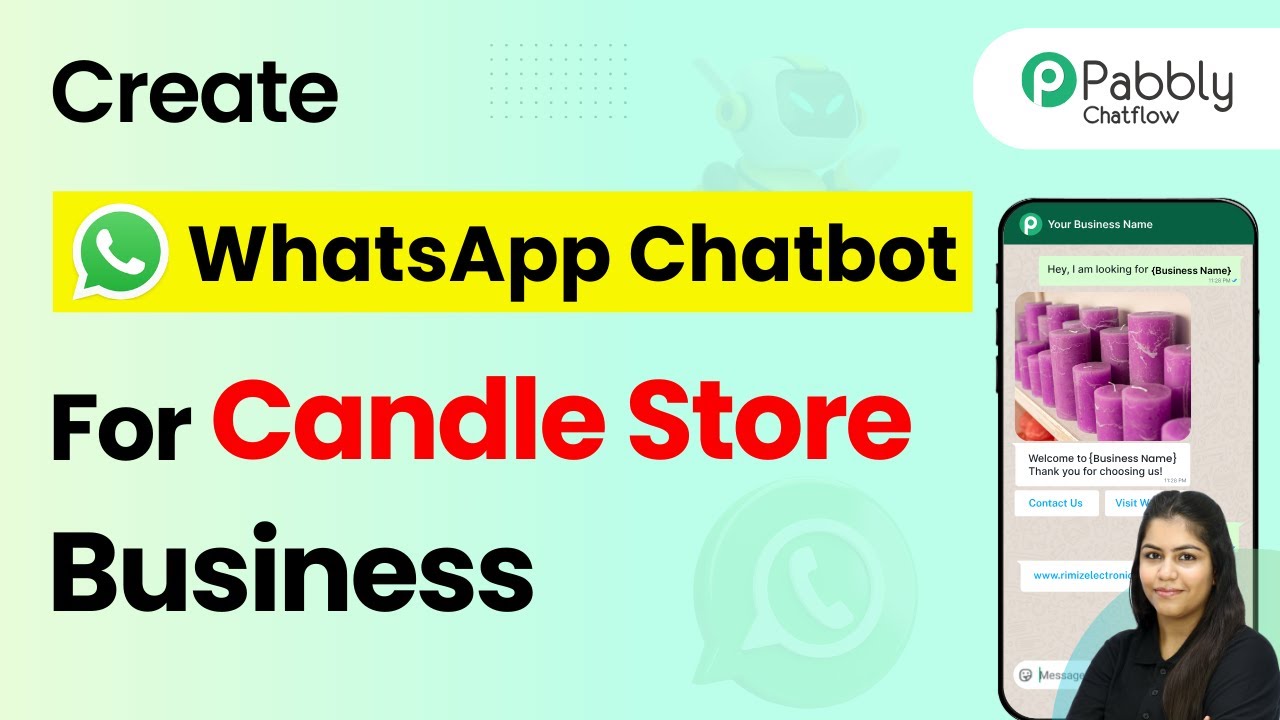
How to Create a WhatsApp Chatbot for Your Candle Store Using Pabbly Chatflow

Learn how to set up a WhatsApp chatbot for your candle store using Pabbly Chatflow. Follow our step-by-step tutorial to automate customer inquiries effectively. Learn step-by-step how to create, test, and optimize chatbots that enhance customer experience while reducing support workload.

Watch Step By Step Video Tutorial Below


1. Accessing Pabbly Chatflow for Your Candle Store

To create a WhatsApp chatbot for your candle store using Pabbly Chatflow, start by accessing the Pabbly Chatflow landing page. You can do this by searching for ‘Pabbly.com/chatflow’ in your browser. Once there, you will see options to sign in or sign up for free.

If you are a new user, click on the ‘Sign up for free’ button to get a free trial. Existing users can simply click on ‘Sign in’ to access their account. After signing in, navigate to the dashboard and locate the ‘Access Now’ button under the Pabbly Chatflow application.


2. Adding Your WhatsApp Number in Pabbly Chatflow

Once you have accessed Pabbly Chatflow, the next step is to add your WhatsApp number. This is essential for enabling the chatbot functionality. Click on the ‘Add WhatsApp Number’ button, where you will need to input the Meta Access Token, Phone Number ID, and WhatsApp Business Account ID.

  • Meta Access Token: Obtain this from your WhatsApp Cloud API setup.
  • Phone Number ID: This is your unique identifier for the WhatsApp number.
  • WhatsApp Business Account ID: Required for linking your account.

After entering these details, ensure everything is correct before proceeding. This setup is crucial for the automation process.


3. Creating the Chatbot Flow in Pabbly Chatflow

To create your WhatsApp chatbot, navigate to the left sidebar and select the ‘Flow’ section within Pabbly Chatflow. Click on the ‘Add Flow’ button to start a new flow. You will be prompted to choose how to start the flow: using keywords, regex, or a template. For this tutorial, select the option to enter keywords.

Input the most commonly used keywords such as ‘hey’, ‘hello’, and ‘hi’. After entering these keywords, press enter to ensure they are selected. Next, you will utilize regex to enhance your chatbot’s capabilities. Regex allows the chatbot to understand various phrases customers might use, making it more intelligent.

  • Keywords: hey, hello, hi.
  • Regex Examples: candle, gift, open, price, shop, scent.

After entering the regex, turn on the toggle for case-sensitive matching if needed. This step is essential to ensure your chatbot can respond accurately to user inquiries.


4. Interacting with Customers Using the Chatbot

With the flow established, it’s time to set up how your chatbot will interact with customers. Start by asking for the user’s full name. In the actions menu, select ‘Ask Question’ and connect it to the flow start. Input a welcoming message that requests the user’s full name.

After gathering the full name, you will ask for the user’s email address. Again, use the ‘Ask Question’ action to request their email. This personalization helps in building a rapport with the customer and allows for future communication.

First message: ‘Hey there! Welcome to Glow and Send Studio. May I know your full name?’ Second message: ‘Thanks [Full Name], can you please share your email address?’

By collecting this information, your Pabbly Chatflow chatbot can provide personalized responses and maintain a connection with potential customers.


5. Finalizing and Testing Your WhatsApp Chatbot

Once all interactions are set up, you will need to finalize your chatbot by naming it and saving the flow. Name your chatbot appropriately (e.g., ‘Candle Store’) and click the ‘Save’ button to ensure your changes are stored. Make sure the flow is active so that it works in real time.

To test your chatbot, initiate a conversation by sending a message like ‘Hey, I want to know about your custom gift sets.’ The chatbot should respond with a personalized greeting, asking for your full name and email address. This interaction confirms that the Pabbly Chatflow setup is functioning correctly.

In addition to sending and receiving messages, you can view all interactions in the inbox section of your Pabbly Chatflow account. This allows you to monitor conversations and customer engagements effectively.


Conclusion

Creating a WhatsApp chatbot for your candle store using Pabbly Chatflow streamlines customer interactions and improves response efficiency. With this setup, you can automate inquiries and enhance customer satisfaction effortlessly.

Ensure you check out Pabbly Connect to create business automation workflows and reduce manual tasks. Pabbly Connect currently offer integration with 2,000+ applications.

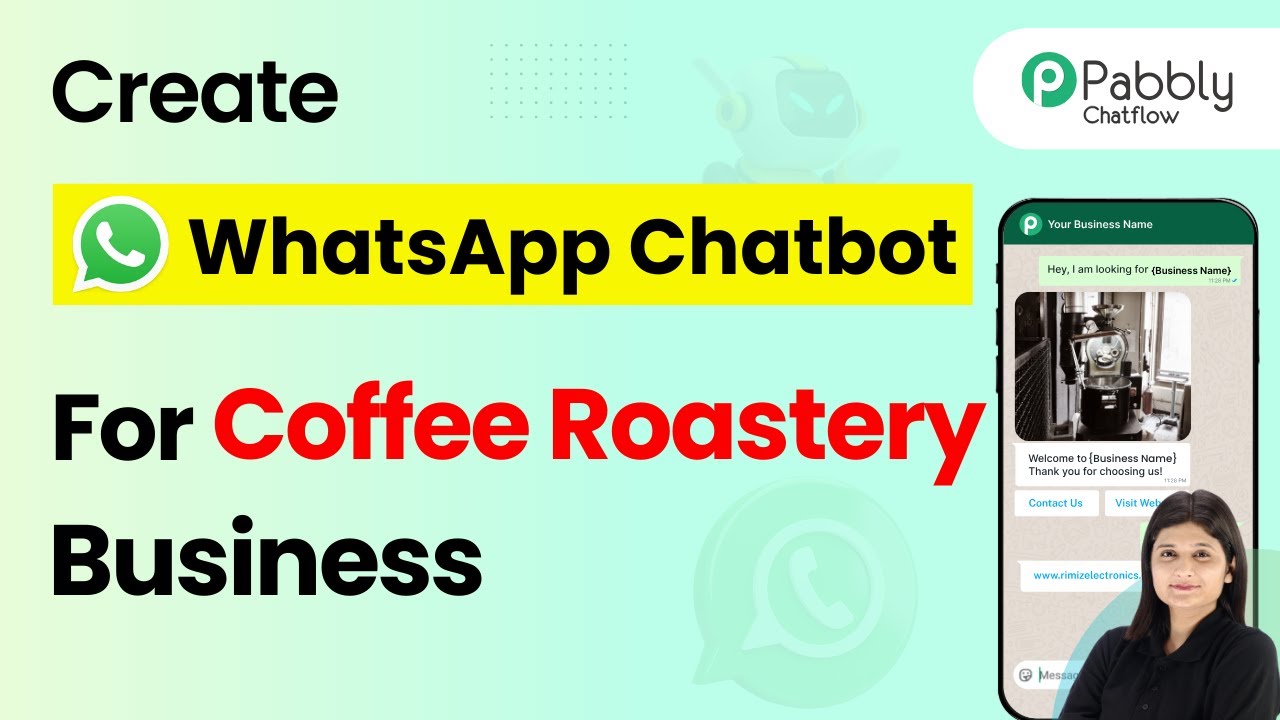
How to Create a WhatsApp Chatbot for a Specialty Coffee Roastery Using Pabbly Chatflow

Learn how to create a WhatsApp chatbot for a specialty coffee roastery using Pabbly Chatflow. This step-by-step guide covers integration with Facebook and YouTube. Discover practical methods for designing chat sequences that capture leads, answer questions, and guide users to the next step in your funnel.

Watch Step By Step Video Tutorial Below


1. Accessing Pabbly Chatflow for WhatsApp Chatbot Creation

To create a WhatsApp chatbot for a specialty coffee roastery, you first need to access Pabbly Chatflow. Visit the Pabbly website and log in to your account. If you are a new user, sign up for free to get started with 100 tasks monthly.

Once logged in, navigate to the Pabbly Chatflow dashboard. Here, you will find all the options available to create and manage your chatbots. Select the option to create a new flow, which will allow you to start building your WhatsApp chatbot tailored to your coffee business needs.


2. Creating Your WhatsApp Chatbot Flow in Pabbly Chatflow

In this section, we will create the chatbot flow using Pabbly Chatflow. Click on the ‘Flows’ option on the left sidebar and then select ‘Add Flow’ to start building your chatbot. This flow will automate responses to customer inquiries on WhatsApp.

  • Click ‘Add Flow’ to create a new chatbot.
  • Enter a name for your flow, such as ‘Coffee Chatbot’.
  • Select the trigger that activates the chatbot.

After naming your flow, set the trigger keywords that will activate the chatbot when customers send messages on WhatsApp. This feature ensures that your chatbot responds instantly to customer queries, improving engagement and customer satisfaction.


3. Configuring Chatbot Responses Using Pabbly Chatflow

Now that you have set up the flow, it’s time to configure the responses that your Pabbly Chatflow chatbot will provide. You can add various message types, including text, images, and buttons to enhance user interaction. Start by dragging and dropping the message elements into your flow.

  • Add a welcome message to greet customers.
  • Include buttons for options like ‘View Menu’ or ‘Contact Support’.
  • Use media buttons to send images of your coffee products.

By incorporating these elements, your chatbot can effectively guide customers through their inquiries, providing them with the information they need about your specialty coffee offerings.


4. Testing Your WhatsApp Chatbot Built with Pabbly Chatflow

After configuring your chatbot responses, it’s essential to test the functionality of your Pabbly Chatflow chatbot. Open your WhatsApp and send a message that matches the trigger keywords you set earlier. This will initiate the chatbot and allow you to see how it responds.

Check if the responses are accurate and if the buttons lead to the desired actions, such as showing the menu or providing contact information. Make any necessary adjustments in the Pabbly Chatflow dashboard to ensure a smooth customer experience.


5. Conclusion: Enhancing Customer Engagement with Pabbly Chatflow

In conclusion, creating a WhatsApp chatbot for a specialty coffee roastery using Pabbly Chatflow allows businesses to automate customer interactions efficiently. By following the outlined steps, you can set up a chatbot that responds instantly to inquiries, enhancing customer satisfaction.

Ensure you check out Pabbly Connect to create business automation workflows and reduce manual tasks. Pabbly Connect currently offer integration with 2,000+ applications.

Utilizing Pabbly Chatflow not only saves time but also improves the overall customer experience, making it an essential tool for modern coffee businesses. Start automating your customer interactions today!

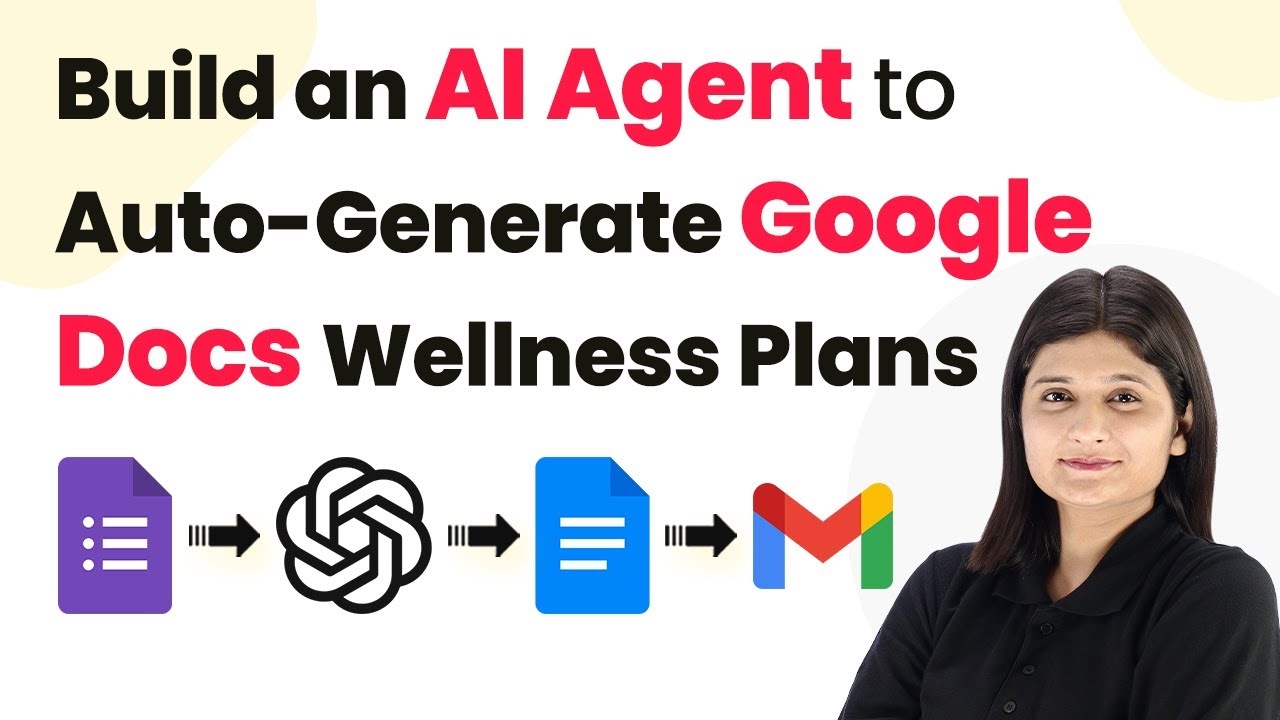
How to Build an AI Agent to Auto-Generate Google Docs Wellness Plans with Pabbly Connect

Learn how to automate Google Docs wellness plans using Pabbly Connect, integrating Google Forms, OpenAI, Gmail, and more. Transform complex automation concepts into accessible, actionable steps that eliminate unnecessary manual work while maximizing existing application capabilities.

Watch Step By Step Video Tutorial Below


1. Accessing Pabbly Connect for Automation

To start automating wellness plans using Pabbly Connect, first, visit the Pabbly Connect landing page by typing ‘Pabbly.com/connect/inr/’ in your browser. This platform is designed to facilitate automation without requiring any coding skills.

Once on the Pabbly Connect page, sign in to your account. If you are a new user, you can sign up for free, which provides you with 100 free tasks monthly. After signing in, you will see the Pabbly apps dashboard, where you can access Pabbly Connect to create your automation workflow.


2. Creating Your Automation Workflow in Pabbly Connect

Next, to create a new workflow in Pabbly Connect, click on the ‘Create Workflow’ button. You will be prompted to name your workflow; for this tutorial, name it ‘How to Build an AI Agent to Auto-Generate Google Docs Wellness Plans’ and select a folder to save it in.

  • Click on the ‘Create’ button to finalize your workflow setup.
  • In the workflow, you will see two boxes: Trigger and Action.
  • Select Google Forms as the trigger application to start the automation.

After setting up the trigger, you need to configure the action steps. For this workflow, the action will involve using OpenAI to generate the diet plan, followed by creating a Google Doc to store this plan. This entire process will be facilitated through Pabbly Connect.


3. Setting Up Google Forms with Pabbly Connect

To connect Google Forms with Pabbly Connect, you need to select ‘New Response Received’ as your trigger event. This will allow your workflow to activate whenever a new form submission occurs. You will be provided with a webhook URL that serves as the bridge between Google Forms and Pabbly Connect.

Open your Google Forms and create a form for collecting user information. Ensure to include fields such as name, age, diet preference, and email. After creating the form, link it to Google Sheets to capture responses automatically. This can be done by clicking on the ‘Responses’ tab and selecting ‘View in Sheets’. The responses will be recorded in this Google Sheet, which will be integrated into Pabbly Connect.


4. Integrating OpenAI to Generate Wellness Plans

Once you have configured Google Forms, the next step is to integrate OpenAI using Pabbly Connect. Select OpenAI as your action application and choose the ‘Chat GPT’ event. You will need to connect your OpenAI account using an API token. If you don’t have an existing connection, create a new one by generating a new API key from the OpenAI dashboard.

In the prompt field, you will structure your request to generate a personalized wellness plan based on the form responses. For example, your prompt could be: ‘Create a detailed and personalized 7-day wellness plan for {name}, age {age}, with a goal of {goal}, following a {diet preference} diet, and a fitness level of {fitness level}.’ Mapping these fields dynamically will ensure each response is tailored individually.


5. Finalizing Document Creation and Sending Emails

After generating the wellness plan, the next step is to create a Google Document using the generated content. In Pabbly Connect, select Google Docs as your action application and choose ‘Create Document from Template’. You will need to select the template you created earlier and map the generated content into this document.

Finally, to send the completed wellness plan to the user, integrate Gmail into your workflow. Select ‘Send Email’ as your action event and configure the email fields. Make sure to include the recipient’s email address, subject, and body content, which can be personalized using the mapped fields. Once everything is set up, test your workflow to ensure it runs smoothly.


Conclusion

In this tutorial, we demonstrated how to build an AI agent to auto-generate Google Docs wellness plans using Pabbly Connect. By integrating Google Forms, OpenAI, Gmail, and Google Docs, you can automate the entire process of creating personalized diet plans efficiently. This not only saves time but also enhances the user experience by providing instant feedback and documentation.

Ensure you check out Pabbly Connect to create business automation workflows and reduce manual tasks. Pabbly Connect currently offer integration with 2,000+ applications.

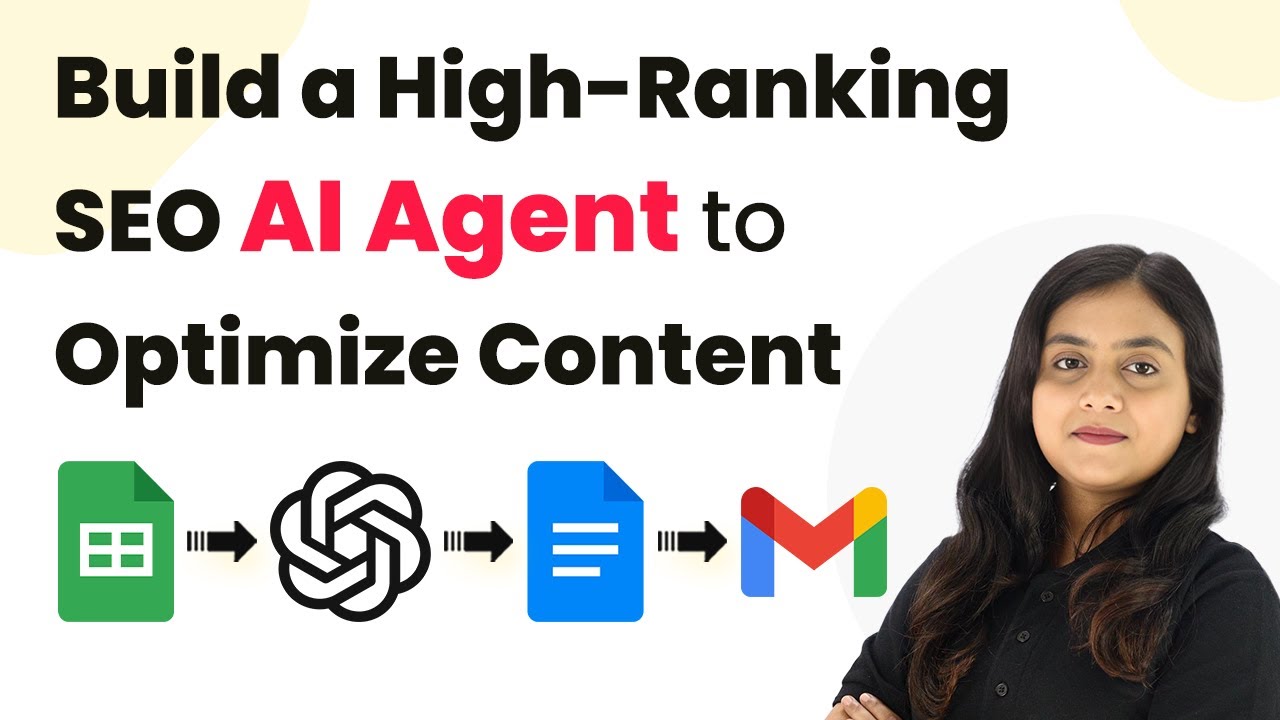
How to Build a High-Ranking SEO AI Agent to Optimize Content Automatically with Pabbly Connect

Learn to build a high-ranking SEO AI agent using Pabbly Connect to optimize content automatically with Google Sheets and Google Docs integration. Discover hidden automation capabilities within your existing tools. This guide shows you how to connect your essential applications and permanently eliminate redundant manual processes.

Watch Step By Step Video Tutorial Below


1. Accessing Pabbly Connect for SEO Automation

To build a high-ranking SEO AI agent, start by accessing Pabbly Connect. This platform enables seamless integration between various applications like Google Sheets and Google Docs.

Begin by signing into your Pabbly Connect account. If you are a new user, you can sign up for free and receive 100 tasks every month. Once logged in, you will see the dashboard with all available Pabbly apps.


2. Creating a New Workflow in Pabbly Connect

Next, create a new workflow in Pabbly Connect. Click on the ‘Create Workflow’ button located at the top right corner of the dashboard.

A dialog box will prompt you to name your workflow and select a folder. Name it ‘AI Agent to Generate High Ranking SEO Optimized Articles Automatically’ and choose the appropriate folder. After that, click on the ‘Create’ button to finalize the workflow.

  • Enter the workflow name.
  • Select the folder for saving the workflow.
  • Click on the ‘Create’ button.

Your workflow is now set up, and you can start adding triggers and actions to automate the content optimization process.


3. Setting Up Google Sheets as a Trigger with Pabbly Connect

In this step, you will set Google Sheets as the trigger application in Pabbly Connect. Choose Google Sheets and select the trigger event as ‘New or Updated Spreadsheet Row’.

Pabbly Connect will provide you with a webhook URL. Copy this URL and open your Google Sheets document where you will input article topics. Go to Extensions, then Add-ons, and select ‘Get Add-ons’ to install the Pabbly Connect Webhooks add-on.

  • Select Google Sheets as the trigger application.
  • Choose the trigger event ‘New or Updated Spreadsheet Row’.
  • Install the Pabbly Connect Webhooks add-on in Google Sheets.

After setting this up, you will be able to capture the details of the article topics as they are added to your Google Sheets.


4. Generating SEO Optimized Titles Using Pabbly Connect

Now that your Google Sheets is connected, you will set up an action step to generate SEO optimized titles using an AI agent like OpenAI within Pabbly Connect. Select OpenAI as the action application and choose the action event as ‘ChatGPT’.

Map the topic data from the previous step into the prompt field. Use a prompt that instructs the AI to create a catchy and SEO-friendly title. After setting up the connection and mapping the data, click on the ‘Save and Send Test Request’ button.

Select OpenAI as the action application. Choose the action event ‘ChatGPT’. Map the topic data into the prompt field.

The AI will generate an SEO optimized title, which can then be used for further content creation.


5. Finalizing Content Creation and Document Management with Pabbly Connect

After generating the SEO optimized title, you will need to create the content based on that title and the keywords generated using OpenAI. Add another action step in Pabbly Connect to generate the article content.

Use the generated title and keywords as inputs for the content generation AI. Once the content is created, you can use Google Docs to create a document from a template and save the generated article. Finally, update your Google Sheets with the document link for easy access.

Generate content using the SEO optimized title and keywords. Create a document in Google Docs from a template. Update Google Sheets with the document link for reference.

This process ensures that all your content is generated, stored, and easily accessible for review and publication.


Conclusion

By using Pabbly Connect, you can effectively automate the process of generating high-ranking SEO content. This integration allows you to streamline content creation while ensuring it is SEO optimized for better visibility and engagement.

Ensure you check out Pabbly Connect to create business automation workflows and reduce manual tasks. Pabbly Connect currently offer integration with 2,000+ applications.