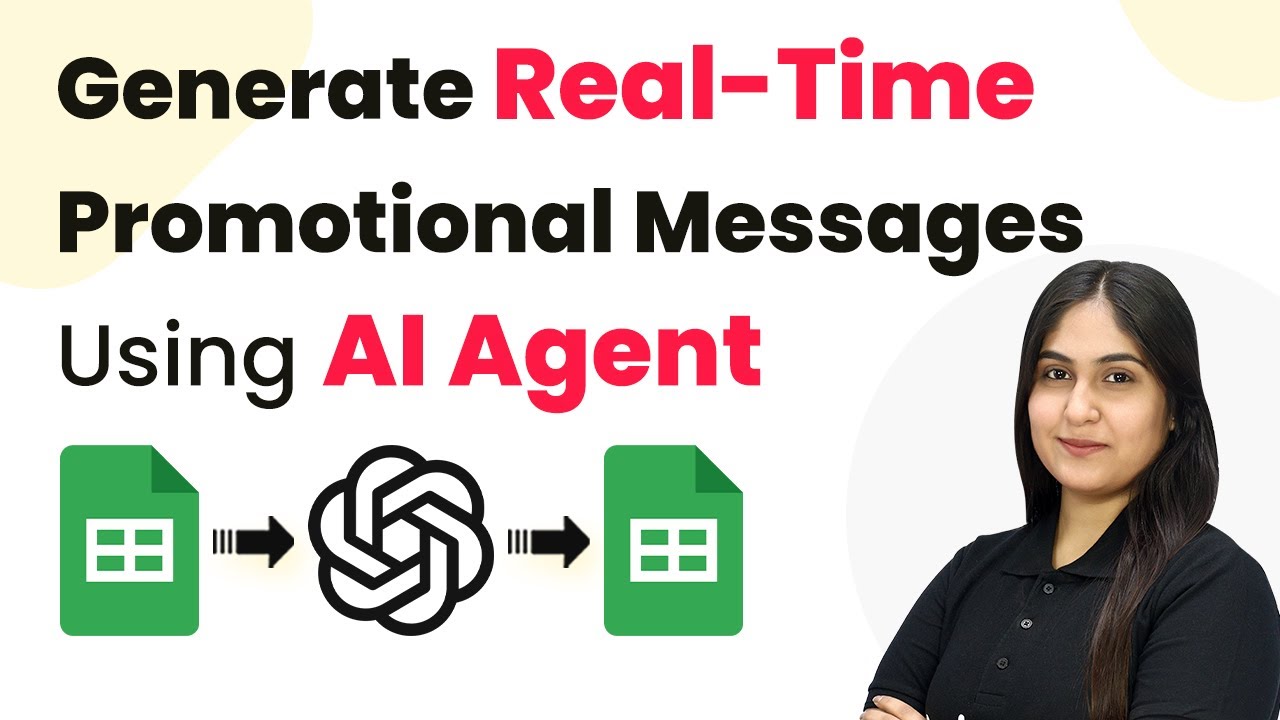
How to Generate Real-Time Promotional Messages Using AI Agent with Pabbly Connect

Learn how to automate real-time promotional message generation using Pabbly Connect, Google Sheets, and AI Agent in this detailed tutorial. Develop expertise in application integration and learn how to design streamlined automation workflows using proven, simplified approaches.

Watch Step By Step Video Tutorial Below


1. Accessing Pabbly Connect for Automated Messaging

To generate real-time promotional messages using AI, start by accessing Pabbly Connect. Go to your browser and enter pabby.com/connect to reach the Pabbly Connect homepage. Here, you will see options to sign in or sign up.

If you are a new user, click on ‘Sign Up Free’ to create an account and receive 100 free tasks every month. Existing users should click ‘Sign In’ to access their accounts. Once logged in, you will be directed to the Pabbly Connect dashboard, where you can begin creating your automation workflows.


2. Creating a Workflow in Pabbly Connect

In this section, you will learn how to create a workflow in Pabbly Connect to automate promotional message generation. Click on the ‘Create Workflow’ button located at the top right corner of the dashboard. A dialog box will appear, prompting you to name your workflow.

  • Enter a name for your workflow, such as ‘Generate Real-Time Promotional Messages Using AI Agent’.
  • Select a folder to save your workflow, like ‘Automations’.

After naming your workflow and selecting a folder, click the ‘Create’ button. This will set up the basic structure of your automation, which consists of a trigger and an action step.


3. Setting Up Google Sheets as a Trigger in Pabbly Connect

To trigger the automation, select Google Sheets as your trigger application in Pabbly Connect. Choose the trigger event as ‘New or Updated Spreadsheet Row’. This means that whenever a new promotional message is added to your Google Sheets, it will activate the workflow.

Once you select the trigger event, you will receive a webhook URL. Copy this URL as it will be used to connect Google Sheets with Pabbly Connect. Open your Google Sheets document, and ensure you have the necessary details like promotion name, product category, discount, start date, end date, and tone ready to be added.


4. Installing Pabbly Connect Add-On in Google Sheets

To complete the connection between Google Sheets and Pabbly Connect, you need to install the Pabbly Connect Webhooks add-on. Click on ‘Extensions’ in your Google Sheets, then select ‘Add-ons’ followed by ‘Get Add-ons’. Search for ‘Pabbly Connect Webhooks’ and install it.

After installation, refresh your Google Sheets. Go back to ‘Extensions’, find the Pabbly Connect Webhooks option, and select ‘Initial Setup’. Here, paste the webhook URL you copied earlier and set the trigger column to the last column you will be updating (e.g., column F). Click ‘Submit’ to save your setup, and you will see a success message confirming the setup is complete.


5. Generating Promotional Messages Using OpenAI

Now that your Google Sheets is connected to Pabbly Connect, it’s time to set up the action to generate promotional messages. Choose OpenAI as the action application and select ‘ChatGPT’ as the action event. This will allow you to use OpenAI’s capabilities to generate text based on the data from your Google Sheets.

Next, connect your OpenAI account by entering the API token. Generate a new API key from your OpenAI account and paste it into Pabbly Connect. After the connection is established, set the AI model to GPT-4 and enter the prompt that includes the mapped data from your Google Sheets (e.g., promotion name, product, discount, etc.). Click ‘Save and Send Request’ to generate the promotional message.

Finally, to store the generated message back in Google Sheets, add another action step in Pabbly Connect to update the cell value in your Google Sheets. Select the appropriate spreadsheet and specify the range where the generated SMS should be placed. After mapping the required fields, click ‘Save and Send Request’ to complete the process.


Conclusion

In this tutorial, we explored how to use Pabbly Connect to automate the generation of real-time promotional messages using Google Sheets and OpenAI. By following these steps, you can ensure timely notifications for your promotions, enhancing customer engagement and driving sales effectively.

Ensure you check out Pabbly Connect to create business automation workflows and reduce manual tasks. Pabbly Connect currently offer integration with 2,000+ applications.

Automate Client Proposals with Pabbly Connect: A Step-by-Step Guide

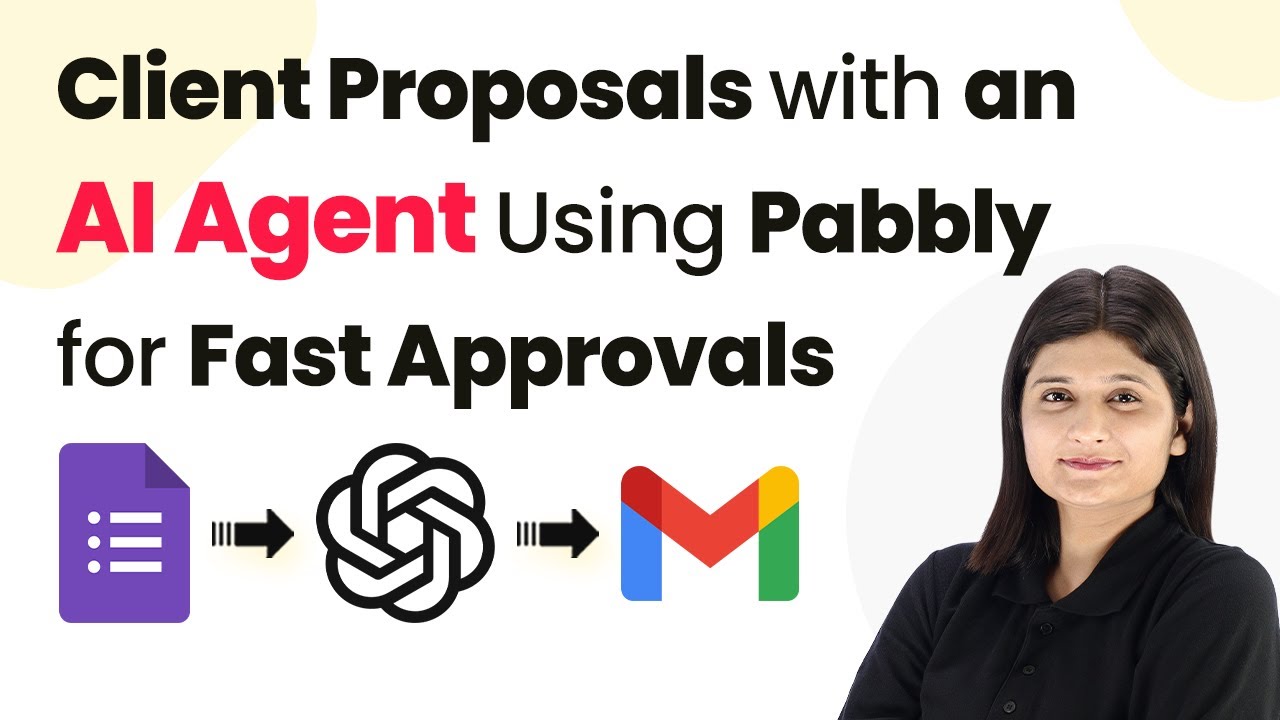
Learn how to automate client proposals using Pabbly Connect with Google Forms, OpenAI, and Gmail for fast approvals in this detailed tutorial. This comprehensive guide reveals exactly how to connect your applications and automate repetitive tasks — accessible for professionals of all technical backgrounds.

Watch Step By Step Video Tutorial Below


1. Accessing Pabbly Connect for Automation

To start automating client proposals, the first step is to access Pabbly Connect. This platform allows you to create seamless integrations without coding. Simply visit the Pabbly website and sign in to your account. If you’re a new user, you can sign up for a free trial, which gives you access to 100 tasks per month.

Once logged in, navigate to the Pabbly Connect dashboard. Here, you can create a new workflow. Click on the ‘Create Workflow’ button to begin setting up your automation for client proposals. This will enable you to connect Google Forms, OpenAI, and Gmail through Pabbly Connect.


2. Creating the Workflow in Pabbly Connect

In this step, you will create a workflow that automates the generation of client proposals. After clicking ‘Create Workflow’, name it something relevant like ‘Automate Client Proposals with Pabbly’. Select the appropriate folder for organization. using Pabbly Connect

Now, you will set up the trigger and action steps. The trigger will be a new submission in Google Forms, while the action will involve using OpenAI to generate the proposal. Follow these steps:

  • Select Google Forms as the trigger application.
  • Choose the trigger event as ‘New Response in Spreadsheet’.
  • Connect your Google account to Pabbly Connect.

After configuring the trigger, you will set up the action to send the generated proposal through Gmail.


3. Configuring Google Forms for Client Requests

Next, configure your Google Form to collect client information. Ensure that your form includes fields for the client’s name, email, project type, budget, and description. This information is crucial for generating accurate proposals using OpenAI. using Pabbly Connect

Make sure to toggle the last field to required, ensuring that all necessary information is collected. Once your form is set up, test it by submitting a sample entry. This will help verify that the data flows correctly into Pabbly Connect. Here’s how you can validate:

  • Submit the form and check if the response appears in your linked Google Sheet.
  • Ensure that all fields are populated correctly in the spreadsheet.

Confirming this step ensures that your automation will work seamlessly when a new proposal request comes in.


4. Using OpenAI to Generate Proposals Automatically

With the Google Form responses set up, the next step is to configure OpenAI within Pabbly Connect. This involves selecting OpenAI as your action application and defining how the proposal should be generated based on the input data from Google Forms.

In the OpenAI configuration, you will specify the model and provide a prompt that instructs the AI on how to create the proposal. Here’s how to set it up:

Choose the appropriate AI model for generating text. Enter a detailed prompt that includes all necessary fields from the Google Form. Map the responses from the Google Form to the corresponding fields in your prompt.

This setup ensures that each proposal is tailored to the specific needs of the client based on their submission.


5. Sending the Email with Gmail

The final step in automating client proposals is to send the generated proposal via email using Gmail. In Pabbly Connect, select Gmail as your action application and configure the email details.

When setting up Gmail, you will need to input the recipient’s email address, subject line, and body content. Make sure to map the output from OpenAI into the email fields correctly. Follow these steps:

Choose the action event as ‘Send Email’. Enter the recipient’s email and configure the subject and body using the AI-generated content. Test the email configuration to ensure it sends correctly.

Once everything is set, activate your workflow. Now, every time a new proposal request comes in, the entire process will run automatically, generating and sending the proposal without any manual effort.


Conclusion

In this tutorial, we explored how to automate client proposals using Pabbly Connect with Google Forms, OpenAI, and Gmail for fast approvals. By following these steps, you can streamline your proposal process and enhance your efficiency.

Ensure you check out Pabbly Connect to create business automation workflows and reduce manual tasks. Pabbly Connect currently offer integration with 2,000+ applications.

Automate AI-Based Product Description Writing in WooCommerce with Pabbly Connect

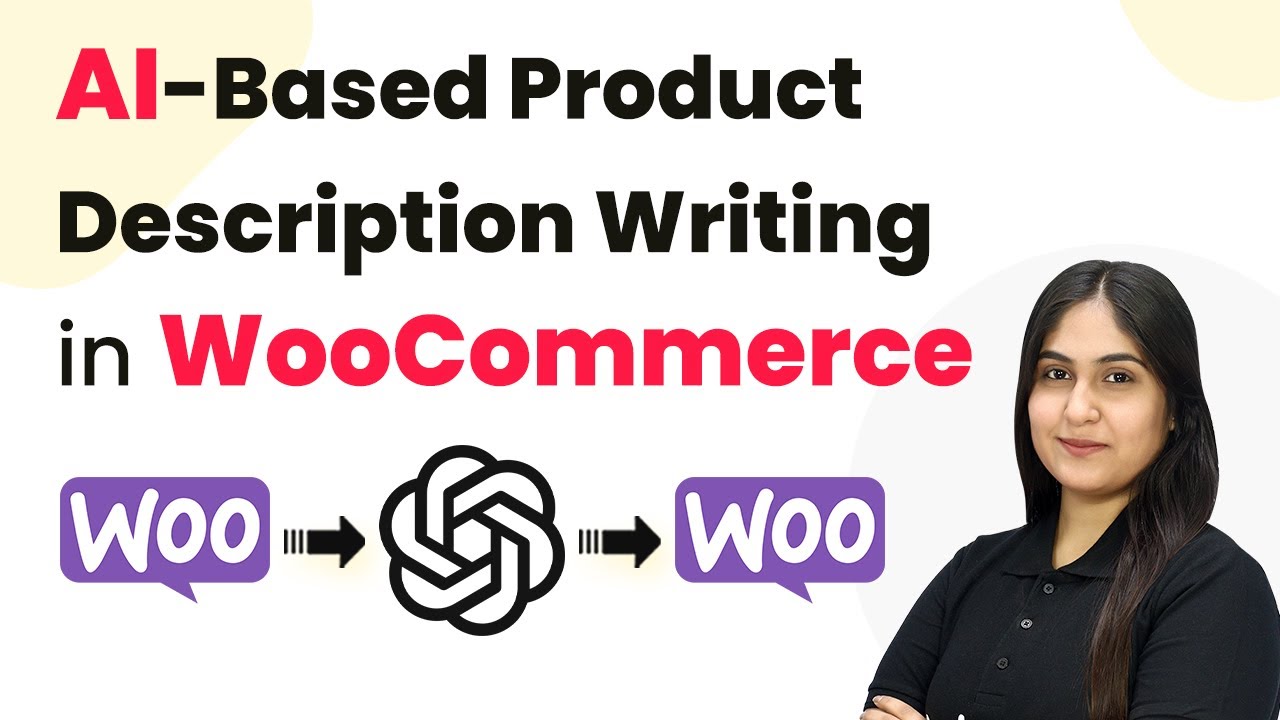
Learn how to automate AI-based product description writing in WooCommerce using Pabbly Connect. Step-by-step guide to enhance your online store efficiently. Discover how to seamlessly connect your essential tools through accessible instructions that make powerful automation available to professionals at every skill level.

Watch Step By Step Video Tutorial Below


1. Accessing Pabbly Connect for Automation

To automate AI-based product description writing in WooCommerce, you first need to access Pabbly Connect. This integration platform allows you to connect various applications seamlessly, enhancing your workflow.

Start by visiting the Pabbly Connect homepage. If you are a new user, click on ‘Sign Up Free’ to create an account. Existing users can simply click on ‘Sign In’ to access their dashboard. Once logged in, you will find all apps available to integrate.


2. Creating a Workflow in Pabbly Connect

After accessing Pabbly Connect, the next step is to create a workflow. Click on the ‘Create Workflow’ button located at the top right corner of the dashboard. You will be prompted to name your workflow.

  • Give your workflow a descriptive name, such as ‘Automate AI-Based Product Description Writing in WooCommerce’.
  • Select a folder to save your workflow, or create a new folder if necessary.
  • Click on the ‘Create’ button to finalize your workflow setup.

This setup will allow you to define triggers and actions that automate the product description process in WooCommerce.


3. Setting Up the Trigger with WooCommerce

In this section, you will set up the trigger for your workflow using Pabbly Connect. Select WooCommerce as your trigger application. This is essential for capturing new product additions in your store.

Choose the event ‘New Product Created’ to ensure that every time a product is added, it triggers the workflow. Pabbly Connect will provide a webhook URL that you will use to connect WooCommerce with Pabbly Connect.

  • Copy the webhook URL provided by Pabbly Connect.
  • Go to your WooCommerce settings and navigate to the ‘Advanced’ tab, then select ‘Webhooks’.
  • Create a new webhook with the copied URL, set the status to active, and select the topic as ‘Product Created’.

After saving the webhook, you will be ready to capture new product details whenever they are added to your WooCommerce store.


4. Integrating OpenAI with Pabbly Connect

Next, you need to connect OpenAI to Pabbly Connect to generate product descriptions. In your workflow, select OpenAI as the action application. This connection will allow you to use AI to create engaging product descriptions.

Choose the action event ‘Start GPT’ to initiate the AI model. You will need to connect your OpenAI account by entering an API token. To obtain this token, log into your OpenAI account and create a new secret key.

Go to the API keys section in OpenAI and generate a new secret key. Copy the API token and paste it into Pabbly Connect to establish the connection. Select the AI model, preferably GPT-4, for generating product descriptions.

This integration will allow you to leverage AI technology to create product descriptions automatically based on the details provided in WooCommerce.


5. Updating WooCommerce Product Descriptions

The final step involves updating the product descriptions in WooCommerce using Pabbly Connect. After generating the product description with OpenAI, you need to add another action step in your workflow to send the new description back to WooCommerce.

Select WooCommerce again as the action application and choose the action event ‘Update a Product’. This will allow you to update the product details with the newly generated description from OpenAI.

Connect your WooCommerce account by providing the necessary credentials such as consumer key and secret. Map the product ID and the new product description fields to ensure the correct information is updated. Click ‘Save and Send Request’ to update the product in WooCommerce.

This process ensures that every new product you add will automatically have a well-crafted, AI-generated description, enhancing your store’s efficiency and customer engagement.


Conclusion

In conclusion, automating AI-based product description writing in WooCommerce using Pabbly Connect significantly streamlines your workflow. By integrating WooCommerce with OpenAI through Pabbly Connect, you can enhance product listings and improve customer engagement effortlessly.

Ensure you check out Pabbly Connect to create business automation workflows and reduce manual tasks. Pabbly Connect currently offer integration with 2,000+ applications.

This tutorial has walked you through the exact steps required to set up this automation, ensuring you can replicate the process for your own online store. Embrace the power of automation with Pabbly Connect today!

Automate YouTube Comment Moderation and Reply Using Pabbly Connect

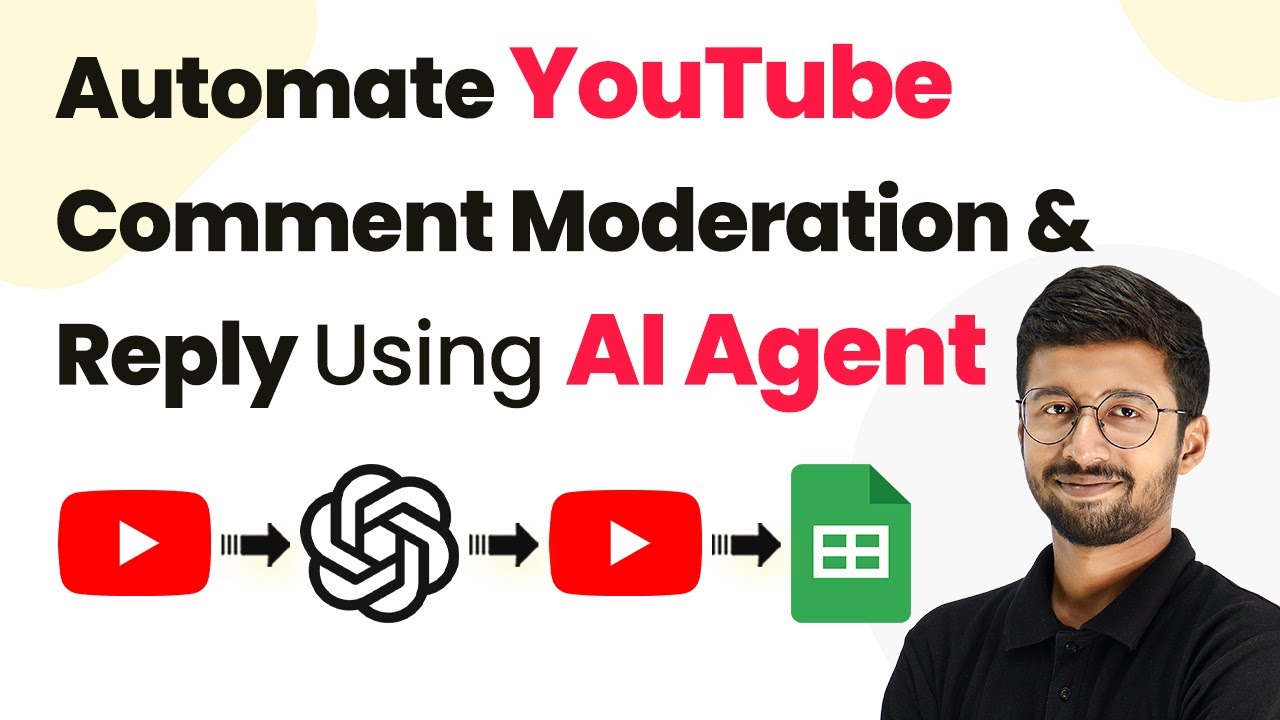
Learn how to automate YouTube comment moderation and replies using Pabbly Connect and OpenAI. Step-by-step guide for effective YouTube management. Transform complex automation concepts into accessible, actionable steps that eliminate unnecessary manual work while maximizing existing application capabilities.

Watch Step By Step Video Tutorial Below


1. Accessing Pabbly Connect for YouTube Automation

To automate YouTube comment moderation and replies, start by accessing Pabbly Connect. Open your browser and navigate to pabby.com/connect. You will see options to either sign in or sign up for a free account.

If you are new, click on the ‘Sign Up Free’ button to create your account in just a couple of minutes. For existing users, simply click ‘Sign In’. After logging in, you will arrive at the All Apps page of Pabbly Connect, where you can click on ‘Access Now’ to proceed to the dashboard.


2. Creating a Workflow in Pabbly Connect

Once in the Pabbly Connect dashboard, the next step is to create a new automation workflow. Click on the ‘Create Workflow’ button, and give your workflow a name, such as ‘AI Agent for YouTube Comments’. Select a folder for your workflow and click ‘Create’.

  • Name your workflow appropriately for easy identification.
  • Select the folder where you want to save this workflow.

This will open the workflow interface, where you will notice two main sections: the trigger window and the action window. The trigger window captures events, while the action window executes tasks based on those triggers. Here, you will set up the trigger to capture new comments from your YouTube channel.


3. Setting Up Triggers for YouTube Comments

In the trigger section, select YouTube as the application. From the trigger event dropdown, choose ‘New Comment on a Channel’. Click on ‘Connect’ and select ‘Add New Connection’ to link your YouTube account with Pabbly Connect.

After connecting, you will be prompted to select the specific YouTube channel for which you want to capture comments. Set the maximum result to 1 to fetch only the most recent comment. Then click on ‘Save and Send Test Request’ to verify the connection and retrieve the latest comment details.

  • Select your YouTube channel from the dropdown.
  • Set the max result to 1 for efficiency.

Once the test request is successful, you will see the details of the latest comment, including the comment text, video ID, and user display name. This completes the trigger setup.


4. Integrating OpenAI for Comment Analysis

Next, you will integrate OpenAI to analyze the comments captured by Pabbly Connect. In the action step, search for OpenAI and select it. Choose the action event as ‘Chat GPT Structured AI Output’. This will allow you to receive two outputs: whether the comment is spam and a generated reply if it is not.

Connect your OpenAI account by entering the API key obtained from your OpenAI dashboard. Set the AI model to GPT-4 and configure the roles for the prompts. The system prompt should instruct OpenAI to identify spam and generate a reply if the comment is genuine.

Use the API key from OpenAI to establish the connection. Set up both system and user prompts for accurate responses.

After configuring these settings, click on ‘Save and Send Test Request’. This will send the comment to OpenAI for analysis, and you will receive a response indicating whether it is spam and the appropriate reply.


5. Finalizing the Automation Workflow

With the OpenAI integration complete, you will now set up the actions based on the analysis results. Use the router feature in Pabbly Connect to create two branches: one for spam comments and another for non-spam comments. For non-spam comments, set the action to ‘Reply Comment’ in YouTube.

Map the reply text from OpenAI and the comment ID from the trigger step to send the reply back to the original comment. For spam comments, set up the action to ‘Delete Comment’ in YouTube, mapping the comment ID accordingly. This ensures that spam comments are automatically removed while genuine comments receive replies.

Set up the router to handle both spam and non-spam comments. Map the necessary fields for replying and deleting comments.

Once all actions are configured, save your workflow. Your AI agent is now ready to automate YouTube comment moderation and replies effectively.


Conclusion

By following this tutorial, you can successfully automate YouTube comment moderation and replies using Pabbly Connect and OpenAI. This integration streamlines comment management, ensuring spam is filtered out while genuine interactions are acknowledged. Start using this powerful automation today!

Ensure you check out Pabbly Connect to create business automation workflows and reduce manual tasks. Pabbly Connect currently offer integration with 2,000+ applications.

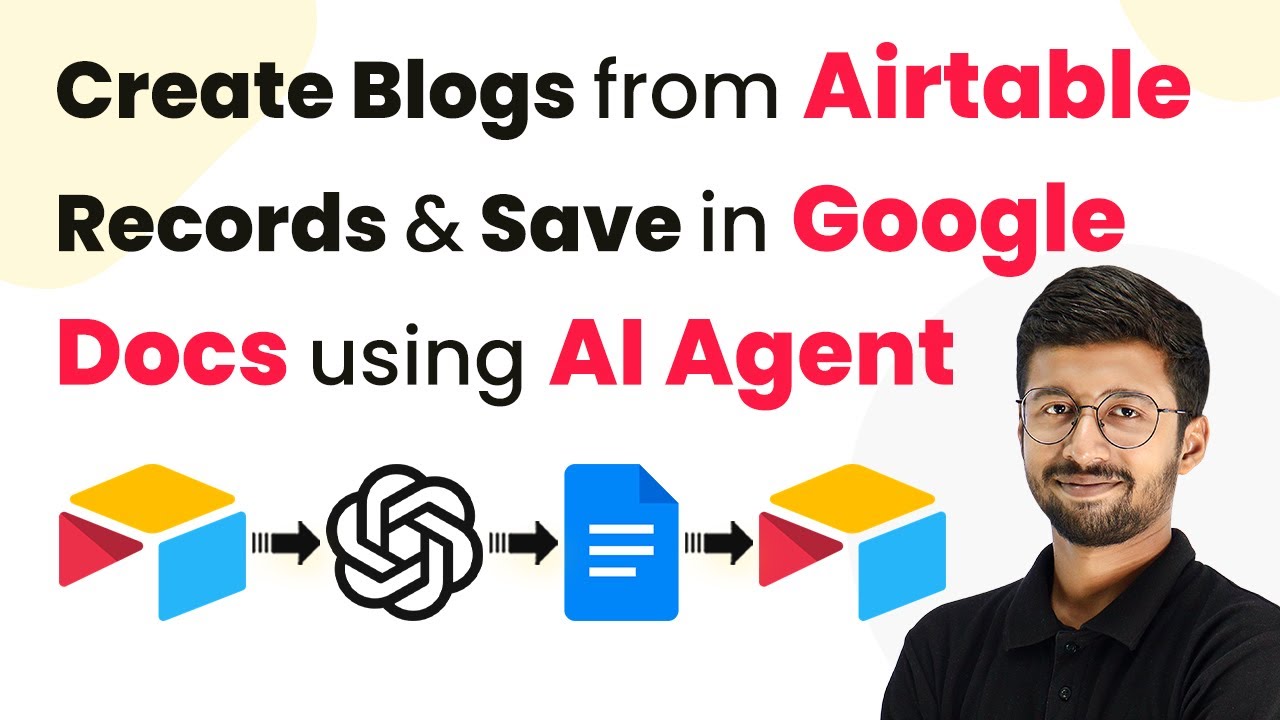
Creating Blogs from Airtable Records and Saving in Google Docs Using Pabbly Connect

Learn how to create blogs from Airtable records and save them in Google Docs using Pabbly Connect. This tutorial covers step-by-step integration with AI Agent.

Watch Step By Step Video Tutorial Below


1. Accessing Pabbly Connect for Blog Creation

To create blogs from Airtable records and save them in Google Docs, you first need to access Pabbly Connect. Start by visiting the Pabbly Connect website and signing in or creating a new account if you are a first-time user.

Once logged in, you will be directed to the dashboard. Here, you can create a new workflow by clicking on the ‘Create Workflow’ button. Name your workflow something relevant, like ‘AI Agent for Blog Writing’. This sets the stage for the integration process.


2. Setting Up the Trigger with Airtable

The next step involves setting up the trigger that will initiate the workflow when a new record is added to Airtable. In Pabbly Connect, select ‘Airtable’ as the application and choose the trigger event as ‘New Record’.

  • Select your Airtable account by clicking on ‘Connect’ and then ‘Add New Connection’.
  • Choose the base and table from which you want to capture new records.
  • Ensure you have a column named ‘Created’ with the type set to ‘Created Time’ to trigger the automation.

After configuring the trigger, click on ‘Save and Send Test Request’ to ensure that Pabbly Connect captures the latest record details correctly. This confirms that your Airtable is successfully connected.


3. Generating Blog Content Using AI Agent

With the trigger set up, the next step is to generate blog content using an AI platform such as OpenAI. In Pabbly Connect, add an action step and select ‘OpenAI’ as the application.

Choose the action event as ‘Generate Content’. To connect your OpenAI account, you will need to enter your API key, which you can obtain from your OpenAI dashboard. After entering the key, select the AI model you wish to use, typically GPT-4 for generating blog content.

  • Map the title, description, target audience, and keywords from the Airtable record into the prompt for the AI.
  • Click ‘Save and Send Test Request’ to generate the blog content.

Once the content is generated, you will receive a response containing the blog text, which is essential for the next steps in your workflow.


4. Saving Generated Content to Google Docs

The next phase involves saving the generated blog content into Google Docs. In your Pabbly Connect workflow, add another action step and select ‘Google Docs’ as the application.

Choose the action event as ‘Create Document from Template’. Connect your Google account and select the template document you want to use. Map the fields such as title, audience, keywords, and the content generated from the previous step into the corresponding fields in the Google Docs template.

Specify the name of the new document, typically the title of the blog. Select the folder in Google Drive where the new document will be saved.

After mapping all required fields, click on ‘Save and Send Test Request’ to create the document. This will store the blog content in Google Docs, ready for review.


5. Updating Airtable with Document Link

The final step is to update your Airtable record with the link to the newly created Google Docs document. In Pabbly Connect, add one last action step and select ‘Airtable’ again.

Choose the action event as ‘Update Record’. Connect to your Airtable account and select the same base and table you used earlier. For the record ID, map the ID of the record that triggered the workflow.

In the fields, select the document link response from the Google Docs step. Click on ‘Save and Send Test Request’ to update the record.

Once completed, your Airtable will now contain a link to the blog document, making it easy to access and share.


Conclusion

By using Pabbly Connect, you can seamlessly integrate Airtable, Google Docs, and AI platforms to automate the process of creating blogs. This step-by-step tutorial has shown you how to set up the workflow, ensuring that new records in Airtable generate blog content that is saved directly in Google Docs.

Ensure you check out Pabbly Connect to create business automation workflows and reduce manual tasks. Pabbly Connect currently offer integration with 2,000+ applications.

With the power of automation, you can streamline your content creation process and focus on what truly matters—writing great content.

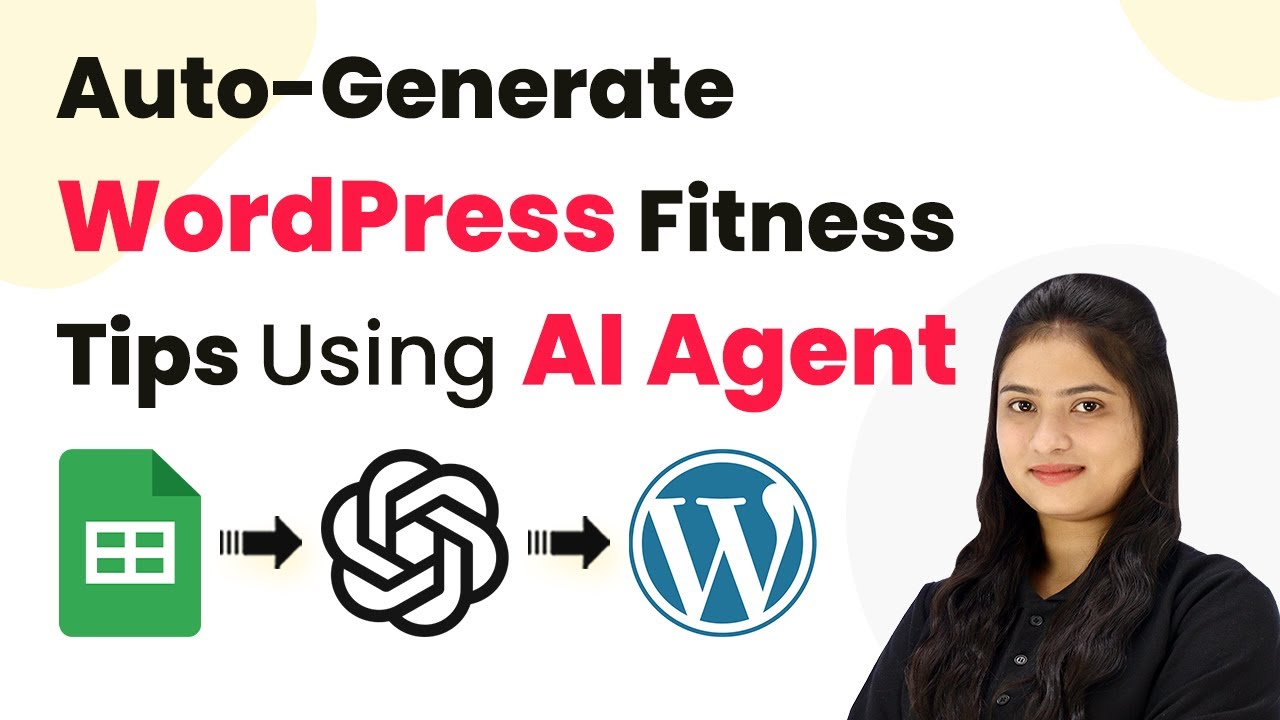
How to Auto-Generate WordPress Fitness Tips Using Pabbly Connect

Learn to automate WordPress fitness tips generation using Pabbly Connect with Google Sheets and AI. Step-by-step guide for seamless integration. Develop expertise in application integration and learn how to design streamlined automation workflows using proven, simplified approaches.

Watch Step By Step Video Tutorial Below


1. Accessing Pabbly Connect for Automation

To start automating the generation of fitness tips for WordPress, first, you need to access Pabbly Connect. Open your web browser and type in ‘Pabbly.com/connect’ to reach the Pabbly Connect landing page. Here, you will find options to sign in or sign up for free.

If you are a new user, click on ‘Sign up for free’ to create your account. Existing users can simply sign in. After signing in, you will be directed to the dashboard where you can create workflows that connect different applications seamlessly using Pabbly Connect.


2. Creating a Workflow in Pabbly Connect

Once you are in the Pabbly Connect dashboard, the next step is to create a new workflow. Click on the ‘Create Workflow’ option. A dialog box will appear asking for a workflow name. Enter a name like ‘Auto-generate WordPress fitness tips using AI agent’ and select a folder for organization purposes.

  • Click ‘Create’ to proceed.
  • You will see two windows for Trigger and Action.
  • Triggers activate the workflow, while Actions are the tasks performed.

Understanding this setup is crucial as it will guide you in selecting Google Sheets as the trigger application. This integration will allow Pabbly Connect to respond every time a new row is added in Google Sheets.


3. Setting Up Google Sheets as the Trigger

In this step, select Google Sheets as your trigger application within Pabbly Connect. Choose the trigger event as ‘New or Updated Spreadsheet Row’. This ensures that every time a new row is added, the workflow will initiate.

After selecting the trigger, Pabbly Connect will provide you with a webhook URL. Copy this URL as it will be used to connect Google Sheets to Pabbly Connect.

  • Open Google Sheets and navigate to Extensions.
  • Select Add-ons, then get add-ons.
  • Search for ‘Pabbly Connect Webhooks’ and install it.

After installation, refresh your spreadsheet to see the Pabbly Connect option under Extensions. This setup will allow Pabbly Connect to receive data from Google Sheets automatically.


4. Integrating AI Agent with Pabbly Connect

Now that the Google Sheets trigger is set up, the next step is to integrate your AI agent, which will generate the content for your fitness tips. In this case, select OpenAI as the action application in Pabbly Connect. Choose the action event as ‘ChatGPT’ to create the content.

Before proceeding, ensure you are logged into your OpenAI account. You will need to create a new connection by providing the OpenAI API key. This step is essential as it allows Pabbly Connect to communicate with OpenAI to generate content based on the titles provided in Google Sheets.

Select the model you want to use, such as GPT-4. Provide a prompt that instructs OpenAI to generate a fitness tip based on the topic from Google Sheets. Map the topic dynamically to ensure it changes with each new row.

By setting this up, Pabbly Connect will automatically create unique content for your WordPress fitness posts, streamlining your blogging process.


5. Publishing to WordPress with Pabbly Connect

After generating the content using OpenAI, the final step is to publish the content to your WordPress site. Select WordPress as the action application in Pabbly Connect and choose ‘Create a Post’ as the action event.

Connect your WordPress account by entering the username, password, and base URL. After establishing this connection, map the post title and content generated from OpenAI to the respective fields in Pabbly Connect. Set the status to ‘Publish’ to ensure the post goes live immediately.

You can also specify the post type and other optional fields. Click on ‘Save and Send Test Request’ to test the integration. Check your WordPress site to confirm the post is published.

With this setup, Pabbly Connect effectively automates the process of generating and publishing fitness tips on your WordPress site, saving you time and effort.


Conclusion

In conclusion, using Pabbly Connect to automate the generation of WordPress fitness tips with Google Sheets and an AI agent streamlines your blogging process. This integration allows you to publish content efficiently without manual intervention, enhancing your productivity.

Ensure you check out Pabbly Connect to create business automation workflows and reduce manual tasks. Pabbly Connect currently offer integration with 2,000+ applications.

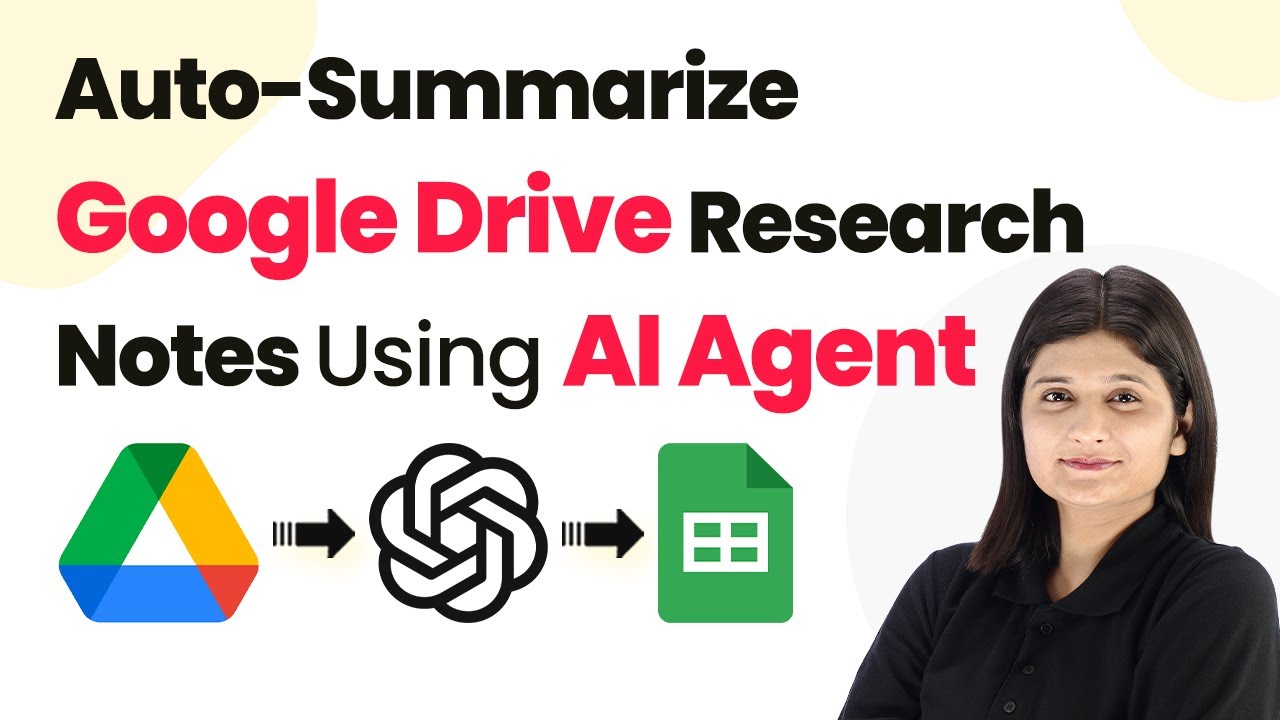
How to Auto-Summarize Google Drive Research Notes Using Pabbly Connect

Learn how to automate the summarization of Google Drive research notes using Pabbly Connect and AI agents step-by-step in this detailed guide. Navigate the automation landscape confidently with clear, structured guidance suitable for professionals regardless of prior technical experience.

Watch Step By Step Video Tutorial Below


1. Accessing Pabbly Connect for Automation

To begin automating the summarization of Google Drive research notes, you first need to access Pabbly Connect. Navigate to the Pabbly website and sign in to your account. If you are a new user, you can sign up for a free account, which gives you access to 100 tasks monthly.

Once logged in, click on the ‘Access Now’ button for Pabbly Connect. This will take you to the dashboard, where you can create and manage your workflows. Here, you can see all your existing workflows and folders.


2. Creating a New Workflow in Pabbly Connect

To create a new workflow in Pabbly Connect, click on the ‘Create Workflow’ button. You will be prompted to name your workflow. For this tutorial, name it ‘Auto-Summarize Google Drive Research Notes Using AI Agent’ and select the folder where you wish to save this workflow.

  • Click on the ‘Create’ button to set up the workflow.
  • You will see two boxes appear: one for the trigger and one for the action.

In the trigger section, select Google Drive as the application. This will allow Pabbly Connect to monitor your Google Drive for new file uploads. Next, choose the trigger event as ‘New File in Folder’ to specify that the automation should start whenever a new research note is added to the designated Google Drive folder.


3. Configuring Google Drive Trigger in Pabbly Connect

To set up the Google Drive trigger, you need to authenticate your Google account. Click on ‘Sign in with Google’ and select the account that contains your research notes. Grant the necessary permissions for Pabbly Connect to access your Google Drive files.

Once authenticated, specify the folder where you will upload your research notes. Select the folder named ‘Research Papers’ from your Google Drive. This allows Pabbly Connect to monitor only this folder for new uploads.

  • Ensure that the folder is shared with Pabbly access to allow the AI agent to access the files.
  • Click on ‘Save and Send Test Request’ to verify the connection.

After successfully connecting, Pabbly Connect will confirm that it can see the files in your Google Drive. You are now ready to set up the action that will summarize these files.


4. Setting Up OpenAI as the Action in Pabbly Connect

Next, you will configure the action step using OpenAI to generate summaries of the uploaded research notes. In the action section, select OpenAI as the application. For the action event, choose ‘Generate Summary’ to instruct OpenAI to create a summary of the document.

Authenticate your OpenAI account by entering your API key. This key can be obtained from the OpenAI API dashboard. Once you have entered the key, select the AI model you want to use, such as GPT-4 Mini.

Enter the prompt for the AI to generate the summary, specifying the format you need. Map the PDF URL from the Google Drive response to the appropriate field in OpenAI.

With this setup, every time a new file is uploaded to your Google Drive, Pabbly Connect will trigger OpenAI to generate a summary based on the content of the file.


5. Adding the Summary to Google Sheets via Pabbly Connect

Finally, you will set up Google Sheets as the destination to store the generated summaries. In the action event, select Google Sheets and choose ‘Add New Row’ as the action. Authenticate your Google Sheets account and select the spreadsheet where you want to save the summaries.

Map the fields from the OpenAI response to the corresponding columns in your Google Sheets. This will include fields like ‘Key Contribution’, ‘Methodology’, and ‘Significance’ which you want to capture from the summary.

Make sure to test the connection to confirm that data is being sent correctly. Click on ‘Save and Send Test Request’ to finalize the setup.

Now, every time a new research note is uploaded, Pabbly Connect will automatically generate a summary and add it to your Google Sheets, streamlining your research process effortlessly.


Conclusion

Using Pabbly Connect, you can efficiently automate the summarization of your Google Drive research notes with AI agents. This integration saves time and enhances productivity by automatically generating and storing summaries in Google Sheets.

Ensure you check out Pabbly Connect to create business automation workflows and reduce manual tasks. Pabbly Connect currently offer integration with 2,000+ applications.

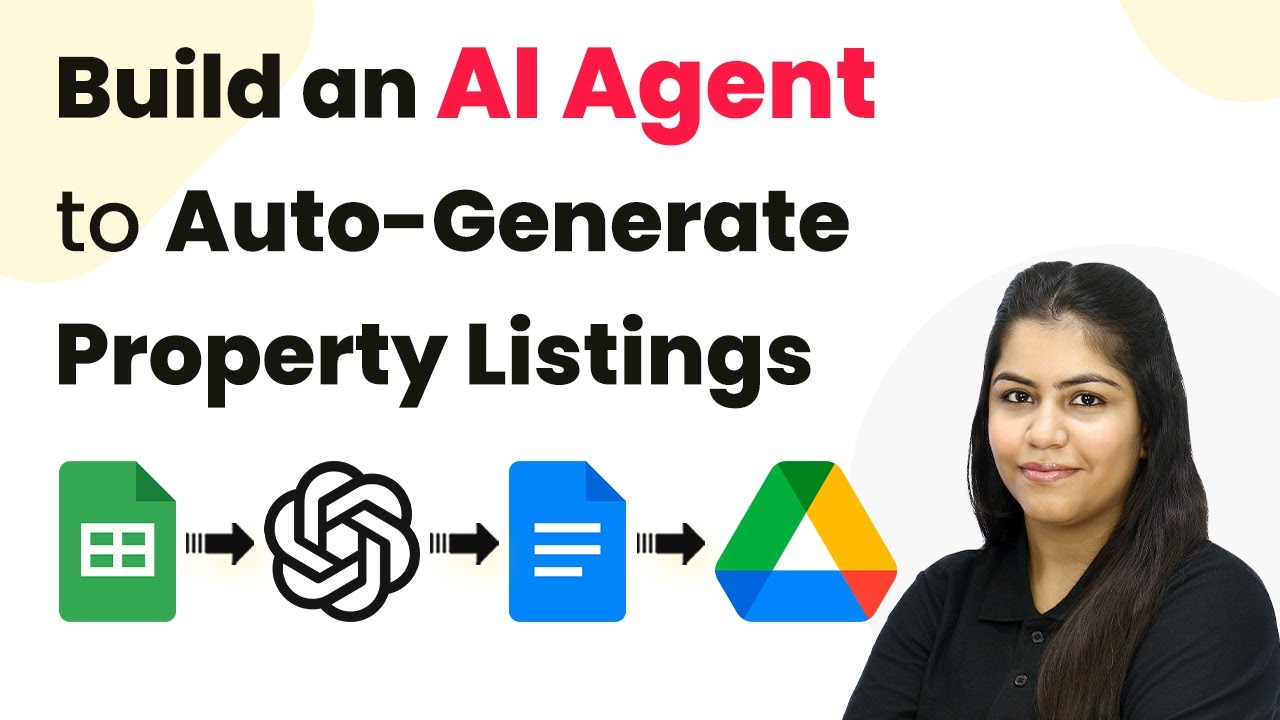
How to Build an AI Agent to Auto-Generate Property Listings Using Pabbly Connect

Learn how to automate property listings with Pabbly Connect, Google Sheets, and OpenAI. Step-by-step tutorial on integrating these applications for seamless property management. Develop expertise in application integration and learn how to design streamlined automation workflows using proven, simplified approaches.

Watch Step By Step Video Tutorial Below


1. Accessing Pabbly Connect for Automation

To start building your AI agent for auto-generating property listings, you first need to access Pabbly Connect. Open a new tab and navigate to the Pabbly Connect landing page at Pabbly.com/connect. Here, you will find options to sign in or sign up for free.

If you are a new user, click on ‘Sign Up for Free’ to create your account and receive 100 free tasks each month. Existing users can simply sign in to access their dashboard, where they can create a new workflow for integrating Google Sheets and OpenAI.


2. Creating Your Workflow in Pabbly Connect

Once logged into Pabbly Connect, click on the ‘Create Workflow’ button. You will need to name your workflow, for example, ‘AI Agent for Auto-Generating Property Listings’. Choose a folder to save your workflow, and click ‘Create’ to proceed.

  • Select Google Sheets as your trigger application.
  • Choose the trigger event as ‘New or Updated Spreadsheet Row’.
  • Copy the provided webhook URL for later use.

After setting up your trigger, you will need to configure Google Sheets to send data to Pabbly Connect. This involves installing the Pabbly Connect Webhooks add-on in your Google Sheets and setting the trigger column to the appropriate data column.


3. Configuring Google Sheets for Integration

To configure Google Sheets, open your spreadsheet and navigate to Extensions > Add-ons > Get Add-ons. Search for ‘Pabbly Connect Webhooks’ and install the add-on. After installation, refresh your spreadsheet to see the new options under Extensions.

  • Select ‘Pabbly Connect Webhooks’ > ‘Initial Setup’.
  • Paste the copied webhook URL into the setup.
  • Set your trigger column, typically the last column with data.

Click ‘Submit’ to finalize your setup. This will allow your Google Sheets to communicate with Pabbly Connect whenever a new property listing is added or updated.


4. Integrating OpenAI with Pabbly Connect

Next, you will integrate OpenAI to generate property listings. In your Pabbly Connect workflow, choose OpenAI as the action application and select the action event as ‘Chat GPT’. You will need to connect your OpenAI account by providing an API key, which can be obtained from the OpenAI API key page.

After entering the API key, select the AI model you wish to use, such as GPT-4. You will then enter a prompt that guides the AI on how to generate property listings based on the data from Google Sheets. This mapping process allows the AI to dynamically use the property details you input.


5. Finalizing the Integration and Testing

After configuring OpenAI, you will add another action step to create a Google Docs document to store the generated listings. Select Google Docs as the action application and choose ‘Create a Blank Document’. Map the document name to the property title for easy identification.

Once the document is created, you will append the generated property listing to this document. Finally, share the document via Google Drive and update your Google Sheets with the document link. This ensures that all generated listings are accessible and organized.

With this automation set up through Pabbly Connect, you will no longer need to manually create property listings. Instead, the AI agent will handle everything, saving you time and effort.


Conclusion

By utilizing Pabbly Connect, you can seamlessly integrate Google Sheets, OpenAI, and Google Docs to automate the process of generating property listings. This method not only enhances efficiency but also ensures consistency in your property marketing efforts.

Ensure you check out Pabbly Connect to create business automation workflows and reduce manual tasks. Pabbly Connect currently offer integration with 2,000+ applications.

How to Build an AI Agent to Auto-Summarize Litigation Notes Using Pabbly Connect

Learn how to create an AI agent that auto-summarizes litigation notes using Pabbly Connect, Google Drive, and Google Docs in this detailed tutorial. This comprehensive guide reveals exactly how to connect your applications and automate repetitive tasks — accessible for professionals of all technical backgrounds.

Watch Step By Step Video Tutorial Below


1. Accessing Pabbly Connect for Your AI Agent

To start building your AI agent to auto-summarize litigation notes, first access Pabbly Connect. Go to the official website by entering www.Pabbly.com/connect in your browser. This will take you to the Pabbly Connect landing page.

Here, you will find options to sign in or sign up for free. If you are a new user, you can create a free account that allows 100 tasks each month. After signing in, you will be directed to the Pabbly apps page where you can select Pabbly Connect by clicking the ‘Access Now’ button.


2. Creating a Workflow in Pabbly Connect

Once you have accessed Pabbly Connect, the next step is to create a new workflow. Click the ‘Create Workflow’ button located at the top right corner of the dashboard. A dialog box will appear asking for the workflow name and folder selection.

  • Name your workflow as ‘AI Agent to Auto Summarize Litigation Notes’.
  • Select a folder to save your workflow, such as the ‘AI Agents’ folder.

After entering the details, click the ‘Create’ button. You will now see two windows labeled ‘Trigger’ and ‘Action’, which are essential for setting up your automation process. The trigger indicates when an event happens, while the action signifies what should be done in response.


3. Setting Up the Trigger with Google Drive

The first step in your workflow is to set up the trigger. Select Pabbly Connect as the trigger application and choose ‘Google Drive’ as the application for the trigger event. You will want to select ‘New File in Specific Folder’ as the trigger event.

Click the ‘Connect’ button to establish a connection between Pabbly Connect and Google Drive. You will need to authorize Pabbly Connect to access your Google Drive account by clicking the ‘Sign in with Google’ button. Choose the account associated with the folder where you will upload your litigation notes.


4. Extracting Content Using OpenAI

After setting up the trigger, you will now set up the action step. For the action application, select Pabbly Connect and choose ‘OpenAI’ to extract content from the uploaded litigation notes. The action event will be ‘Extract Content from PDF/Image’.

Click the ‘Connect’ button and create a new connection by providing the API token from your OpenAI account. This token is essential for linking OpenAI with Pabbly Connect. Once connected, select the AI model you wish to use, such as GPT-4 Mini.

  • Map the PDF URL from the previous step to allow the AI to access the uploaded document.
  • Write a prompt specifying what information you want summarized from the litigation notes.

After entering the necessary information, click on the ‘Save and Send Test Request’ button to generate the summary.


5. Creating the Summary Document in Google Docs

Once the summary is generated, the next step is to create a document using Google Docs. Select Pabbly Connect as the action application again and choose ‘Google Docs’. The action event will be ‘Create Document from Template’.

For this step, you will need to select the template document you previously created in Google Docs, which is named ‘Litigation Note Summary Template’. You will also provide a name for the new document, typically matching the name of the original litigation notes file.

Specify the location in Google Drive where the summary document will be saved. Map the summary generated by OpenAI to the variable in your template.

After completing these steps, click the ‘Save and Send Test Request’ button. Your summary document will now be created in Google Docs.


Conclusion

In this tutorial, we explored how to build an AI agent using Pabbly Connect to auto-summarize litigation notes. By integrating Google Drive and Google Docs with OpenAI, you can streamline the documentation process in your law firm efficiently. Start automating your workflows with Pabbly Connect today!

Ensure you check out Pabbly Connect to create business automation workflows and reduce manual tasks. Pabbly Connect currently offer integration with 2,000+ applications.

How to Use AI to Extract Product Manual Details to Google Sheets with Pabbly Connect

Learn how to use Pabbly Connect to extract product manual details into Google Sheets using AI. Follow our step-by-step tutorial for seamless integration. Build sophisticated automated workflows in less time than you think. This guide translates complex integrations into straightforward steps for immediate implementation.

Watch Step By Step Video Tutorial Below


1. Accessing Pabbly Connect for Automation

To start using Pabbly Connect for automating the extraction of product manual details to Google Sheets, first visit the Pabbly Connect website. You can create a new account or log in if you are an existing user. This platform allows seamless integration between various applications, making it the perfect solution for your automation needs.

After signing in, you will reach the Pabbly Connect dashboard. Here, you can create a new workflow by clicking on the ‘Create Workflow’ button. You will then be prompted to name your workflow, such as ‘AI Agent to Extract Product Manual Details to Google Sheets,’ and select a folder to save it in. This initial setup is crucial for organizing your automation tasks efficiently.


2. Setting Up the Trigger in Pabbly Connect

In this section, we will set up the trigger for our workflow using Pabbly Connect. The trigger application will be Google Drive, as we want to capture new product manuals uploaded to a specific folder. Select the trigger event as ‘New File in Specific Folder’ to ensure that the automation starts when a new file is added.

  • Choose Google Drive as the trigger application.
  • Select the specific folder where product manuals will be uploaded.
  • Connect your Google Drive account to Pabbly Connect.

Once the trigger is set up, you can test the connection by uploading a product manual to the specified Google Drive folder. This will allow Pabbly Connect to capture the new file and proceed with the next steps in the workflow.


3. Extracting Product Manual Details Using AI

After successfully setting up the trigger, the next step involves using Pabbly Connect to extract details from the uploaded product manual. For this, we will use OpenAI as our AI agent. Select OpenAI as the action application and choose the action event as ‘Extract Content from PDF/Image’ to facilitate the extraction process.

You’ll need to connect your OpenAI account by providing an API token. Once connected, map the URL of the uploaded product manual from the previous step into the designated field for the image or PDF URL. This mapping is essential as it allows the AI to access the file and extract the required details.

  • Map the URL of the uploaded file from Google Drive.
  • Specify the prompt for the AI to extract the necessary details.
  • Ensure the AI response is formatted in JSON for easier handling.

After setting up the AI extraction, run a test to ensure that the details are correctly extracted from the product manual. This step verifies that the integration between Pabbly Connect and OpenAI is functioning as intended.


4. Saving Extracted Details to Google Sheets

Now that we have the product manual details extracted, the next step is to save these details into Google Sheets using Pabbly Connect. Set Google Sheets as the action application and choose the action event ‘Add New Row’ to create a new entry for each extracted product manual.

Connect your Google Sheets account and select the specific spreadsheet where you want the data to be stored. Map the extracted details such as product name, category, key ingredients, benefits, and net quantity to the corresponding columns in your Google Sheets. This mapping ensures that all the data is organized correctly.

Select the spreadsheet and sheet where data will be saved. Map the extracted details to the appropriate fields. Run a test to confirm the data is saved correctly.

Upon successful mapping and testing, every time a new product manual is uploaded, Pabbly Connect will automatically extract the details and save them to your Google Sheets, streamlining your data management process.


5. Testing the Integration and Final Verification

The final step is to test the entire integration to ensure everything works seamlessly. Upload another product manual into the designated Google Drive folder. Remember that Google Drive operates on a polling basis, meaning it may take a few minutes for Pabbly Connect to capture the new file and extract the details.

After waiting for the specified polling time, check your Google Sheets to verify that the new product manual details have been recorded correctly. This final verification confirms that your AI agent, created using Pabbly Connect, is functioning as intended and efficiently automating the extraction process.

Should you encounter any issues, revisit each step to ensure all connections and mappings are correctly set up. This thorough testing process ensures that your automation workflow is reliable and effective.


Conclusion

By following this tutorial, you can effectively use Pabbly Connect to automate the extraction of product manual details into Google Sheets using AI. This integration not only saves time but also enhances your data management capabilities, making it easier to keep track of product specifications and updates.

Ensure you check out Pabbly Connect to create business automation workflows and reduce manual tasks. Pabbly Connect currently offer integration with 2,000+ applications.