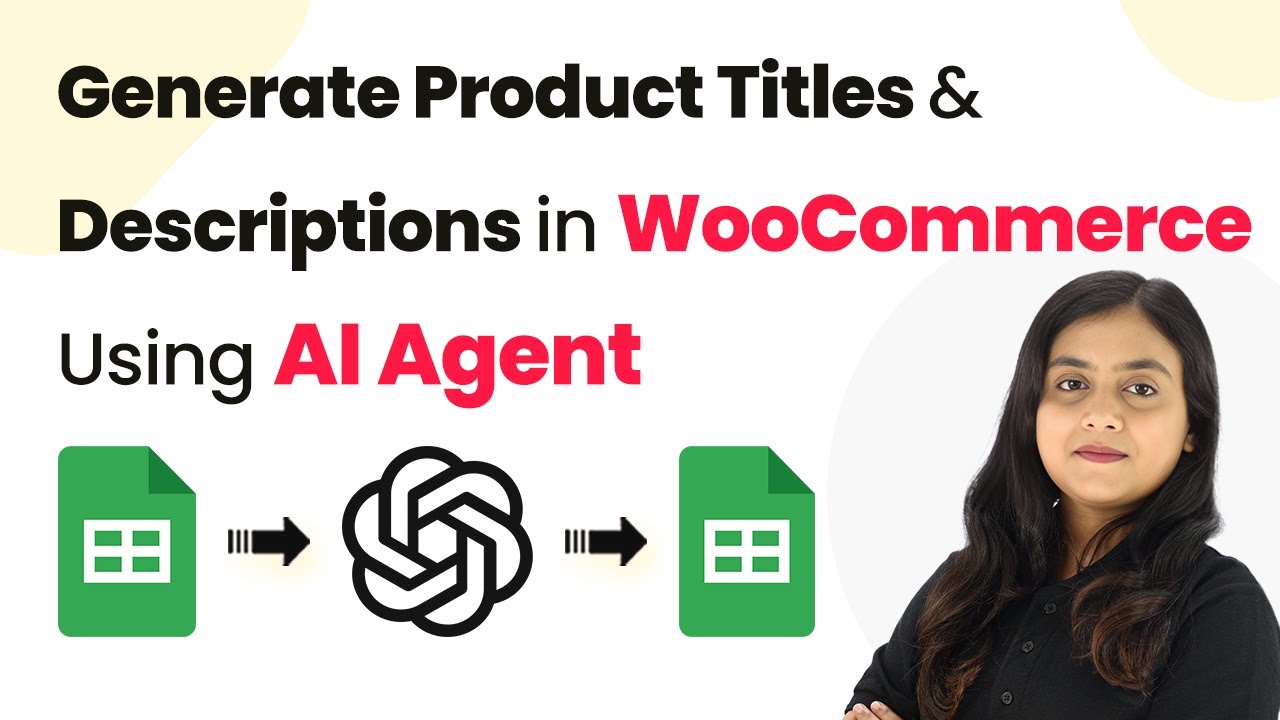
Auto-Generate Product Titles & Descriptions in WooCommerce Using Pabbly Connect

Learn how to automate product title and description generation in WooCommerce using Pabbly Connect, Google Sheets, and AI agents. Step-by-step tutorial included. Transform complex automation concepts into accessible, actionable steps that eliminate unnecessary manual work while maximizing existing application capabilities.

Watch Step By Step Video Tutorial Below


1. Accessing Pabbly Connect for Automation

To begin automating product title and description generation in WooCommerce, the first step is accessing Pabbly Connect. Visit the Pabbly Connect website and sign in or create a free account if you are a new user. This platform allows you to seamlessly connect various applications like Google Sheets and WooCommerce.

Once logged in, you will see the Pabbly Connect dashboard. Here, you can create a new workflow that will facilitate the automation process between Google Sheets and WooCommerce. By using Pabbly Connect, you can easily set up triggers and actions that streamline your workflow.


2. Creating a Workflow in Pabbly Connect

In this section, we will create a workflow in Pabbly Connect to automate the product title and description generation. Click on the ‘Create Workflow’ button in the top right corner of the dashboard. A dialog box will prompt you to name your workflow and select a folder for organization.

  • Name the workflow as ‘AI Agent to Auto-Generate Product Titles and Descriptions in WooCommerce’.
  • Select a folder where you want to save this workflow.

After naming your workflow and selecting the appropriate folder, click on the ‘Create’ button. This action will set up the workflow, and you will see two windows for the trigger and action steps. The trigger will be responsible for capturing new data from Google Sheets, while the action will define what happens next.


3. Setting Up the Trigger with Google Sheets

Next, we will set up the trigger in Pabbly Connect using Google Sheets. Select Google Sheets as your trigger application and choose the event as ‘New or Updated Spreadsheet Row’. This will allow the workflow to activate whenever new product data is entered in your Google Sheet.

Upon selecting the trigger, Pabbly Connect will provide you with a webhook URL. This URL is crucial for connecting your Google Sheets to Pabbly Connect. Copy this URL and go to your Google Sheet where you manage product details.

  • Go to Extensions > Add-ons > Get Add-ons in your Google Sheet.
  • Search for ‘Pabbly Connect Webhooks’ and install it if you haven’t already.

After installation, refresh your Google Sheet, then navigate back to Extensions > Pabbly Connect Webhooks > Initial Setup. Paste the webhook URL and set the trigger column to the final data column (e.g., the product price). Click on ‘Submit’ to complete the setup.


4. Setting Up Actions to Generate Titles and Descriptions

With the trigger set, we now need to configure the action steps in Pabbly Connect. For the first action, select OpenAI as the application to generate the product title. Choose the action event as ‘Chat GPT’. You will need to connect your OpenAI account by providing an API token.

To generate the API token, log into your OpenAI account, create a new secret key, and copy it. Paste this token into the connection window in Pabbly Connect. Once connected, select the AI model you wish to use, such as GPT-4, and specify the prompt for generating the product title based on the data from Google Sheets.

Specify the prompt to generate SEO-friendly product titles. Map the data fields from the previous step to include product name, category, and features.

After configuring the prompt, click on ‘Save and Send Test Request’. This will generate the product title, which you can rename in your workflow for clarity.


5. Updating Google Sheets with Generated Titles and Descriptions

Now that we have the product title generated, the final step is to update your Google Sheet with this information. Add another action step in your workflow, selecting Google Sheets again, this time choosing the action event as ‘Update Row’. Connect to your Google Sheets account if prompted.

Select the spreadsheet and the specific sheet where you want to update the data. Map the row index to the corresponding row in your sheet and ensure to include the generated title and description in the mapped fields.

Ensure to map the generated title and description fields properly. Click on ‘Save and Send Test Request’ to finalize the update.

Once the test request is successful, your Google Sheet will automatically update with the new product title and description generated by the AI agent. This integration with Pabbly Connect enables a seamless workflow for managing product listings in WooCommerce.


Conclusion

Using Pabbly Connect, you can effectively automate the generation of product titles and descriptions for WooCommerce. By integrating Google Sheets and OpenAI, this workflow saves time and ensures that your product listings are optimized for SEO. Follow these steps to streamline your process and enhance your online store’s efficiency.

Ensure you check out Pabbly Connect to create business automation workflows and reduce manual tasks. Pabbly Connect currently offer integration with 2,000+ applications.

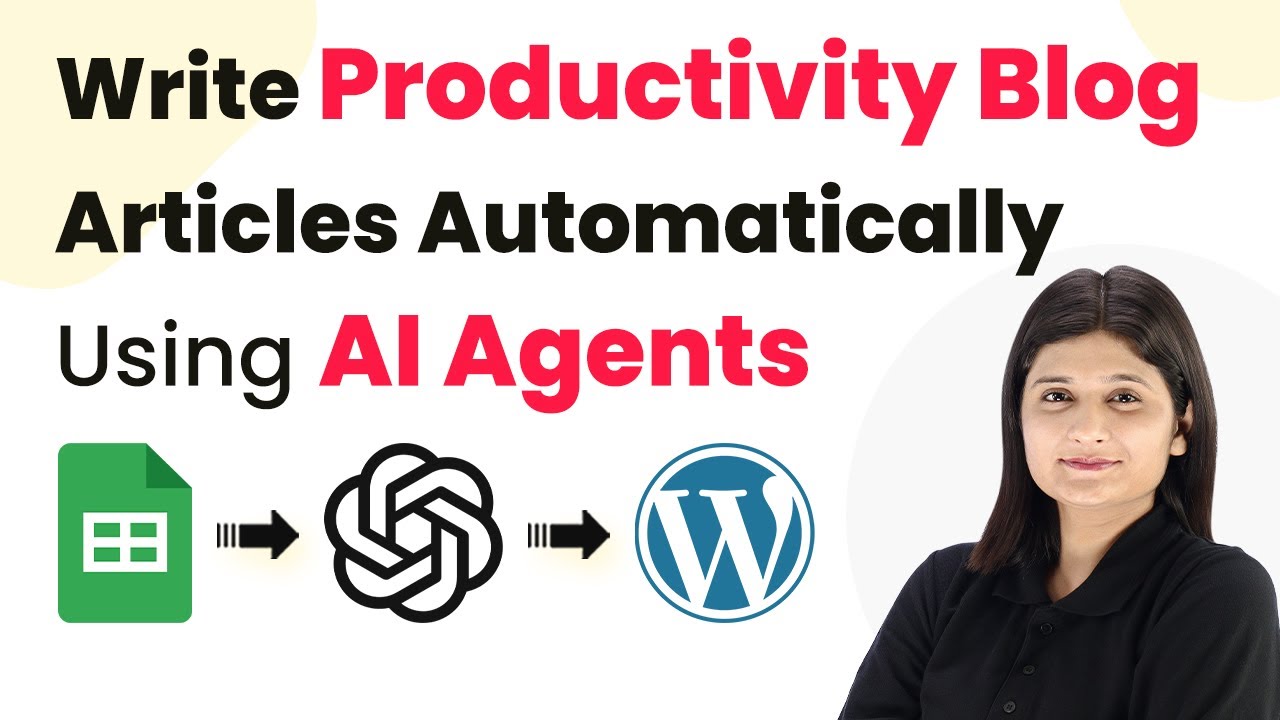
How to Write Productivity Blog Articles Automatically Using AI Agents with Pabbly Connect

Learn how to write productivity blog articles automatically using AI agents with Pabbly Connect in this detailed tutorial. Step-by-step guide included. Discover how to seamlessly connect your essential tools through accessible instructions that make powerful automation available to professionals at every skill level.

Watch Step By Step Video Tutorial Below


1. Accessing Pabbly Connect for Automation

To write productivity blog articles automatically using AI agents, you need to access Pabbly Connect. Start by visiting the Pabbly Connect website by typing ‘Pabbly.com/connect’ in your browser. Here, you will find options to sign in or sign up for free, which grants you 100 tasks monthly.

Once logged in, you will see the Pabbly apps page. Click on Pabbly Connect to access the dashboard, where you can manage your workflows. To create a new workflow, click on the ‘Create Workflow’ button, name your workflow, and select a folder to save it. This is the first step in automating your blog writing process.


2. Setting Up Google Sheets as a Trigger

For this automation, we will set up Google Sheets as a trigger in Pabbly Connect. The goal is to create a connection so that whenever a new title is added to your Google Sheets, it triggers the workflow. Select Google Sheets as your trigger application and choose the event ‘New or Updated Spreadsheet Row’.

  • Select Google Sheets as the trigger application.
  • Choose ‘New or Updated Spreadsheet Row’ as the trigger event.
  • Copy the webhook URL provided by Pabbly Connect.

Next, go to your Google Sheets, access the Extensions menu, and install the Pabbly Connect Webhooks add-on. After installation, enter the copied webhook URL and specify the trigger column, which is the last column of data that will send information to Pabbly Connect.


3. Integrating OpenAI as the AI Agent

After setting up Google Sheets, the next step is to integrate OpenAI as your AI agent. In Pabbly Connect, select OpenAI as your action application. Choose the action event ‘Chat GPT’ to generate the blog content based on the title you’ve added in Google Sheets.

To connect OpenAI, you will need an API token. Create a new API key in your OpenAI account and paste it into Pabbly Connect. Then, set your AI model, such as GPT-4, and create a prompt that instructs the AI to generate blog content based on the title from Google Sheets. Ensure you map the title dynamically to keep it updated.


4. Posting the Generated Content to WordPress

Once OpenAI generates the blog content, the final step is to post it to WordPress. In Pabbly Connect, add another action step and select WordPress as the application. Choose ‘Create a Post’ as the action event.

  • Connect your WordPress account by entering your email, password, and base URL.
  • Map the post title and content from the previous OpenAI response.
  • Set the post status to ‘Published’ to automatically publish it.

After configuring these settings, save and test the request. Check your WordPress site to confirm that the post has been created successfully. This seamless integration demonstrates how Pabbly Connect automates the entire blog writing process.


5. Conclusion: Automate Your Blogging with Pabbly Connect

In this tutorial, we explored how to write productivity blog articles automatically using AI agents with Pabbly Connect. By integrating Google Sheets, OpenAI, and WordPress, you can streamline your blog writing process and save valuable time. This automation allows you to focus more on your content and less on manual tasks.

Ensure you check out Pabbly Connect to create business automation workflows and reduce manual tasks. Pabbly Connect currently offer integration with 2,000+ applications.

Check out Pabbly Connect – Automate your business workflows effortlessly! Sign Up Free – Start your journey with ease! 10,000+ Video Tutorials – Learn step by step! Join Pabbly Facebook Group – Connect with 21,000+ like minded people!
Using Pabbly Connect not only simplifies the workflow but also enhances productivity by ensuring your blog is updated regularly without the need for constant manual input. Start automating your blogging today!

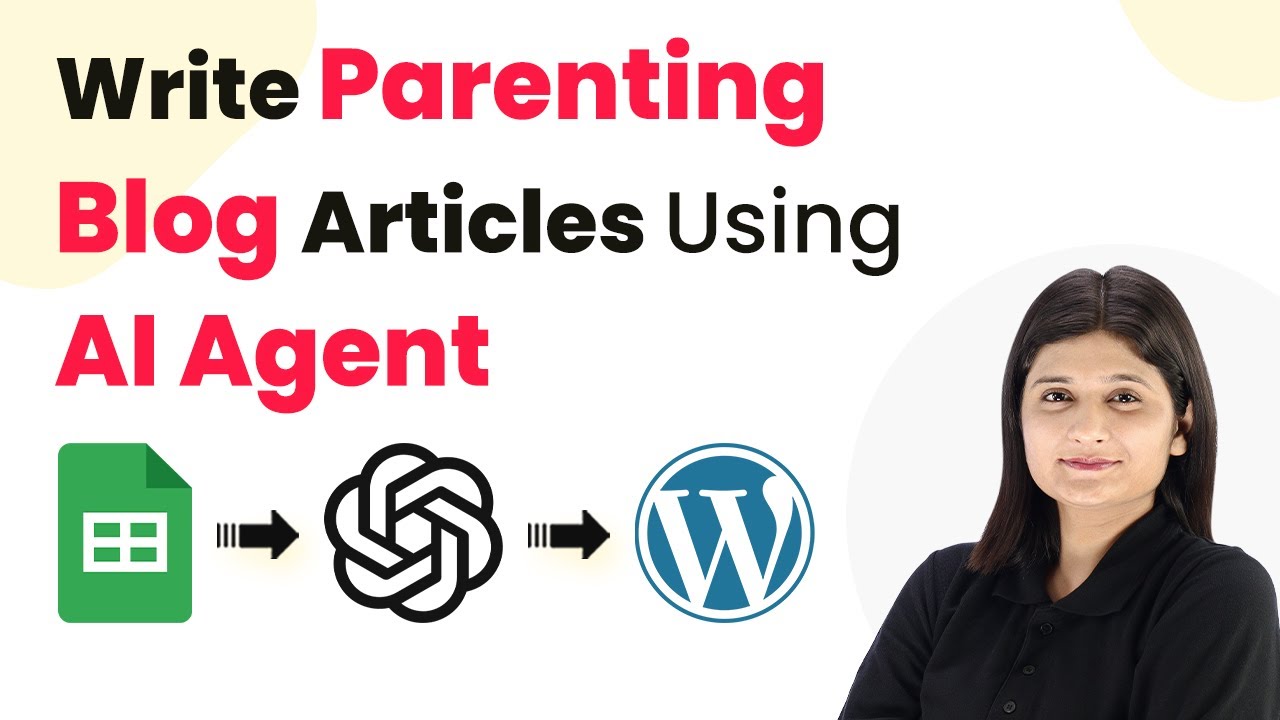
How to Write Parenting Blog Articles Using AI Agent with Pabbly Connect

Learn how to automate writing parenting blog articles using Pabbly Connect, Google Sheets, OpenAI, and WordPress with this step-by-step tutorial. Navigate the automation landscape confidently with clear, structured guidance suitable for professionals regardless of prior technical experience.

Watch Step By Step Video Tutorial Below


1. Accessing Pabbly Connect for Automation

To begin writing parenting blog articles using AI, access Pabbly Connect by visiting the Pabbly website. After navigating to the Pabbly Connect page, sign into your account using the ‘Sign In’ option if you’re an existing user or click on ‘Sign Up for Free’ to create a new account.

This platform allows you to automate processes without any coding skills. After logging in, you will see the Pabbly Apps page. Click on Pabbly Connect to access the dashboard where you can create and manage your workflows.


2. Creating Your Workflow in Pabbly Connect

Once you are on the Pabbly Connect dashboard, the next step is to create a new workflow. Click on the ‘Create Workflow’ button and name your workflow ‘How to Write Parenting Blog Articles Using AI Agent’. Select the appropriate folder for your workflow. using Pabbly Connect

  • Click on ‘Create’ to finalize your workflow name.
  • You will see two boxes appear: Trigger and Action.
  • Select Google Sheets as your Trigger application.

In the Trigger Event section, select ‘New or Updated Spreadsheet Row’. This will allow Pabbly Connect to monitor your Google Sheets for new entries that will trigger the workflow.


3. Setting Up Google Sheets with Pabbly Connect

To establish a connection between Google Sheets and Pabbly Connect, you will be provided with a Webhook URL. This URL acts as a bridge for data transfer. Open your Google Sheets document and enter the required fields such as Topic ID and Title in the designated columns.

  • Navigate to Extensions > Pabbly Connect Webhooks > Initial Setup.
  • Paste the Webhook URL into the designated field.
  • Set the Trigger Column to the column where the final data will be entered (e.g., Column B).

After configuring these settings, click on ‘Send Test’ to verify the connection. Ensure that the test data is sent successfully to Pabbly Connect, confirming the integration is set up correctly.


4. Integrating OpenAI with Pabbly Connect

With Google Sheets successfully connected to Pabbly Connect, the next step is to integrate OpenAI. In your workflow, add an Action step and select OpenAI as the application. Choose the action event ‘Chat GPT’ to generate content based on the titles provided in your Google Sheets.

To connect OpenAI, you will need an API key. Follow the prompts to create a new secret key if you do not have one. Enter the key in the connection settings of Pabbly Connect. Then, specify the AI model (e.g., GPT-4) and create your prompt.

Enter your prompt to instruct OpenAI on the content to generate. Use mapping to dynamically include the title from Google Sheets.

After entering the necessary details, click on ‘Save and Send Test Request’ to generate the blog content. Review the response to ensure it meets your expectations.


5. Posting to WordPress via Pabbly Connect

The final step in this automation process is to post the generated content to WordPress. Add another Action step in Pabbly Connect and select WordPress as the application. Choose the action event ‘Create Post’ to publish the content generated by OpenAI.

In the WordPress connection settings, enter your login credentials and the base URL of your WordPress site. Specify the post type, title, and content received from OpenAI. After mapping these fields, click on ‘Save and Send Test Request’ to publish the post.

Ensure the status is set to ‘Publish’ to make the post live. Check your WordPress site to verify the post has been created successfully.

After completing these steps, you will have successfully automated the process of writing and posting parenting blog articles using Pabbly Connect, Google Sheets, OpenAI, and WordPress.


Conclusion

In this tutorial, we explored how to automate writing parenting blog articles using Pabbly Connect, Google Sheets, OpenAI, and WordPress. By following the steps outlined, you can streamline your content creation process and enhance your online presence effectively.

Ensure you check out Pabbly Connect to create business automation workflows and reduce manual tasks. Pabbly Connect currently offer integration with 2,000+ applications.

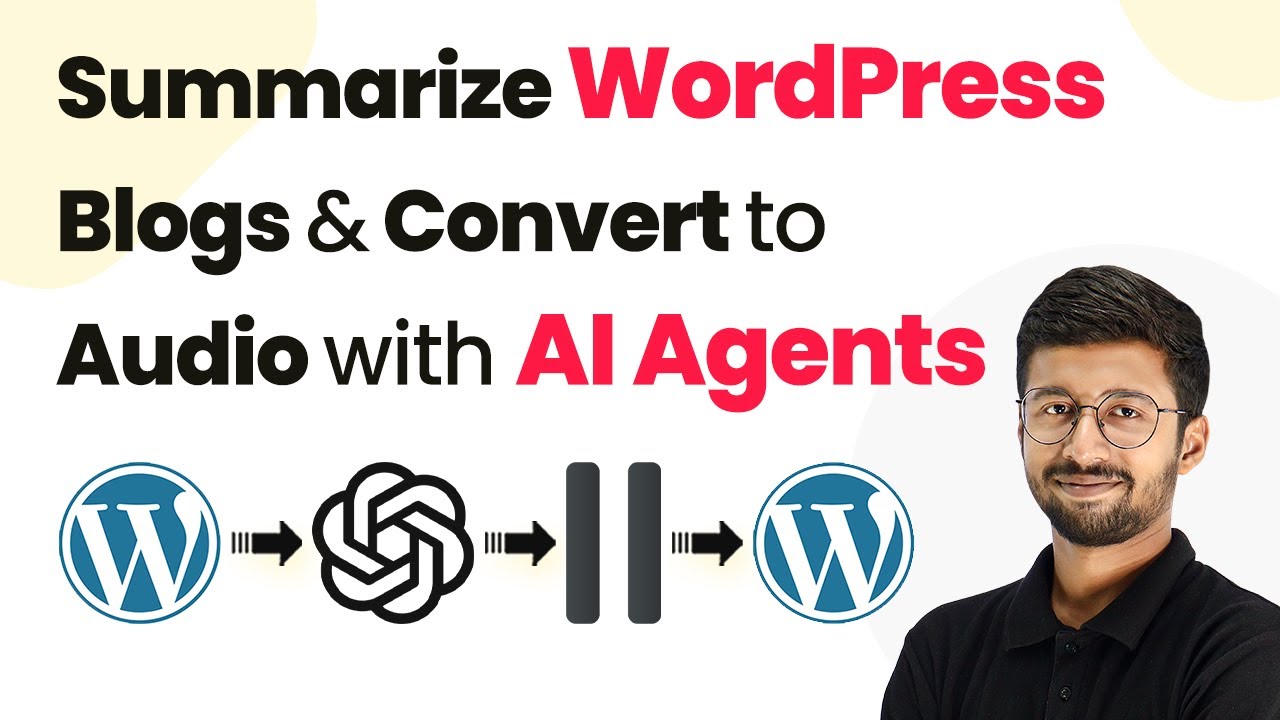
How to Auto-Summarize WordPress Blogs & Convert to Audio with Pabbly Connect

Learn how to auto-summarize WordPress blogs and convert them to audio using Pabbly Connect and OpenAI. Step-by-step tutorial included. Follow this definitive guide to creating powerful automated workflows with straightforward, efficiency-focused solutions that save valuable time.

Watch Step By Step Video Tutorial Below


1. Setting Up Pabbly Connect for WordPress Integration

To auto-summarize WordPress blogs and convert them to audio, we will use Pabbly Connect as the central integration platform. To get started, navigate to your browser and search for Pabbly Connect. You can sign up for a free account if you are new or log into your existing account.

Once you are logged in, access the Pabbly Connect dashboard and create a new workflow. Click on the ‘Create Workflow’ button, name your workflow (e.g., ‘AI Agent for WordPress’), and select a folder to save it in. This workflow will automate the process of capturing new blog posts and processing them.


2. Connecting WordPress with Pabbly Connect

In this step, we will connect our WordPress account with Pabbly Connect. In the trigger step, choose ‘WordPress’ as the app and select the trigger event as ‘New Post Published’. This sets up Pabbly Connect to listen for new blog posts published on your WordPress site.

  • Select ‘WordPress’ in the trigger app.
  • Choose ‘New Post Published’ as the trigger event.
  • Copy the webhook URL provided by Pabbly Connect.

Next, go to your WordPress dashboard, install the WP Webhooks plugin, and activate it. Navigate to the WP Webhooks settings, select ‘Send Data’, and set the event to ‘Post Created’. Paste the copied webhook URL into the designated field and save the settings. This ensures that every new post triggers the workflow in Pabbly Connect.


3. Summarizing Blog Content with OpenAI

After setting up the trigger from WordPress, the next step involves summarizing the blog content using OpenAI through Pabbly Connect. Add an action step and select OpenAI as the app. Choose ‘ChatGPT’ as the action event to generate a summary of the blog content.

To connect OpenAI, you will need your API key. Log into your OpenAI account, navigate to the API keys section, and create a new secret key. Copy this key and paste it into Pabbly Connect to establish the connection.

  • Select the OpenAI model (e.g., GPT-4 Mini).
  • Input your prompt to summarize the blog content.
  • Map the blog content received from WordPress into the prompt field.

Once everything is set, click on ‘Save and Send Test Request’. This will send the blog content to OpenAI and return a summarized version that will be used for audio conversion.


4. Converting the Summary to Audio Using 11 Labs

With the summary generated from OpenAI, the next step is to convert this text into audio using 11 Labs through Pabbly Connect. Add another action step and choose 11 Labs, then select ‘Create Text to Speech’ as the action event.

To connect 11 Labs, you will again need an API key. Log into your 11 Labs account, navigate to the API keys section, and create a new key. Paste this key into Pabbly Connect to complete the integration.

Select the voice ID you want for the audio output. Map the summary text from OpenAI into the text field. Click ‘Save and Send Test Request’ to generate the audio file.

Upon successful execution, you will receive a link to the generated audio file, which can now be uploaded back to your WordPress post.


5. Uploading the Audio File Back to WordPress

The final step involves uploading the generated audio file back to your WordPress post using Pabbly Connect. Add another action step, select WordPress, and choose ‘Upload File’ as the action event. Connect your WordPress account by entering the required credentials.

In the upload file action, map the file URL received from 11 Labs into the designated field. You can also map the title of your blog as the file name for better organization.

Select the post ID from the trigger step to ensure you are updating the correct post. Map the audio file URL and title accordingly. Click ‘Save and Send Test Request’ to finalize the upload.

After the successful upload, refresh your WordPress post to see the audio file integrated at the top, allowing users to listen to the summary directly.


Conclusion

In this tutorial, we demonstrated how to use Pabbly Connect to auto-summarize WordPress blogs and convert them into audio format. By integrating WordPress, OpenAI, and 11 Labs, you can enhance your blog’s accessibility and engagement. Follow these steps to implement this workflow and enjoy the benefits of automation.

Ensure you check out Pabbly Connect to create business automation workflows and reduce manual tasks. Pabbly Connect currently offer integration with 2,000+ applications.

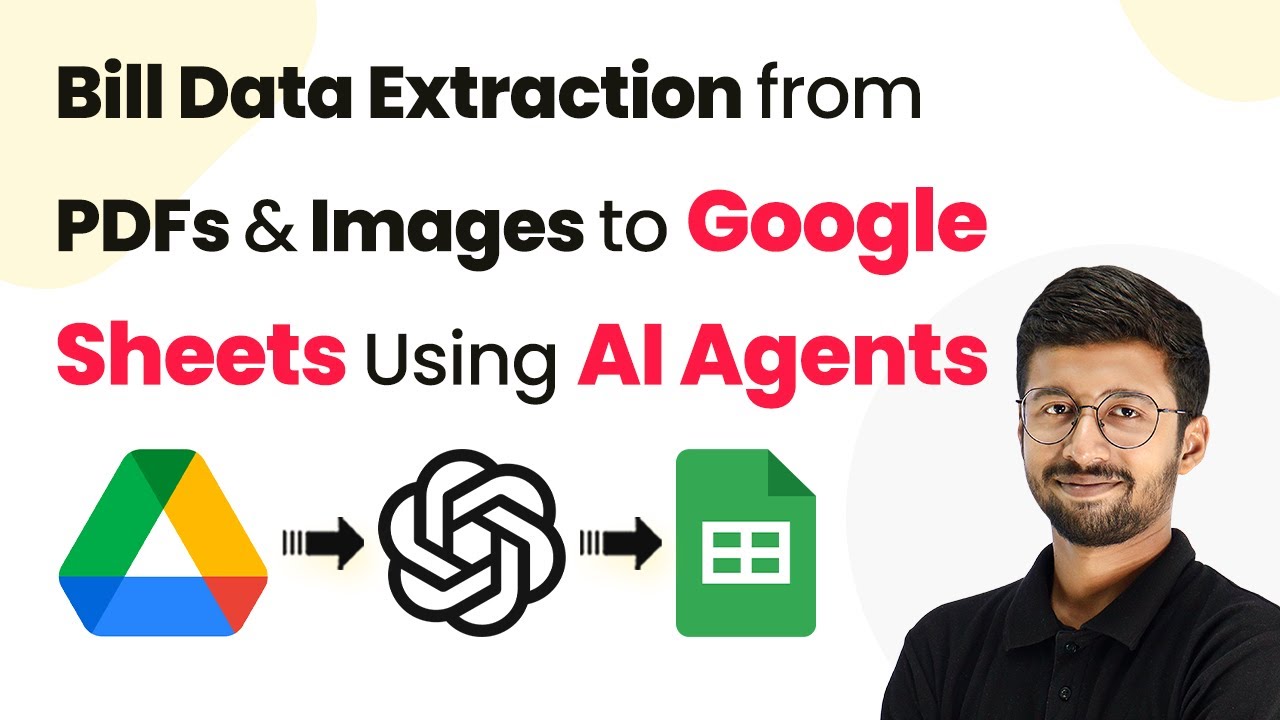
Automate Bill Data Extraction from PDFs to Google Sheets Using Pabbly Connect

Learn how to automate bill data extraction from PDFs and images to Google Sheets using Pabbly Connect. Step-by-step guide for seamless integration. Build sophisticated automated workflows in less time than you think. This guide translates complex integrations into straightforward steps for immediate implementation.

Watch Step By Step Video Tutorial Below


1. Setting Up Pabbly Connect for Bill Data Extraction

To automate bill data extraction from PDFs and images to Google Sheets, we will use Pabbly Connect. First, access Pabbly Connect by visiting pabblconnect.com. If you’re new, click on ‘Sign Up Free’ to create an account.

Once you have signed in, navigate to the dashboard and click on ‘Access Now’ under Pabbly Connect. From there, create a new workflow by clicking on the ‘Create Workflow’ button. Name your workflow, for example, ‘AI Agent for Utility Bills’, and select the appropriate folder for your workflow.


2. Integrating Google Drive with Pabbly Connect

The first step in our automation process is to connect Google Drive with Pabbly Connect. In the trigger step, select Google Drive as your application and choose the trigger event as ‘New File in Specific Folder’.

  • Click on ‘Connect’ and then ‘Add New Connection’.
  • Sign in with your Google account and allow access.
  • Select the folder where you will upload your bills.

After selecting the folder, click on ‘Save and Send Test Request’ to confirm the connection. This will enable Pabbly Connect to monitor the folder for new files automatically.


3. Configuring OpenAI for Data Extraction

Next, we will set up the action step to integrate OpenAI with Pabbly Connect. Search for OpenAI in the action step and select the action event as ‘Extract Content from PDF/Image’.

Click on ‘Connect’ and choose ‘Add New Connection’. You will need your OpenAI API key for this. To generate the key, go to your OpenAI account, navigate to the API keys section, and create a new secret key. Copy this key back to Pabbly Connect.

  • Select the OpenAI model, such as GPT-4 Mini.
  • Map the URL of the uploaded bill from Google Drive.
  • Enter a prompt to instruct OpenAI on how to extract the details.

After configuring these settings, click on ‘Save and Send Test Request’ to extract the data from the bill.


4. Adding Extracted Data to Google Sheets

Once the data is extracted, the next step is to add this information into Google Sheets using Pabbly Connect. In the action step, search for Google Sheets and select ‘Add New Row’ as the action event.

Connect your Google Sheets account by clicking ‘Sign in with Google’. After connecting, select the spreadsheet where you want to add the data. Choose the appropriate sheet and map the fields from OpenAI’s response to the corresponding columns in your Google Sheets.

Map fields such as Bill ID, Provider Name, and Billing Period. Ensure all necessary fields are filled out correctly.

After mapping all the fields, click on ‘Save and Send Test Request’. This will add a new row in your Google Sheets with the extracted data from the bill.


5. Testing and Finalizing Your Automation

To ensure everything is working correctly, upload a new bill image or PDF to your designated Google Drive folder. Pabbly Connect will automatically trigger the workflow and extract the details using OpenAI, then add them to your Google Sheets.

Check your Google Sheets to confirm that the new row of data has been added successfully. This process streamlines your bill management and eliminates manual data entry.

Feel free to explore other integrations and workflows using Pabbly Connect to automate various tasks in your business. You can also clone this workflow from the provided link to start using it immediately.


Conclusion

This tutorial demonstrates how to automate bill data extraction from PDFs and images to Google Sheets using Pabbly Connect. By integrating Google Drive and OpenAI, you can streamline your workflow and save time on manual data entry.

Ensure you check out Pabbly Connect to create business automation workflows and reduce manual tasks. Pabbly Connect currently offer integration with 2,000+ applications.

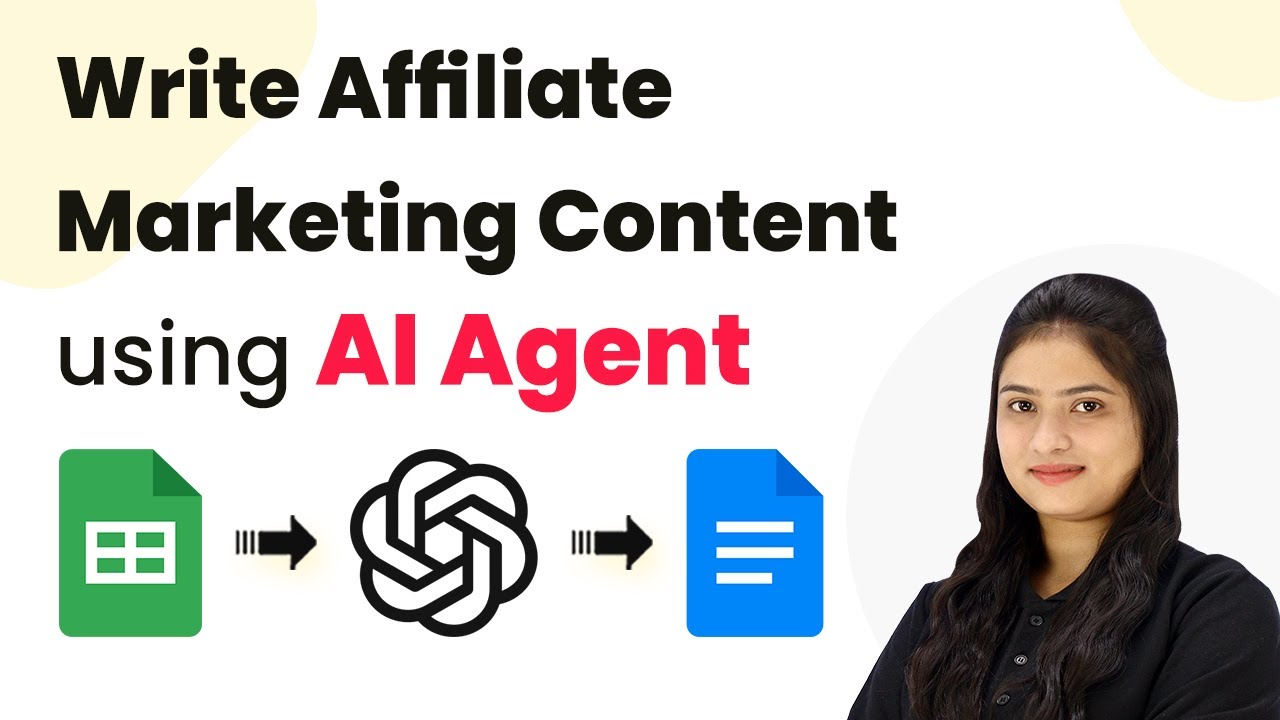
How to Write Affiliate Marketing Content using AI Agent with Pabbly Connect

Learn how to automate affiliate marketing content generation using Pabbly Connect with Google Sheets, Google Docs, and AI agents like OpenAI. Step-by-step tutorial included. Revolutionize your productivity approach with just a few strategic clicks. Uncover professional methods for connecting applications and creating workflows that reclaim hours of your week.

Watch Step By Step Video Tutorial Below


1. Accessing Pabbly Connect for Affiliate Marketing Automation

To start automating your affiliate marketing content, first, you need to access Pabbly Connect. Open your browser and type in ‘Pabbly.com/connect’. This will direct you to the Pabbly Connect landing page.

If you already have an account, click on ‘Sign In’. New users should select ‘Sign Up for Free’ to create a new account. This process takes just two minutes and grants you 100 free tasks each month to explore the platform.


2. Creating a Workflow in Pabbly Connect

Once logged into Pabbly Connect, navigate to the dashboard and select the ‘Create Workflow’ option. You will be prompted to name your workflow. For this tutorial, name it ‘Write Affiliate Marketing Content using AI Agent’.

  • Select a folder for your workflow, such as ‘AI Automations’.
  • Click on ‘Create’ to save your workflow.

This sets up a blank workflow where you will define triggers and actions. The trigger will initiate the workflow when a new row is added in Google Sheets, while the action will generate content using OpenAI and save it in Google Docs.


3. Setting Up Google Sheets with Pabbly Connect

For the automation to work, you need to set up Google Sheets as your trigger application in Pabbly Connect. Select Google Sheets as your trigger application and choose the trigger event as ‘New or Updated Spreadsheet Row’.

Copy the webhook URL provided by Pabbly Connect and open your Google Sheets. Go to ‘Extensions’ > ‘Add-ons’ > ‘Get Add-ons’ and search for ‘Pabbly Connect Webhooks’. Install it, refresh your spreadsheet, and set up the initial configuration by pasting the webhook URL into the add-on settings.


4. Integrating OpenAI as the AI Agent

Next, you will integrate OpenAI as your AI agent in Pabbly Connect. Select OpenAI as your action application and choose the action event ‘Chat GPT’. This will allow you to generate affiliate marketing content based on the data from Google Sheets.

To establish the connection, you will need to enter your OpenAI API key. If you haven’t created one yet, log into your OpenAI account and generate a new secret key. Enter this key in Pabbly Connect to connect your workflow.

  • Select the model you want to use, such as GPT-4 Mini.
  • Define the prompt for content generation using the details from Google Sheets.

This setup ensures that every time a new row is added in Google Sheets, OpenAI generates the content automatically, tailored to the specific product details provided.


5. Finalizing Google Docs Integration with Pabbly Connect

Finally, integrate Google Docs to save the generated content. In Pabbly Connect, select Google Docs as your action application and choose the action event ‘Create a Blank Document’. Connect to your Google Docs account and specify a dynamic document name based on the product name.

After creating the document, use the ‘Append a Paragraph to a Document’ action to insert the content generated by OpenAI. Map the document ID from the previous step to ensure the content is added to the correct document.

Once everything is set up, test the workflow by adding a new product in Google Sheets. You should see a new document created in Google Docs with the affiliate marketing content generated automatically.


Conclusion

By following this guide, you can effectively automate the generation of affiliate marketing content using Pabbly Connect with Google Sheets, OpenAI, and Google Docs. This streamlined process saves time and enhances productivity in your affiliate marketing efforts.

Ensure you check out Pabbly Connect to create business automation workflows and reduce manual tasks. Pabbly Connect currently offer integration with 2,000+ applications.

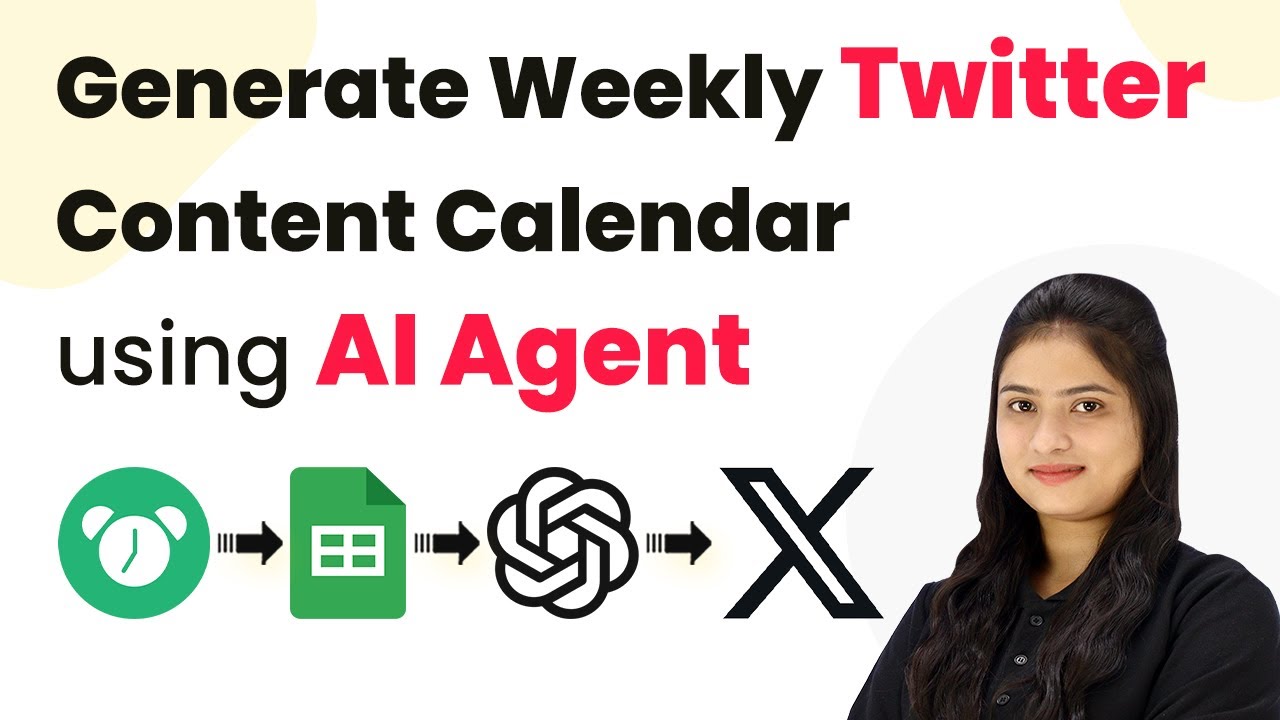
How to Generate Weekly Twitter Content Calendar Using Pabbly Connect and AI Agent

Learn how to automate your weekly Twitter content calendar using Pabbly Connect and AI Agent. Step-by-step guide to streamline your social media strategy. Discover how to seamlessly connect your essential tools through accessible instructions that make powerful automation available to professionals at every skill level.

Watch Step By Step Video Tutorial Below


1. Accessing Pabbly Connect for Automation

To start generating your weekly Twitter content calendar, you’ll first need to access Pabbly Connect. Open a new tab in your browser and navigate to pabby.com/connect. This will take you to the Pabbly Connect landing page where you can sign up or log in.

If you’re a new user, click on the ‘Sign up for free’ button to create an account. Existing users can simply sign in. By signing up, you will receive 100 free tasks every month to explore the powerful automation capabilities of Pabbly Connect.


2. Creating a New Workflow in Pabbly Connect

Once logged into Pabbly Connect, navigate to the dashboard. Here, you can create a new workflow by clicking on the ‘Create Workflow’ button. Name your workflow something descriptive like ‘Generate Weekly Twitter Content Calendar using AI Agent’.

After naming your workflow, select a folder to save it in, such as ‘AI Automations’. Upon clicking ‘Create’, a blank workflow will open, which consists of two main sections: Trigger and Action. The Trigger section will define when your automation starts, while the Action section will define what happens next.


3. Setting Up the Trigger with Pabbly Connect

In the Trigger section, select ‘Schedule by Pabbly’ as your trigger application. This allows your workflow to be scheduled to run automatically. Choose the trigger event as ‘Schedule Workflow’, and then set it to run weekly on Mondays at 8:00 AM. using Pabbly Connect

  • Select ‘Days of the Week’ for the frequency.
  • Choose ‘Monday’ as the day to trigger the workflow.
  • Set the time to 8:00 AM.

After saving the trigger settings, your workflow is now scheduled to run automatically every Monday at 8:00 AM, initiating the process of fetching the current date and preparing your content for Twitter.


4. Fetching Data from Google Sheets with Pabbly Connect

Next, you’ll need to fetch the relevant data from Google Sheets. Add a new action step and select ‘Google Sheets’ as the application. Choose the action event as ‘Lookup Spreadsheet Row’. This allows you to find the appropriate tweet details based on the current date.

To create the connection, sign in to your Google account through Pabbly Connect. Select the spreadsheet containing your weekly tweet schedule and specify the sheet name. Set the lookup column to the date column, and map the current date from the previous step to retrieve the correct row.

  • Select the spreadsheet name as ‘Weekly Tweet Schedule’.
  • Choose the correct sheet name.
  • Map the current date for lookup.

After fetching the data, you’ll receive all necessary details like the weekly topic, audience, keywords, tone, and goal for your tweet, which will be used in the next action step.


5. Generating Tweet Content Using AI Agent

Now that you have the tweet details, add another action step and select ‘OpenAI’ as your AI Agent. Choose the action event as ‘ChatGPT’ to generate your tweet content. Establish the connection by entering your OpenAI API key.

In the prompt section, provide clear instructions for the AI to generate the tweet based on the fetched data. For example, instruct it to create a unique tweet under 200 characters that aligns with the provided tone and goal. Map the relevant details from Google Sheets into the prompt to ensure dynamic content generation.

Specify the role of the AI agent as a Twitter content creator. Include the weekly topic, audience, keywords, tone, and goal in the prompt. Ensure the tweet is engaging and within character limits.

Finally, save your settings and test the request. Once the tweet is generated, add another action step to post it directly to your Twitter account using the ‘Create Tweet’ action within the Twitter application in Pabbly Connect.


Conclusion

In this tutorial, we demonstrated how to automate the generation of a weekly Twitter content calendar using Pabbly Connect and an AI agent. By following the steps outlined, you can streamline your social media strategy and ensure consistent engagement with your audience.

Ensure you check out Pabbly Connect to create business automation workflows and reduce manual tasks. Pabbly Connect currently offer integration with 2,000+ applications.

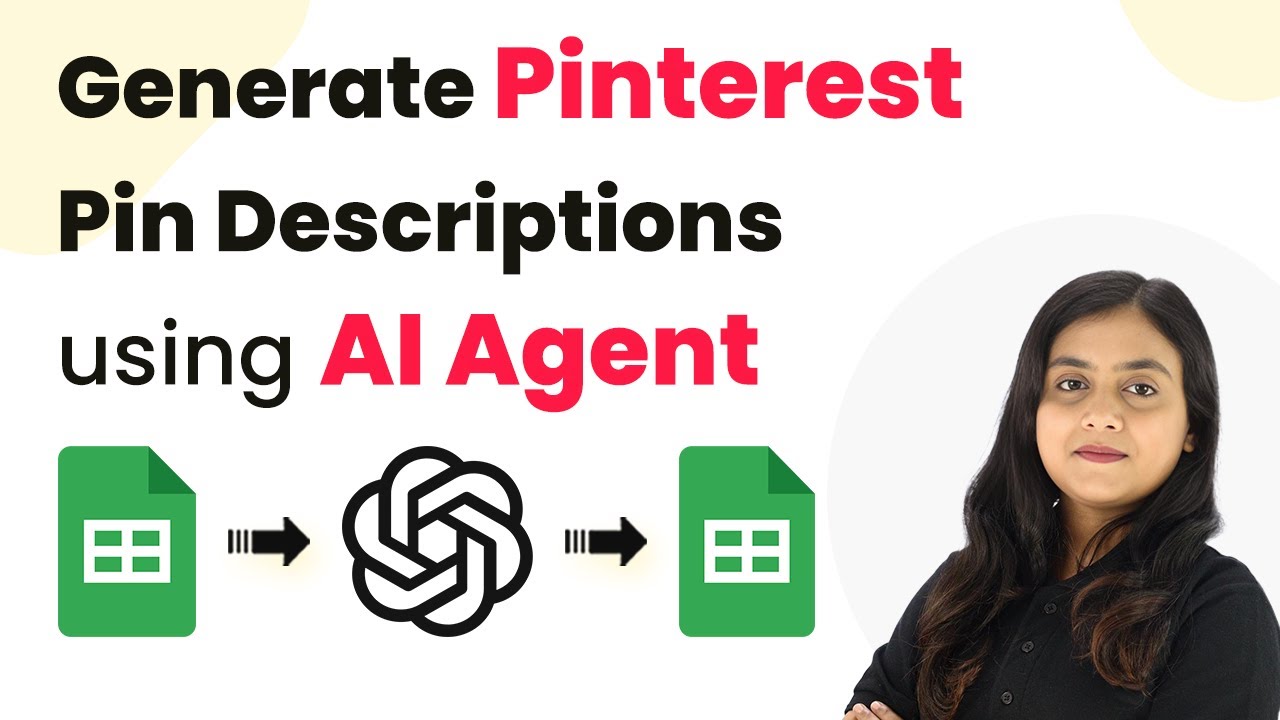
How to Generate Pinterest Pin Descriptions Using Pabbly Connect

Learn how to generate Pinterest pin descriptions using Pabbly Connect, Google Sheets, and AI agents. Step-by-step tutorial included. Learn to create powerful connections between your critical applications without requiring specialized programming knowledge or extensive technical background.

Watch Step By Step Video Tutorial Below


1. Accessing Pabbly Connect for Pinterest Pin Descriptions

To generate Pinterest pin descriptions using Pabbly Connect, start by accessing the Pabbly Connect website. This platform is essential for integrating Google Sheets and AI tools for creating engaging Pinterest content. Navigate to the Pabbly Connect landing page and sign in or sign up for a free account.

Once logged in, you will see the dashboard where all Pabbly applications are listed. Click on the Pabbly Connect option to begin creating your workflow. This is the first step towards automating your Pinterest pin description generation.


2. Creating a Workflow in Pabbly Connect

In Pabbly Connect, workflows are the backbone of automation. To create one, click on the ‘Create Workflow’ button. A dialog box will prompt you to name your workflow and choose a folder to save it in. Name it something descriptive, like ‘AI Agent for Pinterest Pin Descriptions,’ and select an appropriate folder.

  • Click on ‘Create’ to finalize your workflow setup.
  • You will now see a trigger and action window on your screen.

In the trigger window, select Google Sheets as your trigger application. The event will be set to ‘New or Updated Spreadsheet Row’. This setup ensures that every time you add a new product in Google Sheets, Pabbly Connect captures the data automatically.


3. Connecting Google Sheets to Pabbly Connect

To connect Google Sheets with Pabbly Connect, you need to copy the webhook URL provided in the trigger setup. Open the Google Sheets document where you keep your Pinterest pin data. Go to Extensions > Add-ons > Get Add-ons and search for the ‘Pabbly Connect Webhooks’ add-on. Install it if you haven’t already.

Once installed, go back to your Google Sheets, and under Extensions, select ‘Pabbly Connect Webhooks’ and then ‘Initial Setup’. Paste the copied webhook URL into the designated field and set your trigger column, which should be the column where you enter keywords. After clicking ‘Submit’, the connection will be established.


4. Setting Up the AI Agent for Description Generation

With Google Sheets connected, the next step involves setting up the AI agent using Pabbly Connect. In the action window, select OpenAI as your action application. The action event will be set to ‘Chat GPT’. This integration allows you to generate creative Pinterest pin descriptions based on the product name and keywords from your Google Sheets.

  • Click on the connect button and add a new connection using your OpenAI API token.
  • In the prompt field, specify how you want the AI to generate the descriptions.

For example, your prompt could be: ‘Generate a catchy Pinterest pin description using the product name and keywords provided.’ After setting this up, click on ‘Save and Send Test Request’ to see the AI-generated description.


5. Updating Google Sheets with Generated Descriptions

Finally, to store the generated descriptions back in Google Sheets, add another action step in your workflow. Select Google Sheets again and set the action event to ‘Update Row’. This step will allow you to update the spreadsheet with the newly generated description from the AI agent. using Pabbly Connect

After connecting to your Google Sheets account and selecting the correct spreadsheet and sheet, map the relevant fields to ensure the generated description is added to the correct location. Once all details are filled, click on ‘Save and Send Test Request’ to finalize the update.


Conclusion

This tutorial demonstrated how to generate Pinterest pin descriptions using Pabbly Connect and AI. By integrating Google Sheets and OpenAI, you can automate the process of creating engaging content for your Pinterest pins. This not only saves time but also enhances your marketing efforts.

Ensure you check out Pabbly Connect to create business automation workflows and reduce manual tasks. Pabbly Connect currently offer integration with 2,000+ applications.

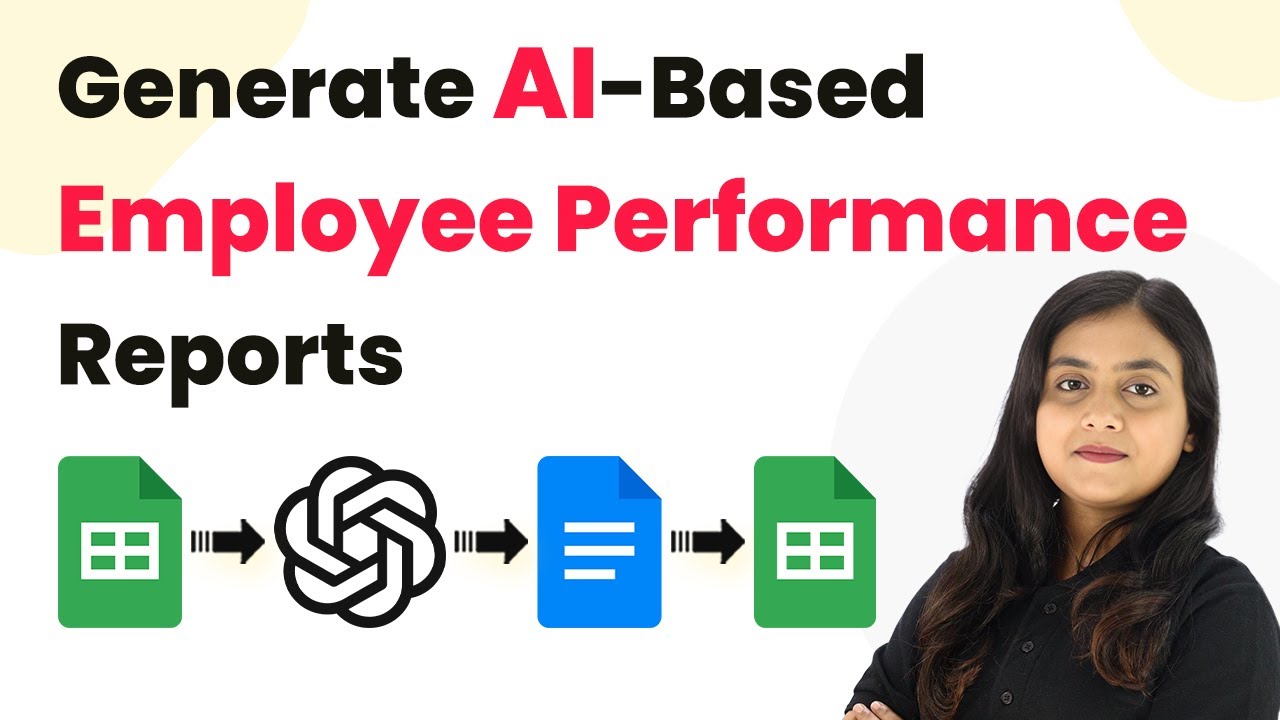
How to Generate AI-Based Employee Performance Reports with Pabbly Connect

Learn how to generate AI-based employee performance reports using Pabbly Connect, integrating Google Sheets and Google Docs seamlessly. Follow this definitive guide to creating powerful automated workflows with straightforward, efficiency-focused solutions that save valuable time.

Watch Step By Step Video Tutorial Below


1. Accessing Pabbly Connect for Employee Performance Reports

To generate AI-based employee performance reports, start by accessing Pabbly Connect. Open your browser and go to the Pabbly Connect website. Here, you can either sign in if you are an existing user or sign up for a free account to get started.

After logging in, you will be directed to the Pabbly Connect dashboard. From here, you can create a new workflow by clicking on the ‘Create Workflow’ button. This is where you will set up the integration to automate the report generation process.


2. Creating a Workflow in Pabbly Connect

In this section, you will create a workflow specifically for generating employee performance reports. Click on the ‘Create Workflow’ button in the top right corner of your dashboard. A dialog box will appear, prompting you to name your workflow and select a folder. using Pabbly Connect

  • Name your workflow: ‘Generate AI Based Employee Performance Reports’
  • Select a folder to save the workflow.

Once you have named your workflow and chosen a folder, click the ‘Create’ button. You will now see two windows: the trigger window and the action window. The trigger is what initiates the workflow, while the action is what occurs as a result.


3. Setting Up Google Sheets as the Trigger in Pabbly Connect

For this automation, set Google Sheets as the trigger application in Pabbly Connect. Select ‘Google Sheets’ from the trigger application options and choose the event ‘New or Updated Spreadsheet Row’. This will allow Pabbly Connect to capture data whenever a new employee entry is made.

After selecting the trigger event, Pabbly Connect will generate a webhook URL. Copy this URL, as it will be used to connect Google Sheets to Pabbly Connect. Next, open your Google Sheets document where you track employee performance and navigate to the Extensions menu.

  • Go to Extensions > Add-ons > Get Add-ons.
  • Search for ‘Pabbly Connect Webhooks’ and install it.

Once installed, refresh your Google Sheets and return to the Extensions menu to set up the webhook. Select ‘Pabbly Connect Webhooks’, then ‘Initial Setup’ and paste the copied webhook URL. Set the trigger column to the final data column where you will enter remarks. This configuration allows Pabbly Connect to capture the entire row of data once the remark is entered.


4. Integrating Open AI with Pabbly Connect for Report Generation

After successfully setting up Google Sheets, the next step is to integrate Open AI with Pabbly Connect. For the action application, select Open AI and choose the event ‘Chat GPT’. This will allow the AI to generate a performance summary based on the data captured from Google Sheets.

When prompted, create a new connection and enter your Open AI API token. This token facilitates communication between Open AI and Pabbly Connect. After entering the token, select the AI model you want to use, such as GPT-4, and craft a prompt that instructs the AI on how to generate the report.

Specify the required elements in the prompt, such as employee ID, name, department, and performance metrics. Ensure the tone of the summary is professional and constructive.

After mapping all necessary fields from the previous step, click on ‘Save and Send Test Request’. This action will generate an AI-based performance summary, which will be used in the next step.


5. Generating Reports in Google Docs Using Pabbly Connect

With the performance summary generated, the final step is to create a formal report in Google Docs using the predefined template. In Pabbly Connect, add another action step and select Google Docs as the application. Choose the action event ‘Create Document from Template’.

Authorize Pabbly Connect to access your Google Docs account and select the template you created for employee performance reports. For the document name, map the employee ID and append ‘Employee Performance Report’. Specify the folder in Google Drive where you want to save this report.

Map all the variables from the template to the respective fields generated by the AI. Click on ‘Save and Send Test Request’ to generate the document.

Once the document is created, you can update your Google Sheets with the document link for easy access. This completes the automation process of generating AI-based employee performance reports using Pabbly Connect.


Conclusion

In this tutorial, we explored how to generate AI-based employee performance reports using Pabbly Connect. By integrating Google Sheets and Google Docs, we automated the entire process, making report generation efficient and hassle-free.

Ensure you check out Pabbly Connect to create business automation workflows and reduce manual tasks. Pabbly Connect currently offer integration with 2,000+ applications.

Utilizing Pabbly Connect not only streamlines your workflow but also enhances productivity by minimizing manual tasks. Start automating your employee performance reporting today!

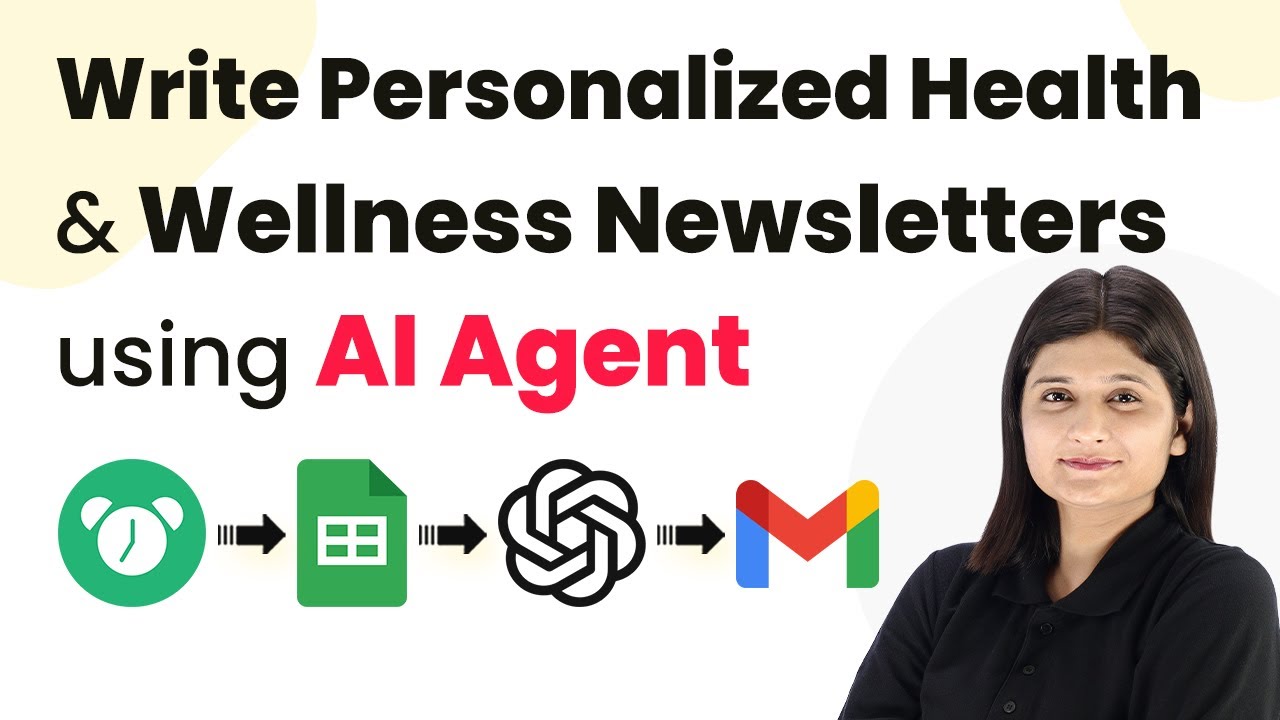
How to Write Personalized Health & Wellness Newsletters using Pabbly Connect

Learn how to automate the creation of personalized health and wellness newsletters using Pabbly Connect with Google Sheets, Open AI, and Gmail. Navigate the automation landscape confidently with clear, structured guidance suitable for professionals regardless of prior technical experience.

Watch Step By Step Video Tutorial Below


1. Accessing Pabbly Connect for Newsletter Automation

To start writing personalized health and wellness newsletters, the first step is to access Pabbly Connect. This powerful automation platform allows you to connect various applications seamlessly.

Visit the Pabbly website and sign in to your account. If you’re a new user, you can sign up for free, which gives you access to 100 tasks monthly. Once logged in, navigate to the Pabbly Connect dashboard to create a new workflow.


2. Creating a Workflow in Pabbly Connect

In this step, you will create a new workflow specifically designed for sending personalized health newsletters. Click on the ‘Create Workflow’ button and name it accordingly. using Pabbly Connect

  • Choose a descriptive name for your workflow.
  • Select the appropriate folder for better organization.

After naming and selecting the folder, click ‘Create’. You will be directed to the workflow setup page where you can define triggers and actions for your automation.


3. Setting Up the Trigger in Pabbly Connect

The next step is to set up the trigger for your workflow. In this case, you will use the ‘Schedule by Pabbly’ trigger, which allows you to automate the sending of newsletters on a daily basis. using Pabbly Connect

When configuring the trigger, select the frequency at which the workflow should run. For instance, you can choose to run it every day at 10:00 AM. Ensure that you set the time zone correctly to match your location.


4. Fetching Subscriber Data from Google Sheets

After setting up the trigger, the next action is to fetch subscriber details from Google Sheets. This is where you will store all the necessary information about your subscribers. using Pabbly Connect

  • Choose ‘Google Sheets’ as the action application.
  • Select the ‘Get Rows’ action event to retrieve subscriber data.

Once you configure the Google Sheets connection, select the spreadsheet containing your subscriber data, and specify the range of cells to fetch. This data will be used to personalize the newsletters.


5. Generating and Sending Personalized Newsletters

Now that you have the subscriber data, the next step is to generate personalized newsletters using Open AI. This is where the magic happens! using Pabbly Connect

Set up an action step using Open AI, specifically selecting the ‘Chat GPT’ model to create personalized content based on the subscriber information fetched earlier. Map the fields correctly to ensure that the generated content is relevant and personalized.

Finally, use Gmail as the next action application to send the generated newsletters. Ensure that you map the recipient’s email address and the content correctly. Once everything is set up, test the workflow to ensure that the newsletters are sent successfully.


Conclusion

In this tutorial, we explored how to automate the process of writing personalized health and wellness newsletters using Pabbly Connect. By integrating Google Sheets, Open AI, and Gmail, you can streamline your communication with subscribers effectively.

Ensure you check out Pabbly Connect to create business automation workflows and reduce manual tasks. Pabbly Connect currently offer integration with 2,000+ applications.