Learn how to create dynamic documents using Pabbly Connect, integrating Google Sheets, Google Docs, and more for efficient automation. Learn to create powerful connections between your critical applications without requiring specialized programming knowledge or extensive technical background.
Watch Step By Step Video Tutorial Below
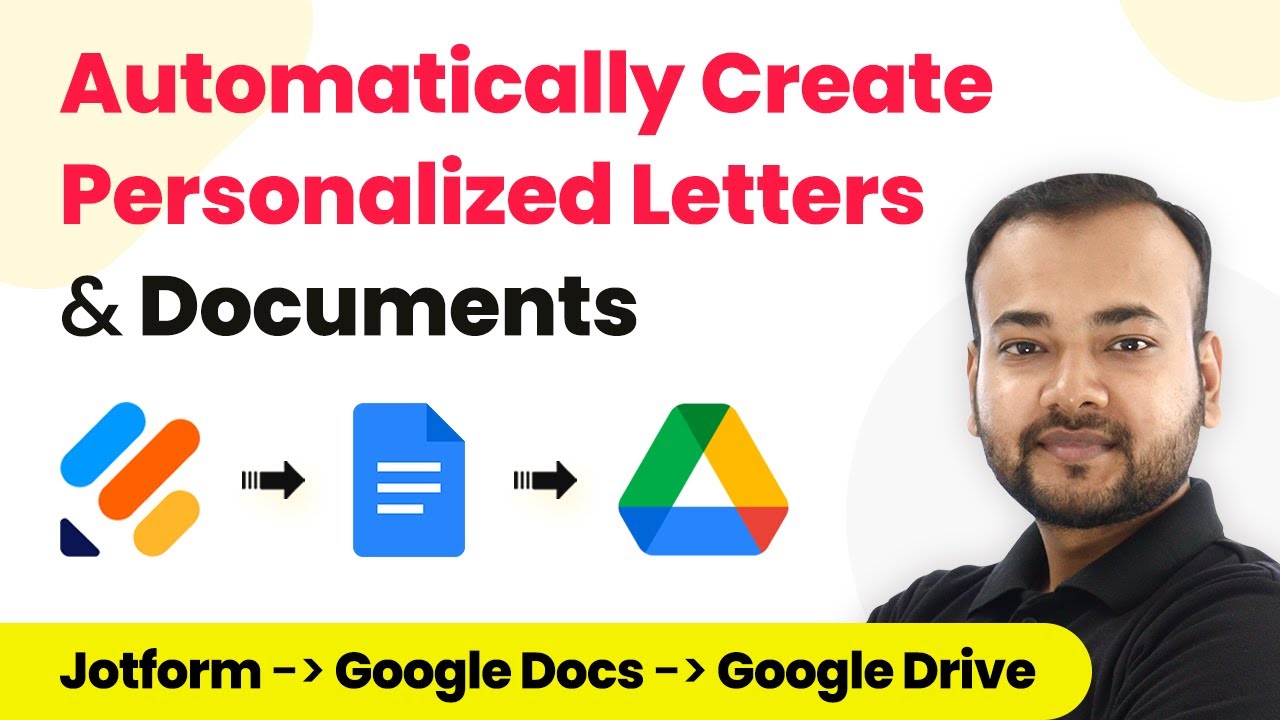
1. Automate Invoice Creation with Pabbly Connect
Using Pabbly Connect, you can automate the creation and sending of invoices efficiently. This process starts with gathering customer details and order information from Google Forms. Once the data is collected, Pabbly Connect facilitates the creation of an invoice in Google Docs.
After generating the invoice, Google Drive creates a shareable link for the document. Finally, Pabbly Connect uses Gmail to send the invoice directly to your customers. This automation helps save time and reduces processing costs.
2. Auto-Generate Document Summaries Using Pabbly Connect
Another powerful feature of Pabbly Connect is the ability to auto-generate document summaries. This is particularly useful for content marketers who need concise content summaries. First, you will gather content details, such as paragraphs and headlines, from Google Sheets.
- Connect Google Sheets to Pabbly Connect to fetch content data.
- Use OpenAI to generate summaries based on the content fetched.
- Create a new document in Google Docs containing the generated summary.
With Pabbly Connect, the entire process is streamlined, allowing marketers to focus on strategy rather than manual content creation. This integration saves time and enhances productivity through automation.
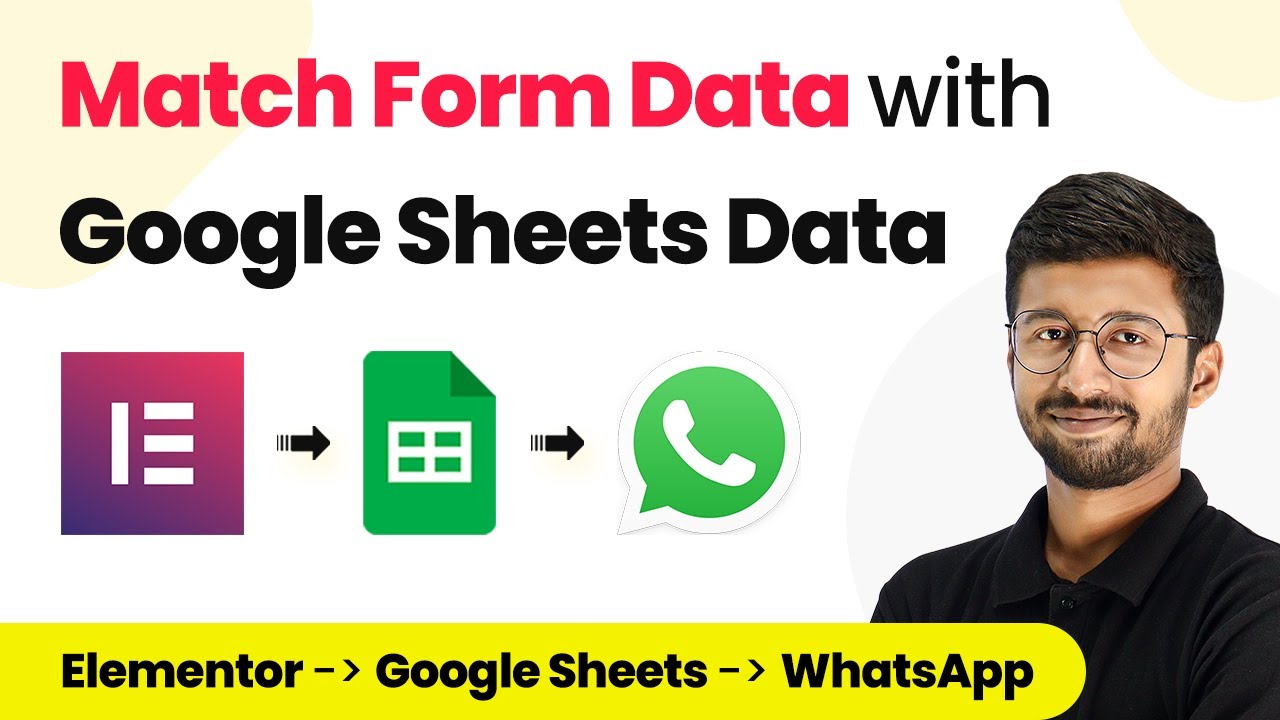
3. Create and Send Bulk Certificates Using Pabbly Connect
If you run a training academy or similar institution, Pabbly Connect can help automate the process of creating and sending certificates. The process begins by retrieving student details, such as names and course titles, from Google Sheets.
- Use Pabbly Connect to connect Google Sheets and Google Docs.
- Generate certificates in Google Docs using the retrieved data.
- Send the completed certificates via WhatsApp using Pabbly Connect.
This integration not only saves time but also ensures that your students receive their certificates promptly. By automating this process with Pabbly Connect, you can enhance your operational efficiency.
4. Benefits of Using Pabbly Connect for Document Automation
Utilizing Pabbly Connect for document automation offers numerous benefits. First, it significantly reduces manual effort, allowing businesses to allocate resources more efficiently. Second, automating tasks like invoice generation and document summaries ensures accuracy and consistency.
Moreover, the integration of various applications through Pabbly Connect enables seamless data flow. This reduces errors associated with manual data entry, ultimately improving productivity. Businesses can focus on growth rather than administrative tasks.
5. Getting Started with Pabbly Connect
To start automating your document processes with Pabbly Connect, sign up for an account and explore the various integrations available. The user-friendly interface allows you to set up workflows effortlessly. Begin by connecting Google Sheets, Google Docs, and other applications to create dynamic documents.
Pabbly Connect provides extensive support and documentation to help you through the automation setup process. With just a few clicks, you can transform your manual processes into automated workflows, enhancing efficiency and saving time.
Conclusion
This guide summarizes the key points and helps you understand the essential features and benefits of using this tool.
Ensure you check out Pabbly Connect to create business automation workflows and reduce manual tasks. Pabbly Connect currently offer integration with 2,000+ applications.
- Check out Pabbly Connect – Automate your business workflows effortlessly!
- Sign Up Free – Start your journey with ease!
- 10,000+ Video Tutorials – Learn step by step!
- Join Pabbly Facebook Group – Connect with 21,000+ like minded people!
In conclusion, using Pabbly Connect for automation can streamline your document creation processes, making it easier to manage tasks such as invoicing, document summaries, and certificate generation. Embrace automation today to boost your productivity and focus on what truly matters in your business.