How to Use LinkedIn Lead Gen Form for Marketing Your Astrology Business with Pabbly Connect

Learn how to use Pabbly Connect to integrate LinkedIn Lead Gen Forms with Google Sheets for your astrology business marketing. Implement the precise methodologies leading organizations use to automate repetitive tasks, illustrated with practical examples designed for immediate application.

Watch Step By Step Video Tutorial Below


1. Accessing Pabbly Connect for Integration

To start using Pabbly Connect for integrating LinkedIn Lead Gen Forms with Google Sheets, first navigate to the Pabbly Connect website by typing Pabbly.com in your browser. This platform enables seamless automation of tasks, making it ideal for marketing your astrology business.

Once on the Pabbly Connect homepage, you will find options to either sign in or sign up. If you are a new user, click on the ‘Sign Up for Free’ button, which provides you with 100 free tasks upon account creation. After signing in, proceed to access Pabbly Connect, where you can create your first workflow.


2. Creating a Workflow in Pabbly Connect

After accessing Pabbly Connect, click on the ‘Create Workflow’ button. You will be prompted to name your workflow. For instance, name it ‘Use LinkedIn Lead Generation Form for Marketing of Astrology Business’ to reflect its purpose clearly.

  • Click on ‘Create’ to initiate the workflow.
  • Select LinkedIn Lead Gen Forms as the trigger application.
  • Set the trigger event to ‘New Lead Generation Forms Response’.

This setup will ensure that every time a new lead is generated, the workflow will activate. Remember, the trigger checks for new data every 10 minutes, allowing for timely updates to your Google Sheets.


3. Connecting LinkedIn Lead Gen Forms to Pabbly Connect

In this step, you will connect your LinkedIn Lead Gen Forms account to Pabbly Connect. Click on the ‘Connect’ button and then select ‘Add New Connection’. Ensure you are logged into your LinkedIn account to facilitate this connection.

Once connected, Pabbly Connect will automatically capture your LinkedIn account details. Choose the specific lead form you want to use, such as the one named ‘Know Your Fate Astrology Expert’. This form will now be linked to your workflow, allowing Pabbly Connect to fetch lead data directly.


4. Adding Lead Data to Google Sheets Using Pabbly Connect

Now that your LinkedIn Lead Gen Forms are connected, the next step is to add the lead data to Google Sheets. For this, select Google Sheets as your action application in Pabbly Connect. The action event should be set to ‘Add New Row’. This means that every time a new lead is generated, their details will be added as a new row in your Google Sheet.

  • Click on ‘Connect’ and sign in to your Google account.
  • Select the spreadsheet you created for new subscribers.
  • Map the fields from your LinkedIn form to the corresponding columns in your Google Sheet.

Mapping ensures that the data collected from leads is accurately placed in the correct columns, such as first name, last name, email address, and phone number. Once you save this configuration, your integration will be ready to capture leads automatically.


5. Testing Your Integration with Pabbly Connect

After setting up the integration, it’s crucial to test it to ensure everything works as expected. Submit a test lead using your LinkedIn Lead Gen Form. For example, fill in the form with details like name, email, and phone number, and click submit.

After submission, return to Pabbly Connect and check if the lead data appears in your Google Sheets. If everything is configured correctly, you should see the new lead’s information in the specified spreadsheet. This confirms that your integration is functioning properly.


Conclusion

Using Pabbly Connect to integrate LinkedIn Lead Gen Forms with Google Sheets is an efficient way to manage leads for your astrology business. This setup automates data collection, ensuring you can focus on engaging with your leads effectively. With Pabbly Connect, you streamline your marketing efforts and enhance productivity.

Ensure you check out Pabbly Connect to create business automation workflows and reduce manual tasks. Pabbly Connect currently offer integration with 2,000+ applications.

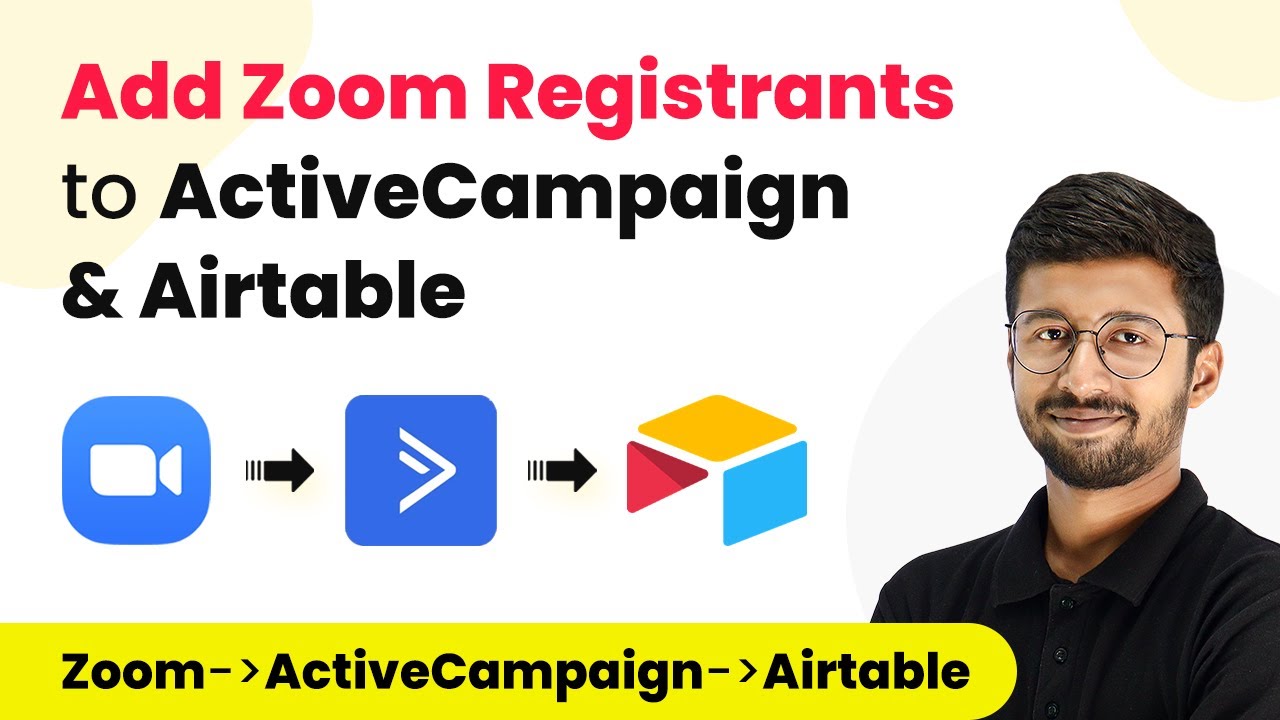
Integrate Zoom Registrants with ActiveCampaign and Airtable Using Pabbly Connect

Learn how to automate adding Zoom registrants to ActiveCampaign and Airtable using Pabbly Connect. Step-by-step guide for seamless integration. Master proven automation processes with practical implementation examples and strategic recommendations you can apply immediately in your workflow.

Watch Step By Step Video Tutorial Below


1. Setting Up Pabbly Connect for Zoom Registrants

To begin the integration process using Pabbly Connect, you must first create a free account. This allows you to access the dashboard where you can create workflows. Start by clicking on the ‘Create Workflow’ button and naming your workflow, for example, ‘Zoom to ActiveCampaign and Airtable’.

Once your workflow is created, you will see two sections: the trigger window and the action window. The trigger window is where you will set up the event that starts the automation, and the action window is where you define what happens after that event. In this case, the trigger will be a new registration in Zoom.


2. Connecting Zoom to Pabbly Connect

In the trigger window of Pabbly Connect, select Zoom as the application. Choose ‘New Registrant’ as the trigger event. This setup allows Pabbly Connect to listen for new registrations in your Zoom meetings.

  • Select ‘Configure Webhook’ from the dropdown.
  • Copy the Webhook URL provided by Pabbly Connect.
  • Log into your Zoom account and navigate to the App Marketplace.
  • Create a new Webhook-only app and paste the Webhook URL in the event subscription section.

After saving your settings in Zoom, every new registrant will trigger data to be sent to Pabbly Connect, allowing you to capture their details seamlessly.


3. Adding Registrants to ActiveCampaign via Pabbly Connect

Next, in the action window of Pabbly Connect, search for ActiveCampaign. Select ‘Create or Update Contact’ as the action event. This step is crucial as it will add the new registrant as a contact in your ActiveCampaign account.

To set up this connection, you will need the API key and URL from your ActiveCampaign account. Navigate to the settings in ActiveCampaign, find the developer section, and copy the necessary details.

  • Paste the URL in the Pabbly Connect setup, removing the ‘https://’ and trailing slash.
  • Enter your API key in the corresponding field.

Once connected, map the fields from the Zoom registration data to the ActiveCampaign fields, including the email address, first name, and last name. This ensures that every registrant is added correctly as a new contact.


4. Storing Registrant Details in Airtable

After adding the registrant to ActiveCampaign, the next step is to store their details in Airtable. In the action window of Pabbly Connect, search for Airtable and select ‘Create Record’ as the action event.

To connect Airtable, you will need the API token from your Airtable account. Go to your account settings in Airtable and copy the API token. Then, paste it into Pabbly Connect to establish the connection.

Select the base where you want to create the record. Choose the table where the details will be stored. Map the fields such as first name, last name, email, and meeting name from the Zoom data.

After configuring these settings, you can test the workflow to ensure that the data is being correctly added to Airtable.


5. Testing the Automation Workflow

Now that you have set up the integration, it’s time to test the automation. Register a dummy user for your Zoom meeting using the registration link. Once the user registers, Pabbly Connect will receive the registration details.

Check both ActiveCampaign and Airtable to verify that the new registrant has been added successfully. Refresh the contacts page in ActiveCampaign and the records in Airtable to confirm that the data is accurate.

This testing phase ensures that your automation is functioning as intended. If everything works correctly, you can proceed to use this setup for real registrations.


Conclusion

By following the steps outlined in this tutorial, you can effectively automate the process of adding Zoom registrants to ActiveCampaign and Airtable using Pabbly Connect. This integration streamlines your workflow and enhances your data management capabilities.

Ensure you check out Pabbly Connect to create business automation workflows and reduce manual tasks. Pabbly Connect currently offer integration with 2,000+ applications.

Integrate Monday.com with Drop Down Menu Using Pabbly Connect

Learn how to integrate Monday.com with a drop-down menu using Pabbly Connect. This step-by-step guide covers everything from setup to automation. Master proven automation processes with practical implementation examples and strategic recommendations you can apply immediately in your workflow.

Watch Step By Step Video Tutorial Below


1. Accessing Pabbly Connect for Integration

To begin the integration process using Pabbly Connect, navigate to the Pabbly Connect website by typing Pabbly.com/connect in your browser. This is the central platform that facilitates the integration between Monday.com and other applications.

Once on the landing page, you will see options to either sign in or sign up. If you are a new user, click on the ‘Sign Up’ button to create an account. You will receive 100 free tasks upon account creation, which allows you to test the integration capabilities of Pabbly Connect.


2. Creating a Workflow in Pabbly Connect

After signing in to Pabbly Connect, navigate to the dashboard and click on ‘Create Workflow’. You will be prompted to name your workflow, which in this case is ‘Add Items to Monday.com with Drop Down Menu’. This name helps identify the specific automation you are setting up.

  • Select JotForm as the trigger application.
  • Choose ‘New Response’ as the trigger event.
  • Copy the webhook URL generated by Pabbly Connect.

This setup enables real-time data capture from JotForm, allowing Pabbly Connect to automate the creation of items in Monday.com based on form submissions.


3. Configuring JotForm for Webhook Integration

Log in to your JotForm account and open the form you want to integrate. In the form builder, go to the ‘Settings’ tab and select ‘Integrations’. Search for ‘Webhook’ and paste the URL copied from Pabbly Connect into the ‘Add Webhook’ field.

After pasting the URL, click on ‘Complete Integration’ to finalize the setup. This step connects your JotForm with Pabbly Connect, enabling automatic data transfer whenever a new form submission occurs.


4. Mapping Data to Monday.com

Next, return to Pabbly Connect and set up the action application as Monday.com. Select ‘Create Item’ as the action event. You will need to connect your Monday.com account by providing the API token, which you can obtain from your Monday.com account settings.

  • Choose the board where you want to create the item.
  • Map the fields from JotForm to the corresponding columns in Monday.com.
  • Ensure to map the drop-down status correctly using the lookup table feature in Pabbly Connect.

This mapping ensures that every new task created in Monday.com reflects the data submitted through JotForm, including the selected status from the drop-down menu.


5. Testing and Finalizing the Integration

Once all configurations are complete, perform a test submission on your JotForm to ensure that the data flows correctly to Monday.com. After submitting the form, return to Pabbly Connect to check if the API response shows the correct data attributes.

If the test is successful, you will see the new item created in your Monday.com board with all the mapped data, including the drop-down status. This confirms that the integration is functioning correctly and will work for future submissions.


Conclusion

Using Pabbly Connect to integrate Monday.com with JotForm allows you to automate the creation of items with specific statuses. This setup enhances your project management efficiency by streamlining data entry processes.

Ensure you check out Pabbly Connect to create business automation workflows and reduce manual tasks. Pabbly Connect currently offer integration with 2,000+ applications.

Automate LinkedIn Lead Gen Forms with Google Sheets Using Pabbly Connect

Learn how to automate LinkedIn Lead Gen Forms and seamlessly add leads to Google Sheets using Pabbly Connect. Step-by-step guide included! Implement the precise methodologies leading organizations use to automate repetitive tasks, illustrated with practical examples designed for immediate application.

Watch Step By Step Video Tutorial Below


1. Setting Up LinkedIn Lead Gen Forms with Pabbly Connect

To begin automating the process of adding leads from LinkedIn Lead Gen Forms to Google Sheets, you first need to set up your lead generation form. This is where Pabbly Connect comes into play, allowing you to seamlessly connect LinkedIn with Google Sheets.

Start by accessing your LinkedIn Campaign Manager. Under the ‘Advertise’ section, create a campaign group if you haven’t done so. You can name it something relevant, like ‘Testing Campaign Group.’ Once created, set up your lead generation campaign and associate it with your ads.


2. Creating Your LinkedIn Lead Gen Form

Now that your campaign is set, it’s time to create your LinkedIn Lead Gen Form. Click on the ‘Create Form’ button in the lead generation section. Assign a name to your form, such as ‘Tour and Travel Booking Form.’ This is where Pabbly Connect will help as you prepare to collect leads automatically.

  • Provide a headline for your form, e.g., ‘Book Your Traveling Package with Us.’
  • Include necessary fields such as Name, Email, and Phone Number.
  • Add a thank you message for form submissions.

After completing your form, ensure that you click on the ‘Agree and Continue’ button to finalize it. This form is now ready to collect leads, which will be integrated using Pabbly Connect to automatically add data to Google Sheets.


3. Associating Your Lead Gen Form with an Ad

With your LinkedIn Lead Gen Form created, the next step is to associate it with your advertisement. In the LinkedIn Campaign Manager, click on the advertisement you want to edit. Click on the button to create a new ad and fill in the necessary details, ensuring to select the lead generation form you just created.

When setting up the ad, provide a compelling description and call-to-action. After saving your advertisement, users can now fill out the lead generation form directly from your ad. This is where Pabbly Connect will automatically capture the leads as they come in.


4. Using Pabbly Connect to Automate Data Transfer to Google Sheets

Now that your LinkedIn ads are live and collecting leads, you need to set up Pabbly Connect to automate the transfer of these leads to Google Sheets. Log into your Pabbly Connect account and create a new workflow. Name your workflow something like ‘Collect LinkedIn Leads in Google Sheets Automatically.’ This is the core of your automation.

In Pabbly Connect, select LinkedIn as the trigger application and set the trigger event to ‘New Lead Form Response.’ Connect your LinkedIn account and select the lead form you created earlier. This will allow Pabbly Connect to capture lead data as soon as it’s submitted.

  • Select your Google Sheets as the action application.
  • Choose the action event as ‘Add New Row’ to insert lead details.
  • Authorize Pabbly Connect to access your Google Sheets account.

Now, map the fields from LinkedIn to your Google Sheets columns. For instance, map the name, email, and phone number fields accordingly. Finally, save the workflow and test it to ensure everything is working smoothly. With this setup, Pabbly Connect will automatically add new leads from LinkedIn to your Google Sheets.


5. Final Setup and Testing of Your Automation

Once you have configured your Pabbly Connect workflow, it’s essential to test the automation to ensure it works as expected. Submit a test entry through your LinkedIn Lead Gen Form and check if the details appear in your Google Sheets. This step is crucial for confirming that Pabbly Connect is functioning correctly.

Keep in mind that while testing, the data should appear almost immediately. However, in a real-time scenario, Pabbly Connect checks for new leads every 3 hours. Therefore, if you don’t see immediate results, give it some time. This automation ensures that you do not have to manually enter leads into Google Sheets, saving you time and effort.


Conclusion

In conclusion, integrating LinkedIn Lead Gen Forms with Google Sheets using Pabbly Connect is a straightforward process. By following the steps outlined in this tutorial, you can automate the lead collection process effectively. This automation not only saves time but also ensures you never miss a lead from your LinkedIn ads.

Ensure you check out Pabbly Connect to create business automation workflows and reduce manual tasks. Pabbly Connect currently offer integration with 2,000+ applications.

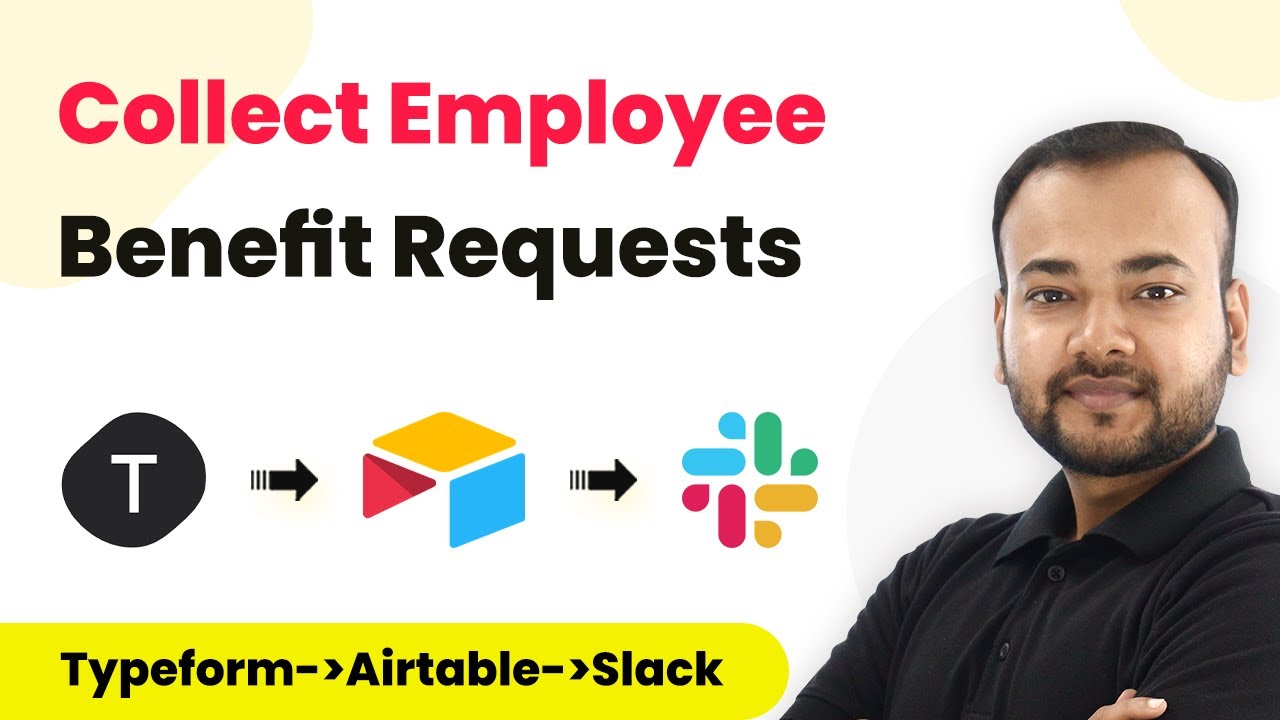
How to Collect Employee Benefit Requests Using Pabbly Connect

Learn how to automate employee benefit requests using Pabbly Connect with Typeform, Airtable, and Slack in this detailed tutorial. Eliminate manual repetitive tasks from your workflow. Discover proven automation methods with intuitive steps designed for efficiency-minded professionals.

Watch Step By Step Video Tutorial Below


1. Setting Up Pabbly Connect for Employee Benefit Requests

To collect employee benefit requests effectively, you need to set up Pabbly Connect. Start by visiting the Pabbly Connect landing page to create your account. Once registered, log in and navigate to the dashboard. Click on the ‘Create Workflow’ button to begin the automation process.

Here, you can name your workflow, such as ‘Employee Benefit Request Automation.’ After naming, click on the ‘Create’ button to access the workflow page where you will set up the trigger and action modules. Remember, Pabbly Connect serves as the core platform that will facilitate the integration of various applications.


2. Integrating Typeform with Pabbly Connect

In this section, you will connect Typeform to Pabbly Connect to receive employee benefit requests. Click on the trigger module and select Typeform as the application. Choose the trigger event as ‘New Entry’ and click the connect button.

  • Select ‘Add New Connection’ and connect with Typeform.
  • Authorize your Typeform account by clicking ‘Accept’.
  • Choose the form you created for employee benefit requests.

After selecting your form, click on ‘Save and Send Test Request’ to initiate a test submission. This step allows you to ensure that Pabbly Connect correctly captures the data from Typeform.


3. Sending Data to Airtable via Pabbly Connect

Once the Typeform integration is complete, the next step is to send the captured data to Airtable using Pabbly Connect. For this, add an action module and select Airtable. Choose the action event as ‘Create Record’ and click the connect button.

  • Select ‘Add New Connection’ and input your Airtable API key.
  • Choose the base where you want to store the employee benefit requests.
  • Map the fields such as name, request, email address, and employee number.

After mapping the fields, click on ‘Save and Send Test Request’ to verify that the data is correctly sent to Airtable. This integration ensures that every employee request is recorded automatically, showcasing the efficiency of Pabbly Connect.


4. Notifying Slack Users with Pabbly Connect

To complete the workflow, you will notify the relevant Slack user about the new employee benefit request. In Pabbly Connect, add another action step and select Slack. Choose the action event as ‘Send Direct Message’ and connect to your Slack account.

You will need to select the user who will receive the notification and compose a message that includes the details of the request. For example, your message could say, ‘Hello, we have received a new employee benefit request from [Employee Name].’ Ensure to map the employee’s name and request details into the message.

After setting up the message, click on ‘Save and Send Test Request’ to check if the Slack notification is successfully sent. This step emphasizes how Pabbly Connect streamlines communication within your organization.


5. Conclusion: Automating Employee Benefit Requests with Pabbly Connect

In conclusion, using Pabbly Connect to automate the collection of employee benefit requests enhances efficiency and ensures that no request goes unnoticed. By integrating Typeform, Airtable, and Slack, you create a seamless workflow that saves time and improves employee satisfaction.

Ensure you check out Pabbly Connect to create business automation workflows and reduce manual tasks. Pabbly Connect currently offer integration with 2,000+ applications.

Check out Pabbly Connect – Automate your business workflows effortlessly! Sign Up Free – Start your journey with ease! 10,000+ Video Tutorials – Learn step by step! Join Pabbly Facebook Group – Connect with 21,000+ like minded people!

By following the steps outlined in this tutorial, you can easily set up your automation and focus on what matters most—supporting your employees. Start using Pabbly Connect today to transform your employee benefit request process.

How to Add Registrants to Zoom Meetings from Google Sheets Using Pabbly Connect

Learn how to seamlessly add registrants to Zoom meetings from Google Sheets using Pabbly Connect. Follow this detailed tutorial for step-by-step guidance. This comprehensive guide reveals exactly how to connect your applications and automate repetitive tasks — accessible for professionals of all technical backgrounds.

Watch Step By Step Video Tutorial Below


1. Setting Up Pabbly Connect for Zoom Meetings Integration

In this section, you will learn how to set up Pabbly Connect to automate the addition of registrants to your Zoom meetings directly from Google Sheets. Start by visiting the Pabbly Connect website and sign up for a free account. This allows you to access automation tasks that will enable seamless integration.

Once you have signed in, navigate to your dashboard and click on the ‘Create Workflow’ button. Here, you will name your workflow, for example, ‘Google Sheets to Zoom.’ After naming it, click on the ‘Create’ button to proceed with setting up your automation workflow.


2. Defining Trigger and Action in Pabbly Connect

To set up the integration, you need to define the trigger and action in Pabbly Connect. The trigger will be an event from Google Sheets, while the action will be to add a registrant in Zoom. Choose Google Sheets as your trigger application and select ‘New or Updated Rows’ as the trigger event.

  • Select Google Sheets as the trigger application.
  • Choose ‘New or Updated Rows’ as the trigger event.
  • Copy the generated webhook URL for connecting Google Sheets.

After copying the webhook URL, go back to your Google Sheets. Open the Extensions menu, select Pabbly Connect WebEx, and choose ‘Initial Setup.’ Here, paste the webhook URL and set the trigger column to the last column where data will be entered. This setup ensures that any new entry in this column will trigger the automation.


3. Capturing Data from Google Sheets

To capture the data from Google Sheets using Pabbly Connect, make sure your spreadsheet is open in incognito mode if you are using multiple Google accounts. In the initial setup, paste the copied URL again and set the trigger column to the same column as before.

Next, click on the ‘Send Test’ button. This will send the data from the first row of your Google Sheets to Pabbly Connect. You should see a confirmation message indicating that the test data was sent successfully. Check the response section in Pabbly Connect to verify that the data has been captured correctly.


4. Setting Up Zoom Action in Pabbly Connect

Now that you have captured the data, it’s time to set up the action in Pabbly Connect. Choose Zoom as the action application and select ‘Add Meeting Registrants’ as the action event. Click on ‘Connect’ and then select ‘Add New Connection’ to link your Zoom account.

Once connected, you will need to specify the meeting name, which you can select from the dropdown list. Map the required fields such as email address, first name, and last name using the data captured from Google Sheets. After filling in the required details, click on ‘Save and Send Test Request’ to add a test registrant to your Zoom meeting.


5. Automating the Addition of Registrants to Zoom Meetings

After successfully setting up the action, every time a new entry is added to your Google Sheets, Pabbly Connect will automatically add that person as a registrant to your Zoom meeting. This means you don’t have to repeat the setup process again, as it runs in the background.

To finalize the process, ensure that you have enabled the ‘Send on Event’ option in the Pabbly Connect WebEx add-on in Google Sheets. This ensures that any new row added will trigger the workflow, adding registrants seamlessly to your Zoom meetings.


Conclusion

Using Pabbly Connect, you can effortlessly integrate Google Sheets with Zoom to automate the addition of registrants to your meetings. This tutorial provides a clear step-by-step guide to streamline your workflow, ensuring you save time and effort.

Ensure you check out Pabbly Connect to create business automation workflows and reduce manual tasks. Pabbly Connect currently offer integration with 2,000+ applications.

How to Send Microsoft Outlook Messages for New ClickUp Tasks Using Pabbly Connect

Learn how to integrate Microsoft Outlook with ClickUp using Pabbly Connect to automate message sending for new tasks. Follow our detailed tutorial. This comprehensive guide reveals exactly how to connect your applications and automate repetitive tasks — accessible for professionals of all technical backgrounds.

Watch Step By Step Video Tutorial Below


1. Setting Up Pabbly Connect for Integration

To send Microsoft Outlook messages automatically when a new task is created in ClickUp, first access Pabbly Connect. This platform allows you to create workflows that integrate different applications seamlessly.

Begin by signing up for Pabbly Connect. After signing in, navigate to the dashboard and click on the ‘Create Workflow’ button. Here, you can name your workflow, such as ‘ClickUp to Outlook Automation’. After naming, click on the ‘Create’ button to proceed.


2. Configuring the Trigger for ClickUp Tasks

In the workflow setup on Pabbly Connect, the first step is to configure the trigger. Select ClickUp as the application and choose the trigger event as ‘New Task’. This will initiate the workflow whenever a new task is created in ClickUp.

  • Choose ClickUp from the application list.
  • Select ‘New Task’ as the trigger event.
  • Click on the ‘Connect’ button and add a new connection.

Next, you will need to enter the API key from your ClickUp account. Locate the API key in your ClickUp dashboard under the profile section. Copy the API token and paste it into the required field in Pabbly Connect. After successfully connecting, select your workspace, space name, folder name, and list name to finalize the trigger setup.


3. Setting Up the Action to Send Emails via Microsoft Outlook

Once the trigger is configured, the next step in Pabbly Connect is to set up the action. Choose Microsoft 365 as the application and select the action event ‘Send Mail’. This action will send an email notification whenever a new task is created.

  • Select Microsoft 365 from the application options.
  • Choose ‘Send Mail’ as the action event.
  • Connect your Microsoft account by granting necessary permissions.

After connecting, you will be prompted to enter the subject and body of the email. You can type a subject like ‘New Task Created in ClickUp’. In the body, include relevant details such as task name, description, and assignee by mapping the fields from the previous step.


4. Testing the Integration Setup

After configuring the email settings in Pabbly Connect, it’s essential to test the integration. Click on the ‘Save and Send Test Request’ button to check if the email is sent correctly. Ensure that you enter a valid recipient email address to receive the test message.

Upon successful testing, you should see a confirmation that the email has been sent. Check your Microsoft Outlook inbox to verify that the email with the subject ‘New Task Created in ClickUp’ has arrived, containing all the mapped task details.


5. Finalizing Your Automation Workflow

Once you confirm that the test email has been received, your automation setup in Pabbly Connect is complete. This workflow will now run automatically in the background. Every time a new task is created in ClickUp, a notification email will be sent via Microsoft Outlook without any manual intervention.

Remember that you can always revisit your workflow in Pabbly Connect to make adjustments or updates as needed. This automation saves time and ensures that important task notifications are communicated promptly.


Conclusion

Integrating Microsoft Outlook with ClickUp using Pabbly Connect allows for seamless communication and task management. By automating email notifications for new tasks, you enhance productivity and ensure timely updates. This step-by-step guide helps you set up the integration effortlessly.

Ensure you check out Pabbly Connect to create business automation workflows and reduce manual tasks. Pabbly Connect currently offer integration with 2,000+ applications.

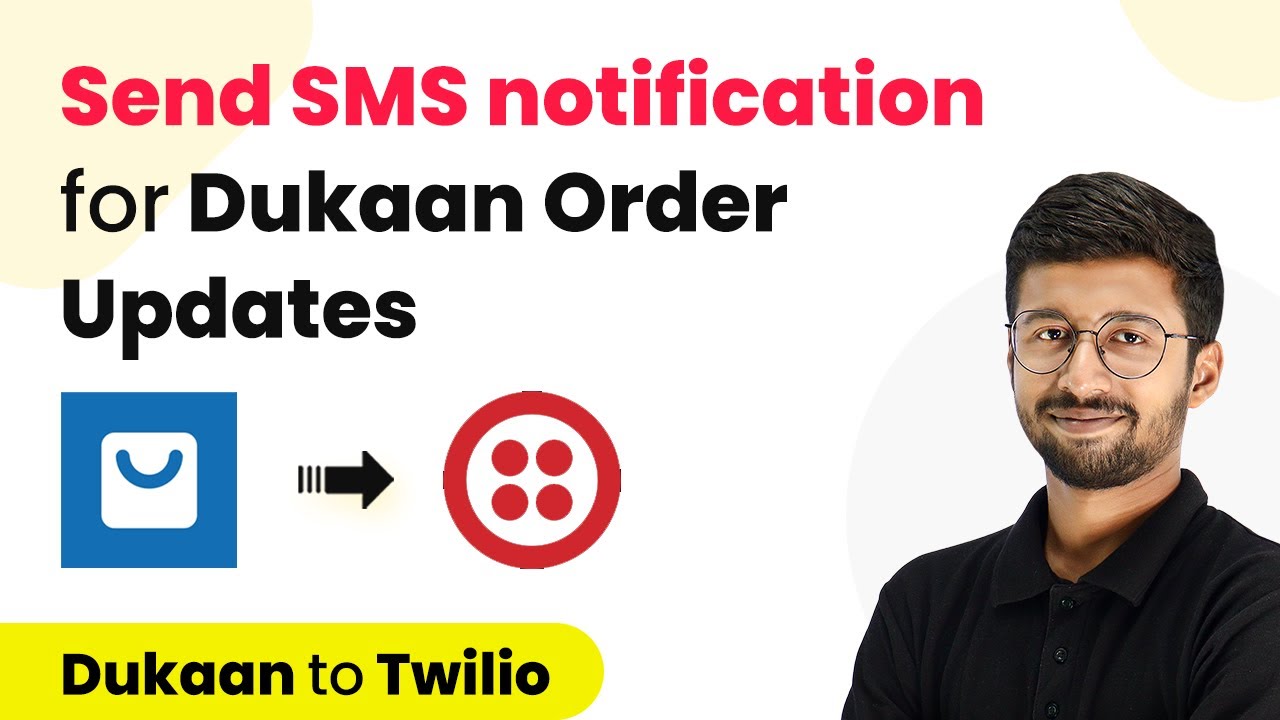
How to Send SMS Notifications for Dukaan Order Status Updates Using Pabbly Connect

Learn how to automate SMS notifications for Dukaan order status updates using Pabbly Connect. Follow our step-by-step guide for seamless integration. Master proven automation processes with practical implementation examples and strategic recommendations you can apply immediately in your workflow.

Watch Step By Step Video Tutorial Below


1. Setting Up Pabbly Connect for Dukaan Order Status Updates

To begin sending SMS notifications for Dukaan order status updates, first access Pabbly Connect. This platform allows you to automate workflows seamlessly. Start by signing up for a free Pabbly Connect account, which you can do by clicking the link in the description below.

Once logged into your Pabbly Connect dashboard, click on ‘Create Workflow’. Name your workflow, for example, ‘Dukaan to Twilio’, and click on ‘Create’. You will see a trigger window and an action window, which are essential for setting up your automation.


2. Configuring the Trigger Event in Pabbly Connect

In this section, you will set up the trigger event to capture order status updates from Dukaan using Pabbly Connect. In the trigger window, search for the Dukaan app and select it. Then, from the trigger event dropdown, choose ‘Order Update’.

  • Select the Dukaan app in the trigger window.
  • Choose ‘Order Update’ as the trigger event.
  • Copy the generated webhook URL provided by Pabbly Connect.

Next, navigate to your Dukaan account. Install the Webhook plugin by going to the plugins section and searching for ‘Webhook’. After installing, create a new webhook and paste the copied URL into the callback URL field. Select ‘Order Status Updated’ as the trigger event and click on ‘Create’ to finalize the setup.


3. Testing the Trigger for Order Updates

Now that you have configured the trigger, it’s time to test if it works correctly through Pabbly Connect. Go back to your Dukaan account and navigate to the orders section. Accept an order to trigger the webhook you just set up.

Once you accept the order, return to Pabbly Connect. You should see a response indicating that the order details have been captured. This response includes crucial information such as the customer’s mobile number and the order status URL.

  • Check the response in Pabbly Connect for order details.
  • Ensure the customer’s mobile number is included in the response.
  • Verify the order status URL is accessible.

This verification ensures that Pabbly Connect is effectively capturing order updates from your Dukaan store.


4. Sending SMS Notifications Using Twilio

After successfully testing the trigger, the next step is to configure the action to send SMS notifications using Twilio through Pabbly Connect. In the action window, search for Twilio and select it. Choose ‘Send SMS Message’ as the action event.

Click on ‘Connect’ and then select ‘Add New Connection’. To connect your Twilio account, you will need the Account SID and Auth Token from your Twilio dashboard. Copy these values from Twilio and paste them into the respective fields in Pabbly Connect.

Input the Account SID and Auth Token from Twilio. Map the SMS message body to include order details. Specify the sender’s number from your Twilio account. Map the recipient’s mobile number from the Dukaan response.

After configuring these fields, click on ‘Save & Send Test Request’. You should receive a confirmation that the SMS notification has been sent to the customer.


5. Verifying SMS Delivery to Customers

Once the SMS has been sent, it’s crucial to verify that the customer received the message. Check the SMS inbox of the customer’s mobile number to ensure they received the order status update notification sent via Pabbly Connect and Twilio.

The SMS should read something like: ‘Hello, the order status of your recent order of [Product Name] has been updated. Check your status at [Order Status URL].’ This confirmation indicates that your automation is functioning correctly.

By using Pabbly Connect, you have successfully automated the process of sending SMS notifications for Dukaan order status updates. This integration not only enhances customer communication but also streamlines your order management process.


Conclusion

In this tutorial, we explored how to automate SMS notifications for Dukaan order status updates using Pabbly Connect. By following the steps outlined, you can enhance your customer service and keep your clients informed about their order statuses effectively.

Ensure you check out Pabbly Connect to create business automation workflows and reduce manual tasks. Pabbly Connect currently offer integration with 2,000+ applications.

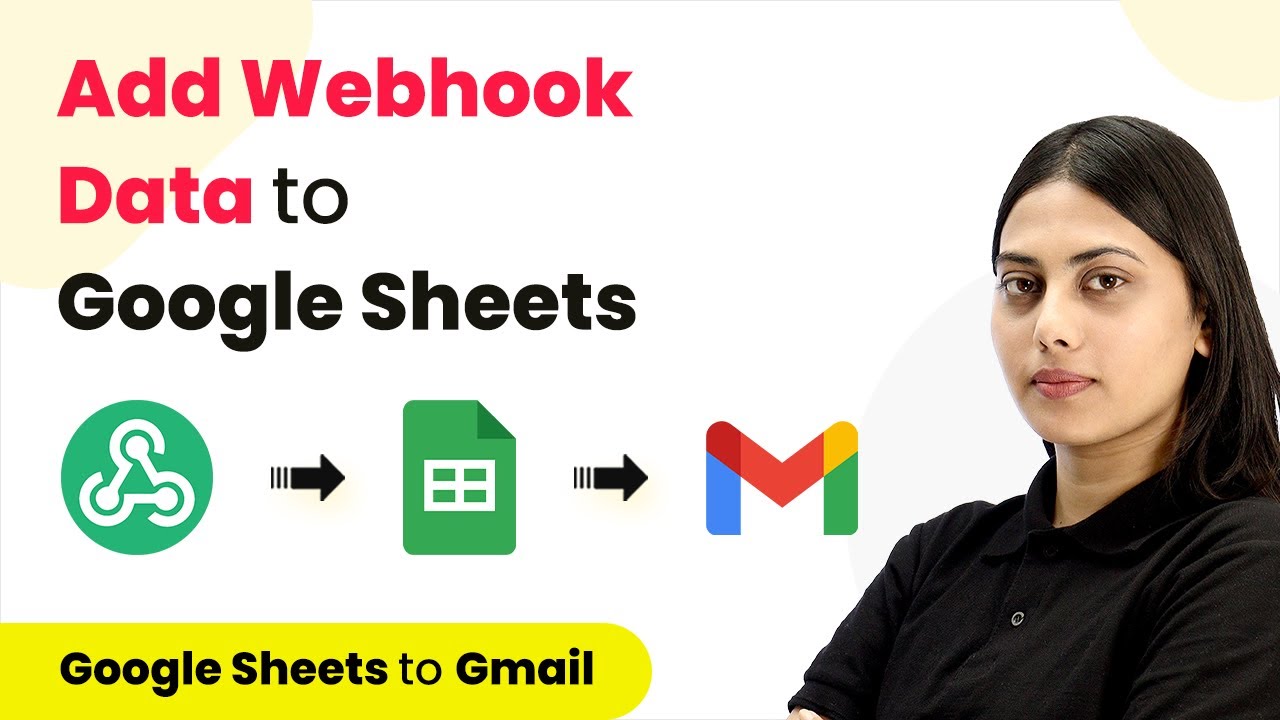
How to Add Webhook Data to Google Sheets & Send Email Notifications Using Pabbly Connect

Learn how to integrate webhook data into Google Sheets and send email notifications using Pabbly Connect in this detailed tutorial. Build sophisticated automated workflows in less time than you think. This guide translates complex integrations into straightforward steps for immediate implementation.

Watch Step By Step Video Tutorial Below


1. Setting Up Pabbly Connect for Webhook Integration

To start adding webhook data to Google Sheets and sending email notifications, you first need to access Pabbly Connect. Sign in to your Pabbly account or create a new one if you don’t have an account yet.

Once logged in, navigate to the dashboard and click on the blue button labeled ‘Create Workflow’. Name your workflow as ‘Add Web Data to Google Sheets and Send Email’ and click on ‘Create’. This will open a blank workflow where you can set up your trigger and actions.


2. Configuring the Webhook Trigger in Pabbly Connect

The next step involves configuring the webhook trigger in Pabbly Connect. Click on the trigger box and select ‘Webhook’ as your trigger application. This is essential as it allows you to receive data from external applications.

  • Choose ‘Webhook’ as the trigger application.
  • Copy the webhook URL provided by Pabbly Connect.
  • Use this URL in your form application, like Jotform, to send data to Pabbly Connect.

After setting up the webhook, fill out your form in a separate tab to send test data. Once the form is submitted, return to Pabbly Connect and you will see the captured data in the response section, confirming your trigger is working correctly.


3. Adding Data to Google Sheets via Pabbly Connect

Now that your webhook is set up, it’s time to add the captured data to Google Sheets using Pabbly Connect. Click on the action box and select ‘Google Sheets’ as your action application. Choose the event ‘Add New Row’ to insert the data into your sheet.

Connect your Google account by clicking ‘Add New Connection’. Once connected, select the specific Google Sheet where you want to add the data. Map the fields from your webhook response to the corresponding columns in your Google Sheet, ensuring all necessary data is included.


4. Sending Email Notifications with Pabbly Connect

After successfully adding the data to Google Sheets, the next step is to send an email notification. For this, add another action step in Pabbly Connect and select ‘Gmail’ as the application. Choose the event ‘Send Email’ to configure the email settings.

  • Connect your Gmail account to allow Pabbly Connect to send emails.
  • Use the email address captured from the webhook as the recipient.
  • Craft your email subject and body, personalizing it with the user’s name.

Once you have filled in all necessary details, save your settings and send a test email to confirm that everything is working smoothly. You should see a confirmation that the email has been sent.


5. Recap and Benefits of Using Pabbly Connect

In summary, we have successfully integrated webhook data into Google Sheets and set up email notifications using Pabbly Connect. This workflow allows for seamless data management and communication, ensuring that you can keep track of submissions while notifying users promptly.

Utilizing Pabbly Connect not only simplifies the integration process but also enhances productivity by automating tasks that would otherwise require manual intervention. You can explore further integrations with other applications to maximize your workflow efficiency.


Conclusion

In this tutorial, we demonstrated how to use Pabbly Connect to add webhook data to Google Sheets and send email notifications. This integration enhances your workflow, allowing for efficient data handling and user communication. Start automating your tasks with Pabbly Connect today!

Ensure you check out Pabbly Connect to create business automation workflows and reduce manual tasks. Pabbly Connect currently offer integration with 2,000+ applications.

How to Update Lead Status in CRM on Appointment Cancellation Using Pabbly Connect

Learn how to automatically update lead status in your CRM on appointment cancellation using Pabbly Connect. Step-by-step tutorial with detailed instructions. Revolutionize your productivity approach with just a few strategic clicks. Uncover professional methods for connecting applications and creating workflows that reclaim hours of your week.

Watch Step By Step Video Tutorial Below


1. Setting Up Pabbly Connect for Appointment Cancellation

To update lead status in CRM on appointment cancellation, you first need to access Pabbly Connect. Start by visiting the Pabbly website and signing in to your account. If you’re a new user, you can sign up for a free account, which allows you to test automation tasks each month.

Once logged in, you will see the Pabbly Connect dashboard. Click on the blue button labeled ‘Create Workflow’ to start setting up your automation. You’ll need to name your workflow, for example, ‘Auto Update Lead Status in CRM’. After naming your workflow, click on the ‘Create’ button to proceed.


2. Selecting Applications in Pabbly Connect

In this integration, you will connect Pabbly Connect with Calendly and HubSpot CRM. The first step is to choose Calendly as the trigger application. Set the trigger event to ‘Invite Cancelled’ so that the automation activates whenever an appointment is canceled.

  • Select Calendly as the trigger application.
  • Choose ‘Invite Cancelled’ as the trigger event.
  • Connect your Calendly account to Pabbly Connect.

After selecting the applications, you will need to connect your Calendly account. This connection allows Pabbly Connect to capture the cancellation details. Once the connection is established, click on ‘Save and Send Test Request’ to verify the setup.


3. Updating HubSpot CRM with Pabbly Connect

Now that you have set up the trigger with Calendly, the next step is to update HubSpot CRM using Pabbly Connect. Select HubSpot as the action application and choose the action event ‘Update Contact’. This step ensures that when an appointment is canceled, the lead status in HubSpot will be updated accordingly.

To connect HubSpot, click on ‘Add New Connection’ and log in to your HubSpot account. After successful authentication, you will be prompted to enter the contact ID of the lead whose status you want to update. This contact ID can be obtained by searching for the contact in HubSpot based on the email address captured from the cancellation event.

  • Select ‘Update Contact’ as the action event.
  • Map the contact ID obtained from the previous step.
  • Change the lead status from ‘Open’ to ‘Unqualified’.

After mapping the contact ID and changing the status, click on ‘Save and Send Test Request’ to finalize the update. This will change the lead status in HubSpot CRM automatically when an appointment is canceled.


4. Testing the Integration in Pabbly Connect

Once you have configured the integration, it’s essential to test the workflow to ensure everything is functioning correctly. Using Pabbly Connect, simulate an appointment cancellation in Calendly. This step will trigger the automation and update the lead status in HubSpot CRM.

After canceling the appointment, return to Pabbly Connect and check the response. You should see the captured details from the cancellation event, including the lead’s name and email. Verify that the lead status in HubSpot has been updated to ‘Unqualified’ as expected.

Cancel the appointment in Calendly to trigger the workflow. Check the response in Pabbly Connect for captured details. Verify the lead status in HubSpot CRM.

Testing ensures that the integration works seamlessly, providing your team with real-time updates on lead status based on appointment cancellations.


5. Final Setup and Automation with Pabbly Connect

After successfully testing the integration, your automation is now set up to update lead status in CRM on appointment cancellation. With Pabbly Connect, you can rest assured that every time a lead cancels an appointment, their status will be updated automatically in HubSpot CRM.

This automation not only saves time but also ensures that your sales team is promptly notified of lead status changes. You can further customize this workflow by integrating additional applications or modifying the existing steps to fit your business needs.

To summarize, using Pabbly Connect, you have created an efficient system that updates lead statuses automatically, enhancing your CRM management and lead follow-up processes. If you want to replicate this setup easily, you can clone the workflow shared in the description.


Conclusion

In conclusion, automating the update of lead status in CRM on appointment cancellation using Pabbly Connect streamlines your workflow and ensures timely follow-ups. This setup enhances your CRM efficiency and lead management capabilities.

Ensure you check out Pabbly Connect to create business automation workflows and reduce manual tasks. Pabbly Connect currently offer integration with 2,000+ applications.