00
HRS
44
MIN
03
SEC
👉 DON'T MISS OUT - Get Unlimited Access to Pabbly Apps in a Single Plan
VIEW OFFER 
"Never going back to any others"
"Pabbly is an absolute must have!"
"Pabbly is best in industry"
Manage marketing, sales, and support for your business in one place and at one price — with Pabbly. Create forms, collect payments, automate tasks with AI Agents, send email campaigns, create WhatsApp AI Assistants and manage WhatsApp conversations seamlessly.

Trusted by 14,099+ Businesses

Supports 2,000+
Integrations

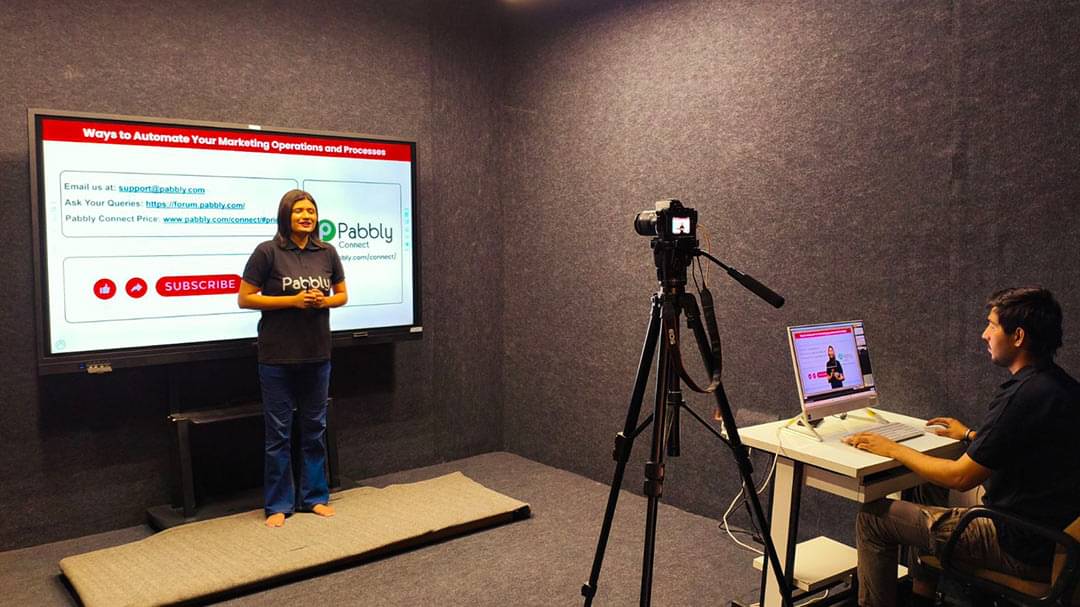
12,274+ Video
Tutorials
"I've been using Pabbly for months now & it's really been helping me automate my business from top to bottom. Plus there are a crazy amount of support videos on YouTube created by the Pabbly Team!"


Pabbly Plus is a comprehensive business management bundle that addresses all your sales and marketing needs, saving you the hassle of using multiple applications. With Pabbly Plus, you can take care of all your business needs in one place.
Automation
Effortlessly create automated workflows and seamlessly transfer data between applications.
Learn moreWhatsApp Messaging
Run your entire business on WhatsApp. Automate marketing, sales and customer support.
Learn morePayments
Recurring billing and subscription management solution with built-in affiliate management.
Learn moreMarketing
Experience our simplified email marketing solution for customer and subscriber outreach.
Learn moreForms
Effortlessly collect payments, leads, surveys, and more with our online form builder.
Learn moreDeveloper
Efficiently manages webhooks, acting as a gateway to monitor, control, and transform data before delivery.
Learn more
"I have been using Pabbly for months now and it can replace Zapier and Integromat in my flows. Highly recommended if you are looking to automate processes and not spend per month on other systems. Good luck guys!"
Yes, that's correct! Get a Pabbly Plus plan and you will have access to all applications of Pabbly without any feature restrictions.
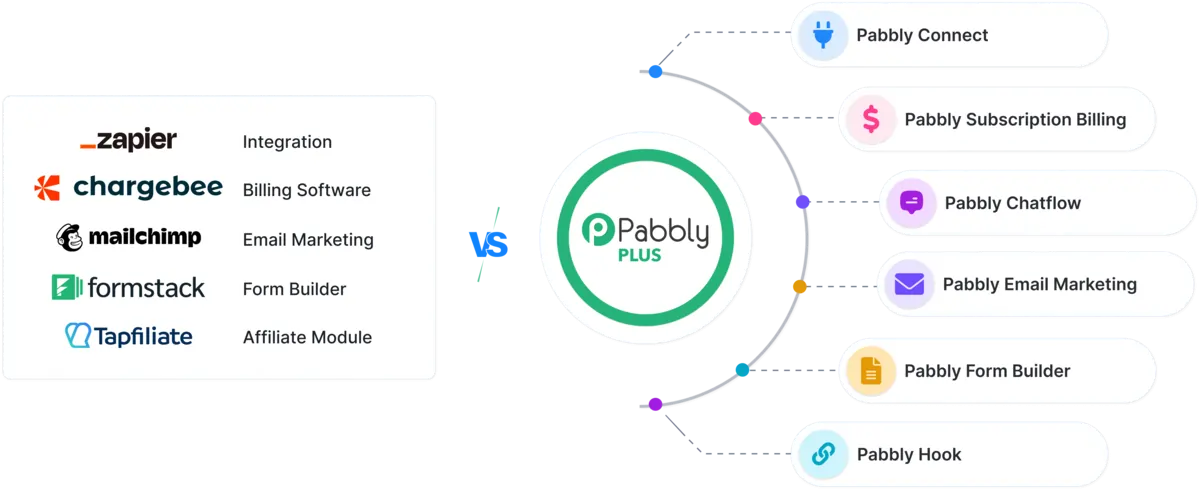
For just $59, you get access to all Pabbly applications — Pabbly Connect, Pabbly Chatflow, Pabbly Subscription Billing, Pabbly Email Marketing and Pabbly Form Builder — without any restrictions. No hidden costs. Unlimited features.
Automate workflows by connecting multiple apps and services without any coding.
Add WhatsApp numbers, create AI chatbots and send broadcast messages with inbox.
Send unlimited emails, create and manage effective email campaigns effortlessly.
Set up customizable and high-converting checkout pages in just a few clicks.
Manage the process of collecting one-time payments to save time and energy.
Manage and automate recurring payments for subscription-based services seamlessly.
Create forms to collect leads, manage submissions, and integrate with apps.
Easily create and manage affiliate programs, and automate affiliate payouts.
Support unlimited users, perfect for expanding your team or customer base.

"Great product, this is definitely something you would use daily similar to Zapier and much cheaper for one time price. Their support team has never failed me and responds actively."
Join 14,099+ businesses that trust Pabbly to streamline their requirements. Pay once for easy management of your business, and you will get access to all Pabbly applications with Pabbly Plus plans.

"Highly recommended to get Pabbly Plus!" - Akshay Ash Goel

If Pabbly Connect doesn't transform the way your business works in the next 30 days, I will refund 100% of your purchase. No questions asked.
I have seen the power of scaling your business. Take some time out of your busy schedule today and see what all things can be done to grow your business.
You will find that most of your time is going in doing things that could be done better by using the right tools. You just have to give it a shot!
Start growing your business today with Pabbly and I'm pretty sure you're going to love it!!
Thank you, and I hope that Pabbly Connect plays a small part in your success story.
.png)
Neeraj Agarwal
Co-Founder Pabbly

To ensure seamless operations, security, privacy and compliance needs to be coherent. Pabbly is SOC2 Type 2 and ISO 27001:2022 certified. We ensure that the customers data is protected without any lapses in the security. You're safe with us.

Maximize the benefits of all Pabbly applications for your business with our easy-to-use resources.

Getting Started with Pabbly Connect
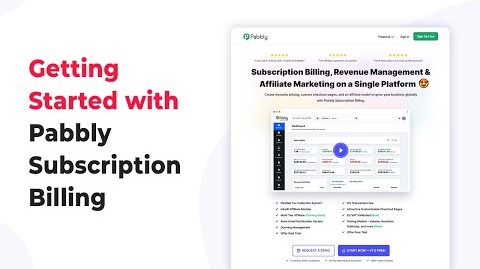
Getting Started with Pabbly Subscription Billing

Getting Started with Pabbly Chatflow
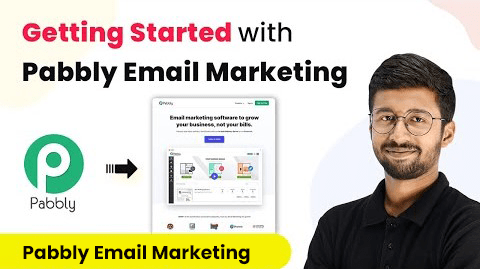
Getting Started with Pabbly Email Marketing

Getting Started with Pabbly Form Builder
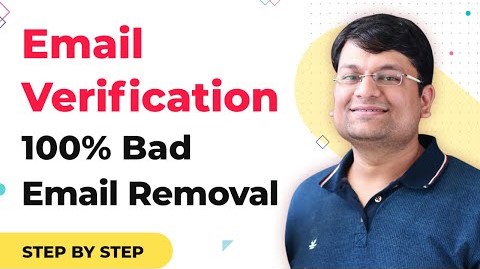
Getting Started with Pabbly Email Verification
Non incentivized reviews from real users.

Then Pabbly Connect entered my life like a superhero. Without Pabbly, I'd still be generic. But now? I'm uniquely profitable.

This is an amazing product. I moved from zappier to pabbly connect and never looked back. Try it and you won't be disappointed

Getting those first automations up and running felt amazing. A few years ago I never would have believed I could set up something like this on my own.

I ditched zapier for pabbly connect. It was the best decision of my life. It's simple to use, cost effective and allows me to automate my work management and email sending.

My solutions was to use Pabbly connect to read those contacts business names and re-run them through Google Places API to get those missing details. Pabbly Connect saved the day by making a fast and simple solution possible.

if you love Zapier but hate its expensive monthly subscription fee, then this is the answer! I have never had to pay a monthly subscription fee for software existed for zap subscription after I discovered Pabbly!
I've been using Pabbly for a few months now & it's really been helping me automate my business from top to bottom. Plus there are a crazy amount of support videos on YouTube created by the Pabbly Connect team!

A high value for money zapier alternative....If you need automation ...Go for it.....

Pabbly has made automations so easy! I was able to have several different "products" connected. Thanks!

Not only it is an wonderful Zapier alternative. Their support is amazing! New and old apps update almost everyday. You will never look back!
Get answers to most commonly asked questions.
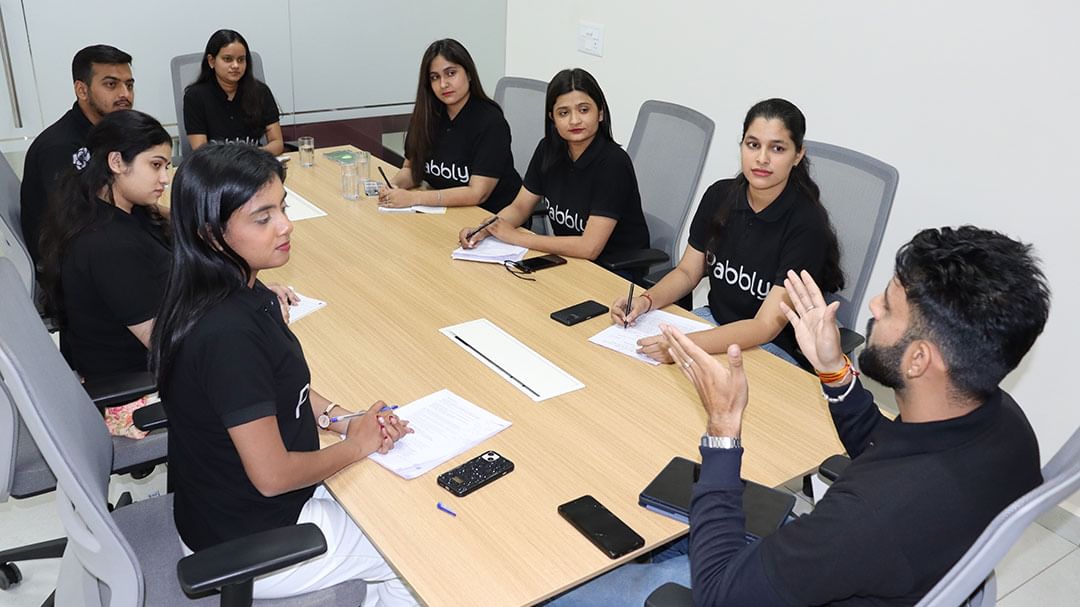
From starting as a training institute to teach college students, Magnet Brains - the parent company of Pabbly grew over time into a team of 70+ amazing people.


Simplify, manage, and grow your business with a single Pabbly account. Access powerful tools for workflow automation, form building, email marketing, subscription billing, WhatsApp communication, and webhook management—all in one platform.

MagnetBrains LLC DBA Pabbly © 2026. All Rights Reserved.
