Pabbly Connect
Integrate different applications and start automating your work.
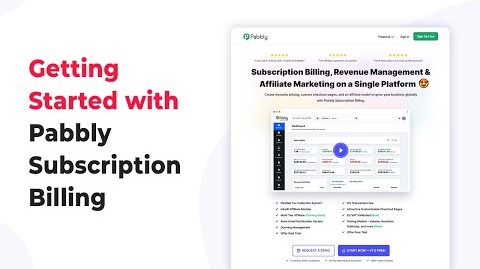
Pabbly Subscription Billing
Start accepting one-time and recurring subscription payments.
Pabbly Chatflow
Automate WhatsApp conversations effortlessly.
Pabbly Email Marketing
Send email newsletters to your subscribers and customers.


.png)